Incubating Eggs with Arduino
The idea was to use Arduino to prototype a simple incubator, see if it works, and then hatch eggs. The first try was successful with one egg and later on with two eggs. Although the yield is pathetic, I had fun building it and waiting the whole 18 days to see if it hatches.

The eggs are marked, kept with paper cutouts to absorb any extra moisture, and water is kept inside to maintain humidity throughout the 18 days of development. The eggs need to be turned twice every day — this helps the embryo develop evenly without complications. In a later stage, this process would need to be completely automated.
The very first prototype was a simple bucket and a light bulb — no microcontroller at all. The objective was to understand whether temperature could be controlled passively. Result: the bucket heats up fast but the ideal 37.7 °C and 57% humidity cannot be reliably achieved without a controller. A closed-loop system was necessary.
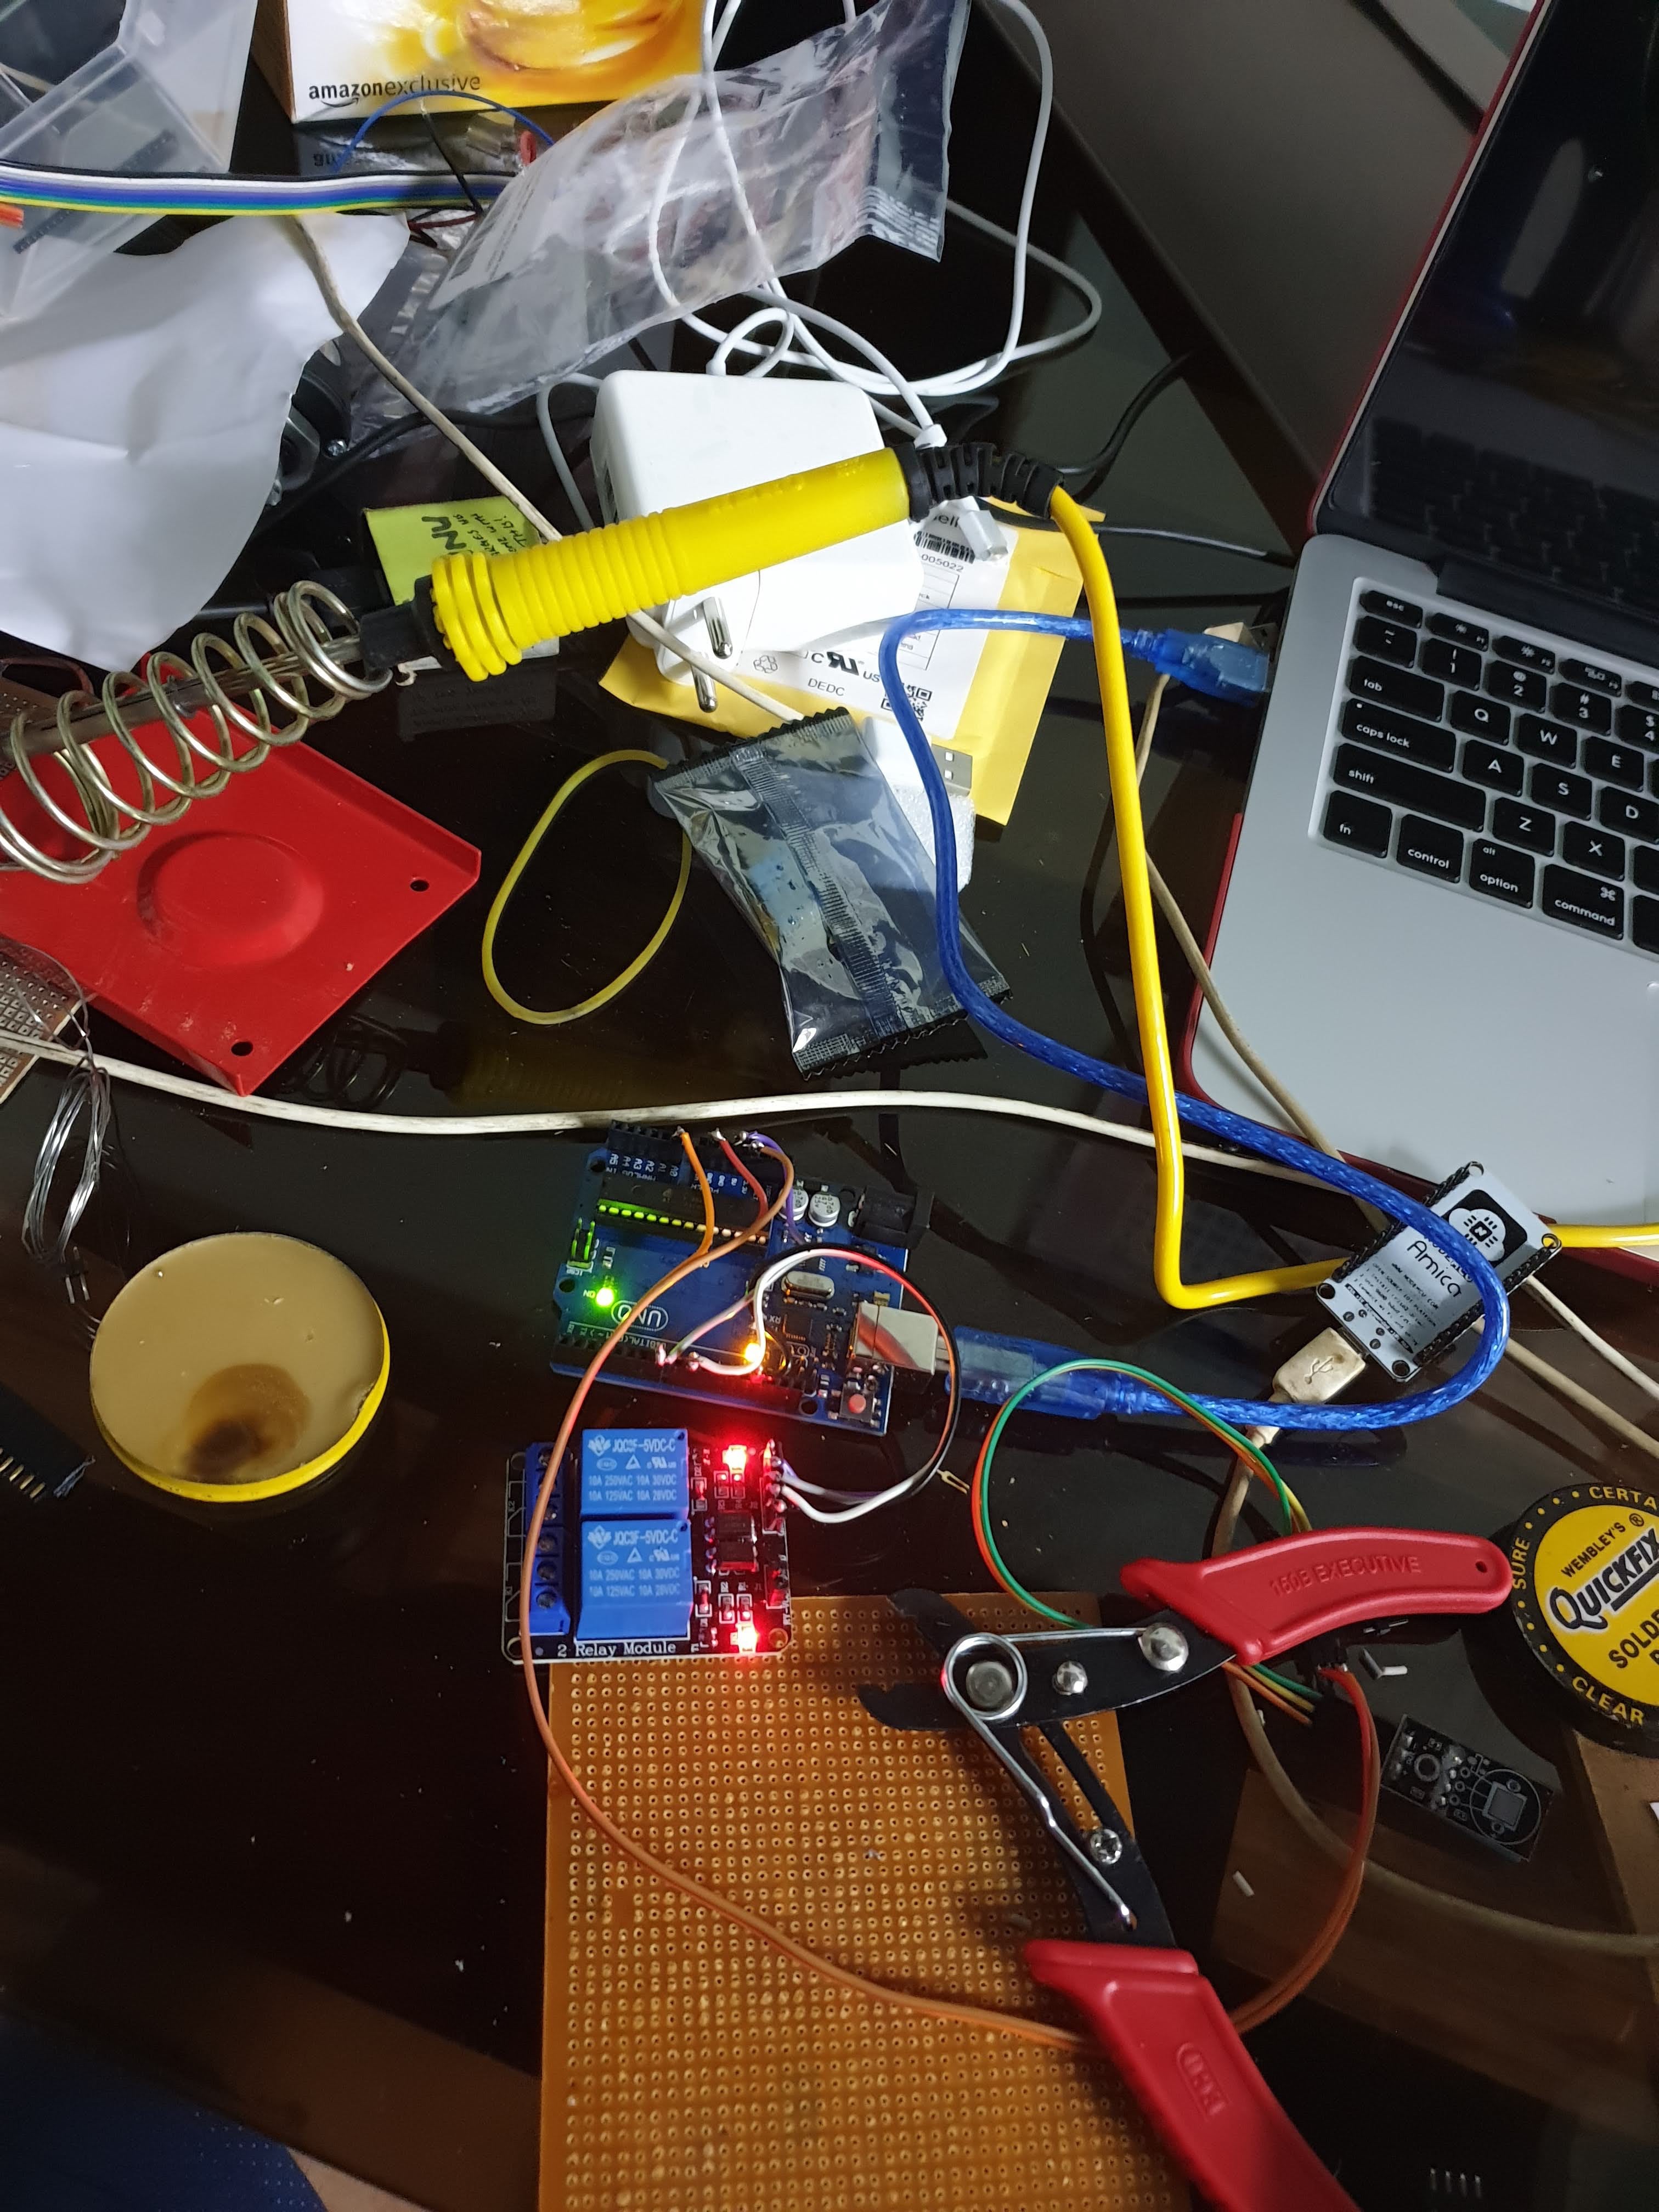
Both NodeMCU and Arduino were considered. Arduino was the obvious starting point — simpler, faster to prototype, and the WiFi and IoT capabilities of the ESP weren't needed yet. The control logic is bang-bang: a relay switches the heater on when temperature drops below setpoint and off when it exceeds it. Same logic for humidity via the moisture sensor.
Early Prototype
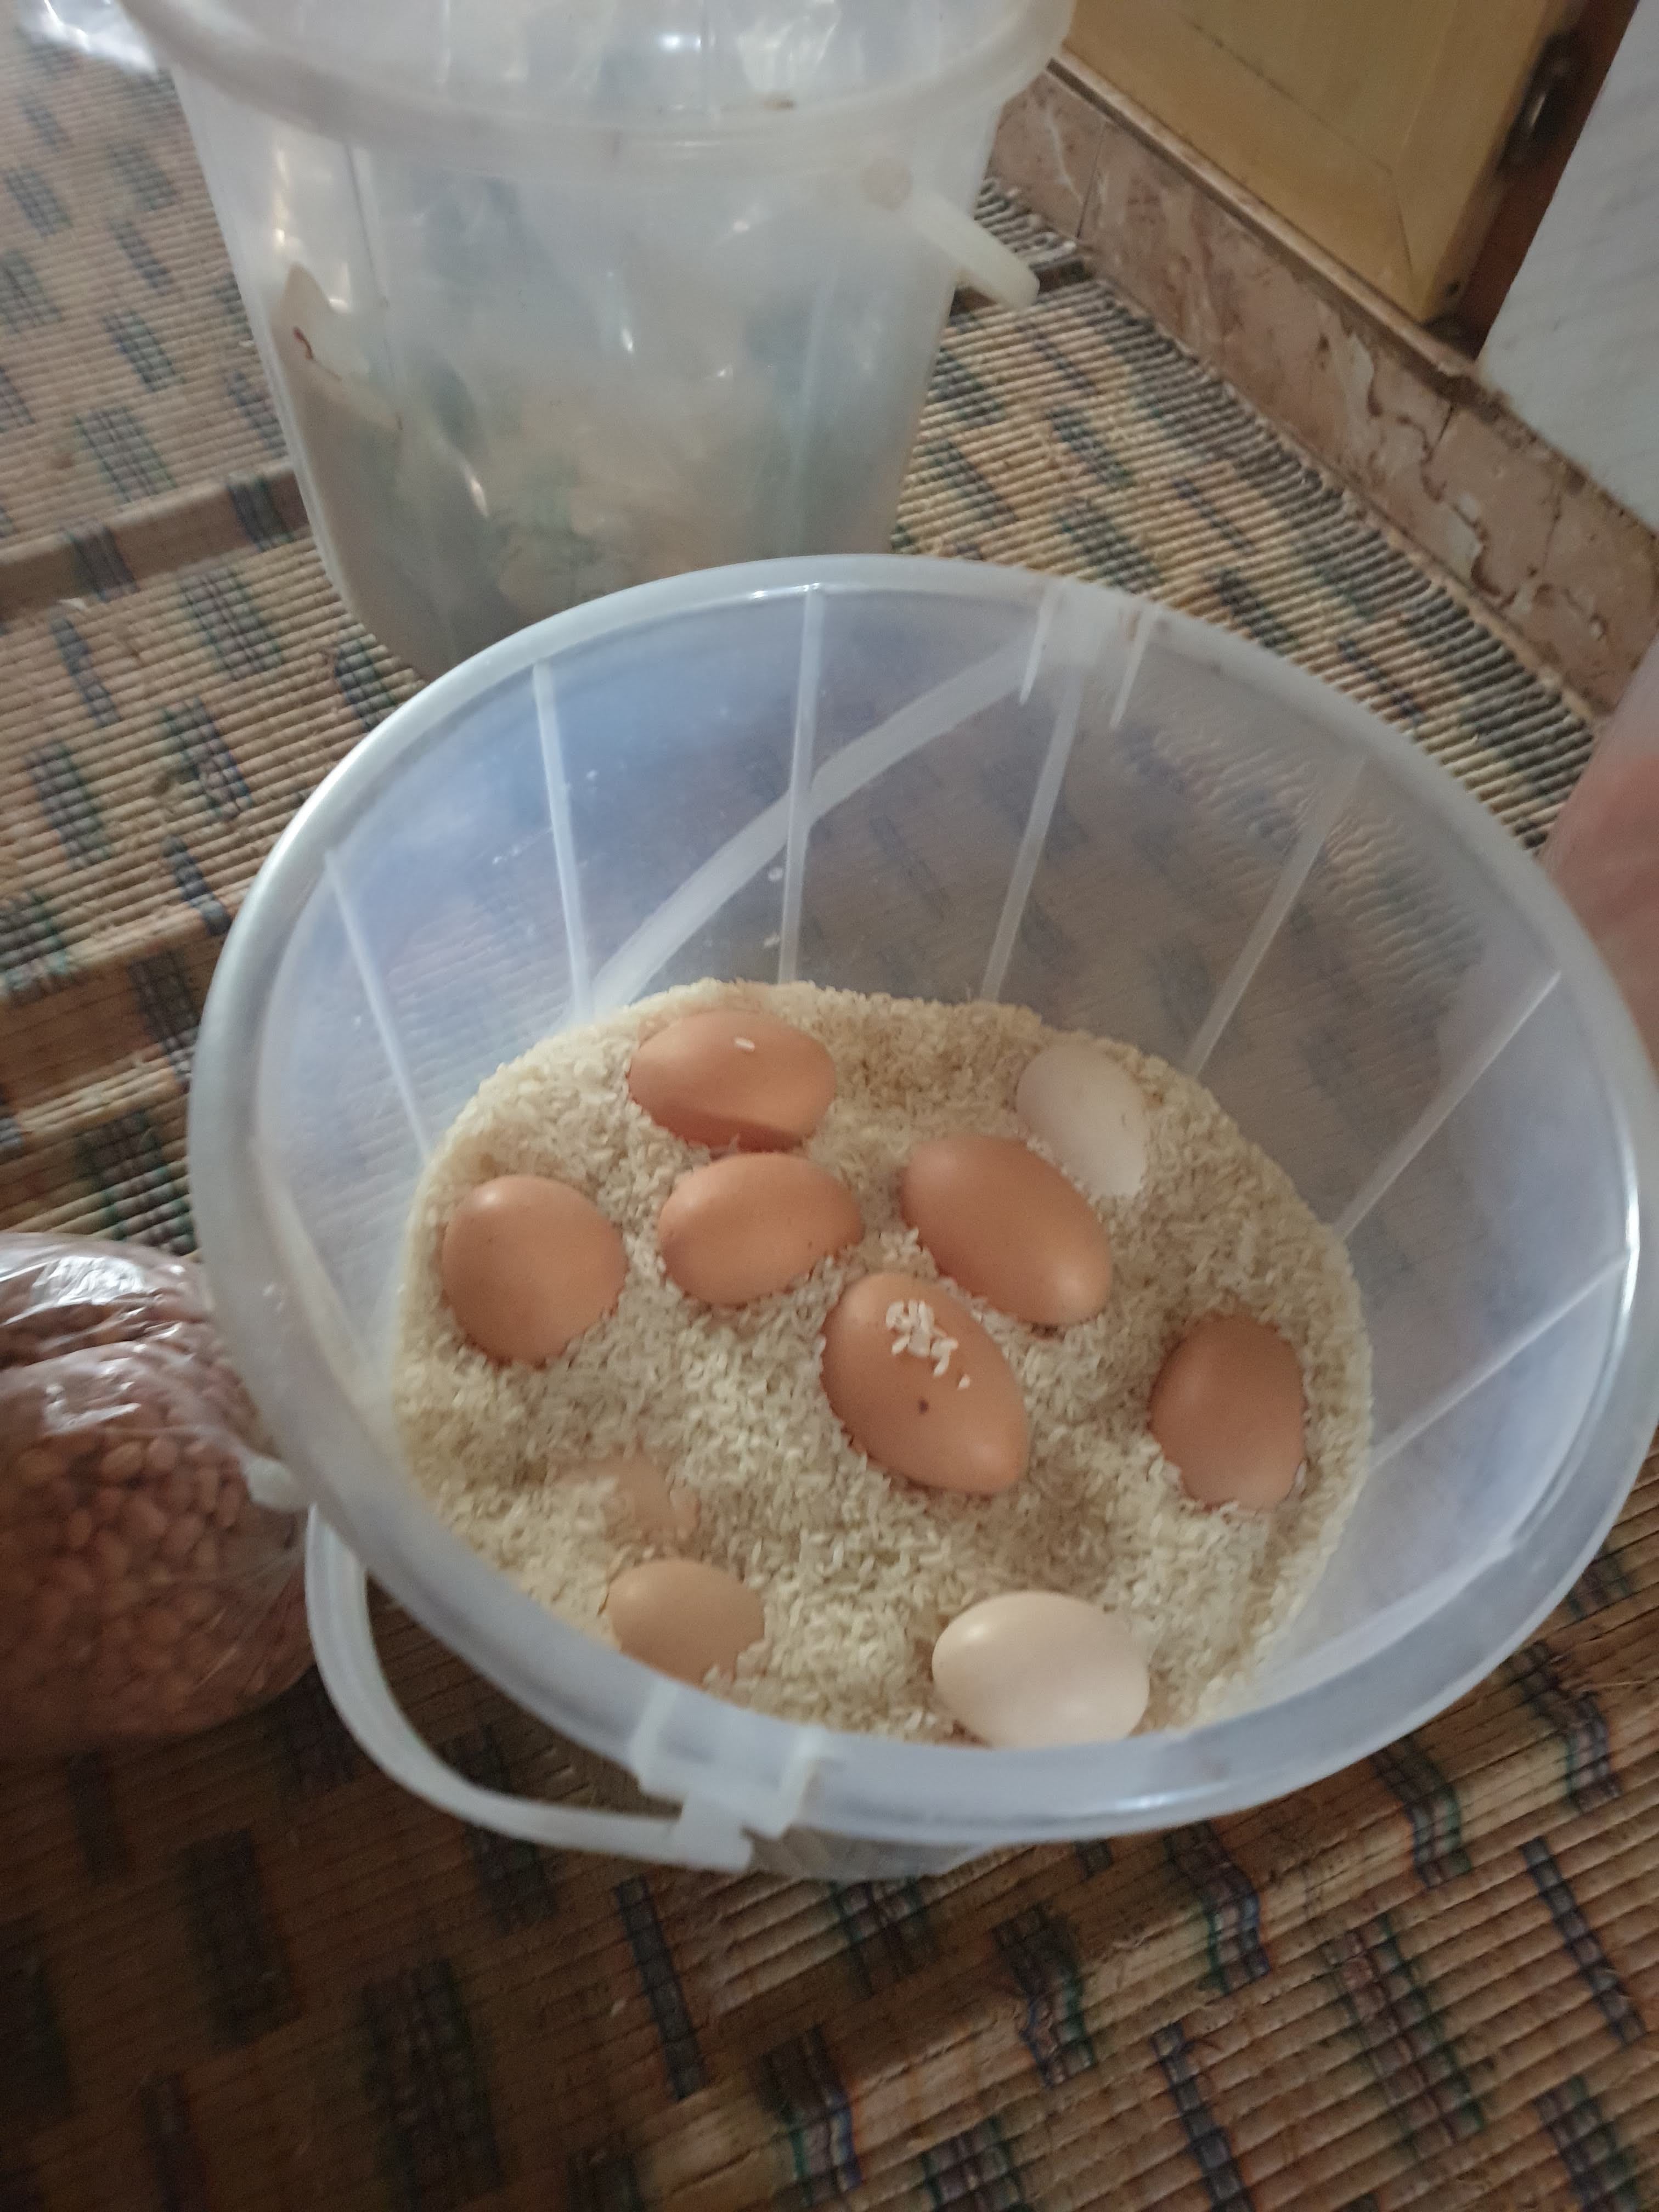 Eggs marked and placed on paper cutouts
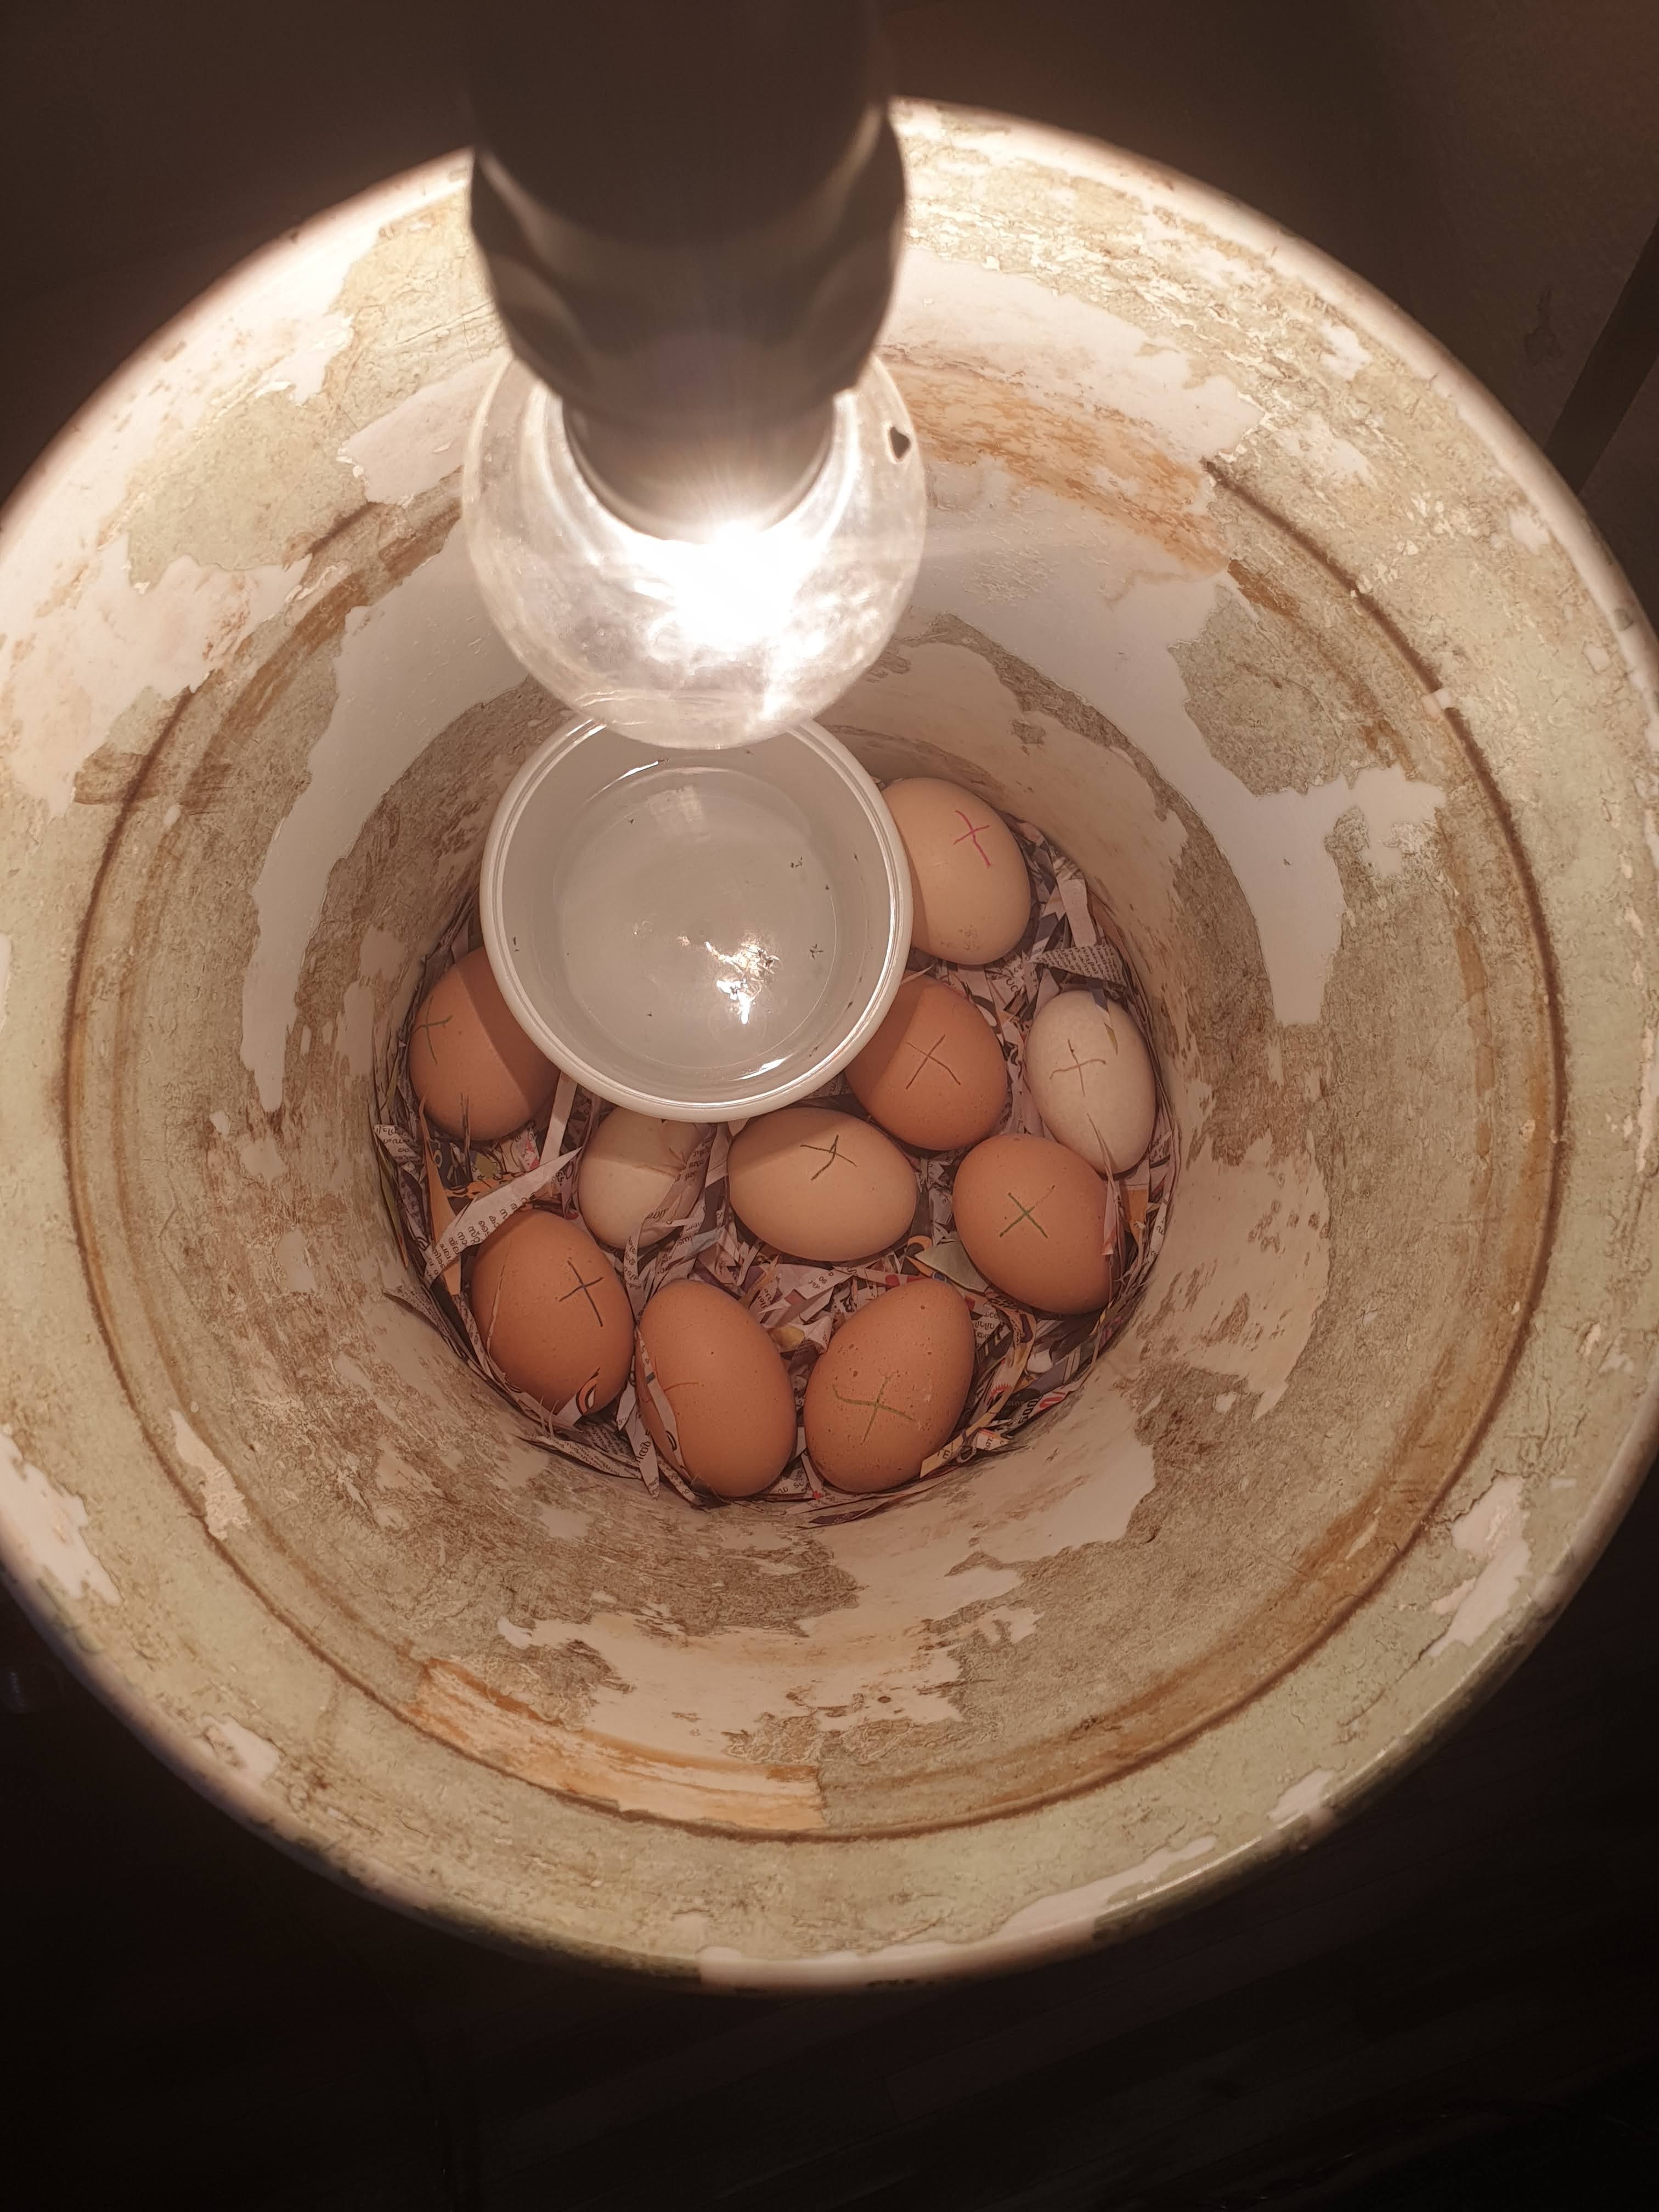 Interior of the incubator bucket
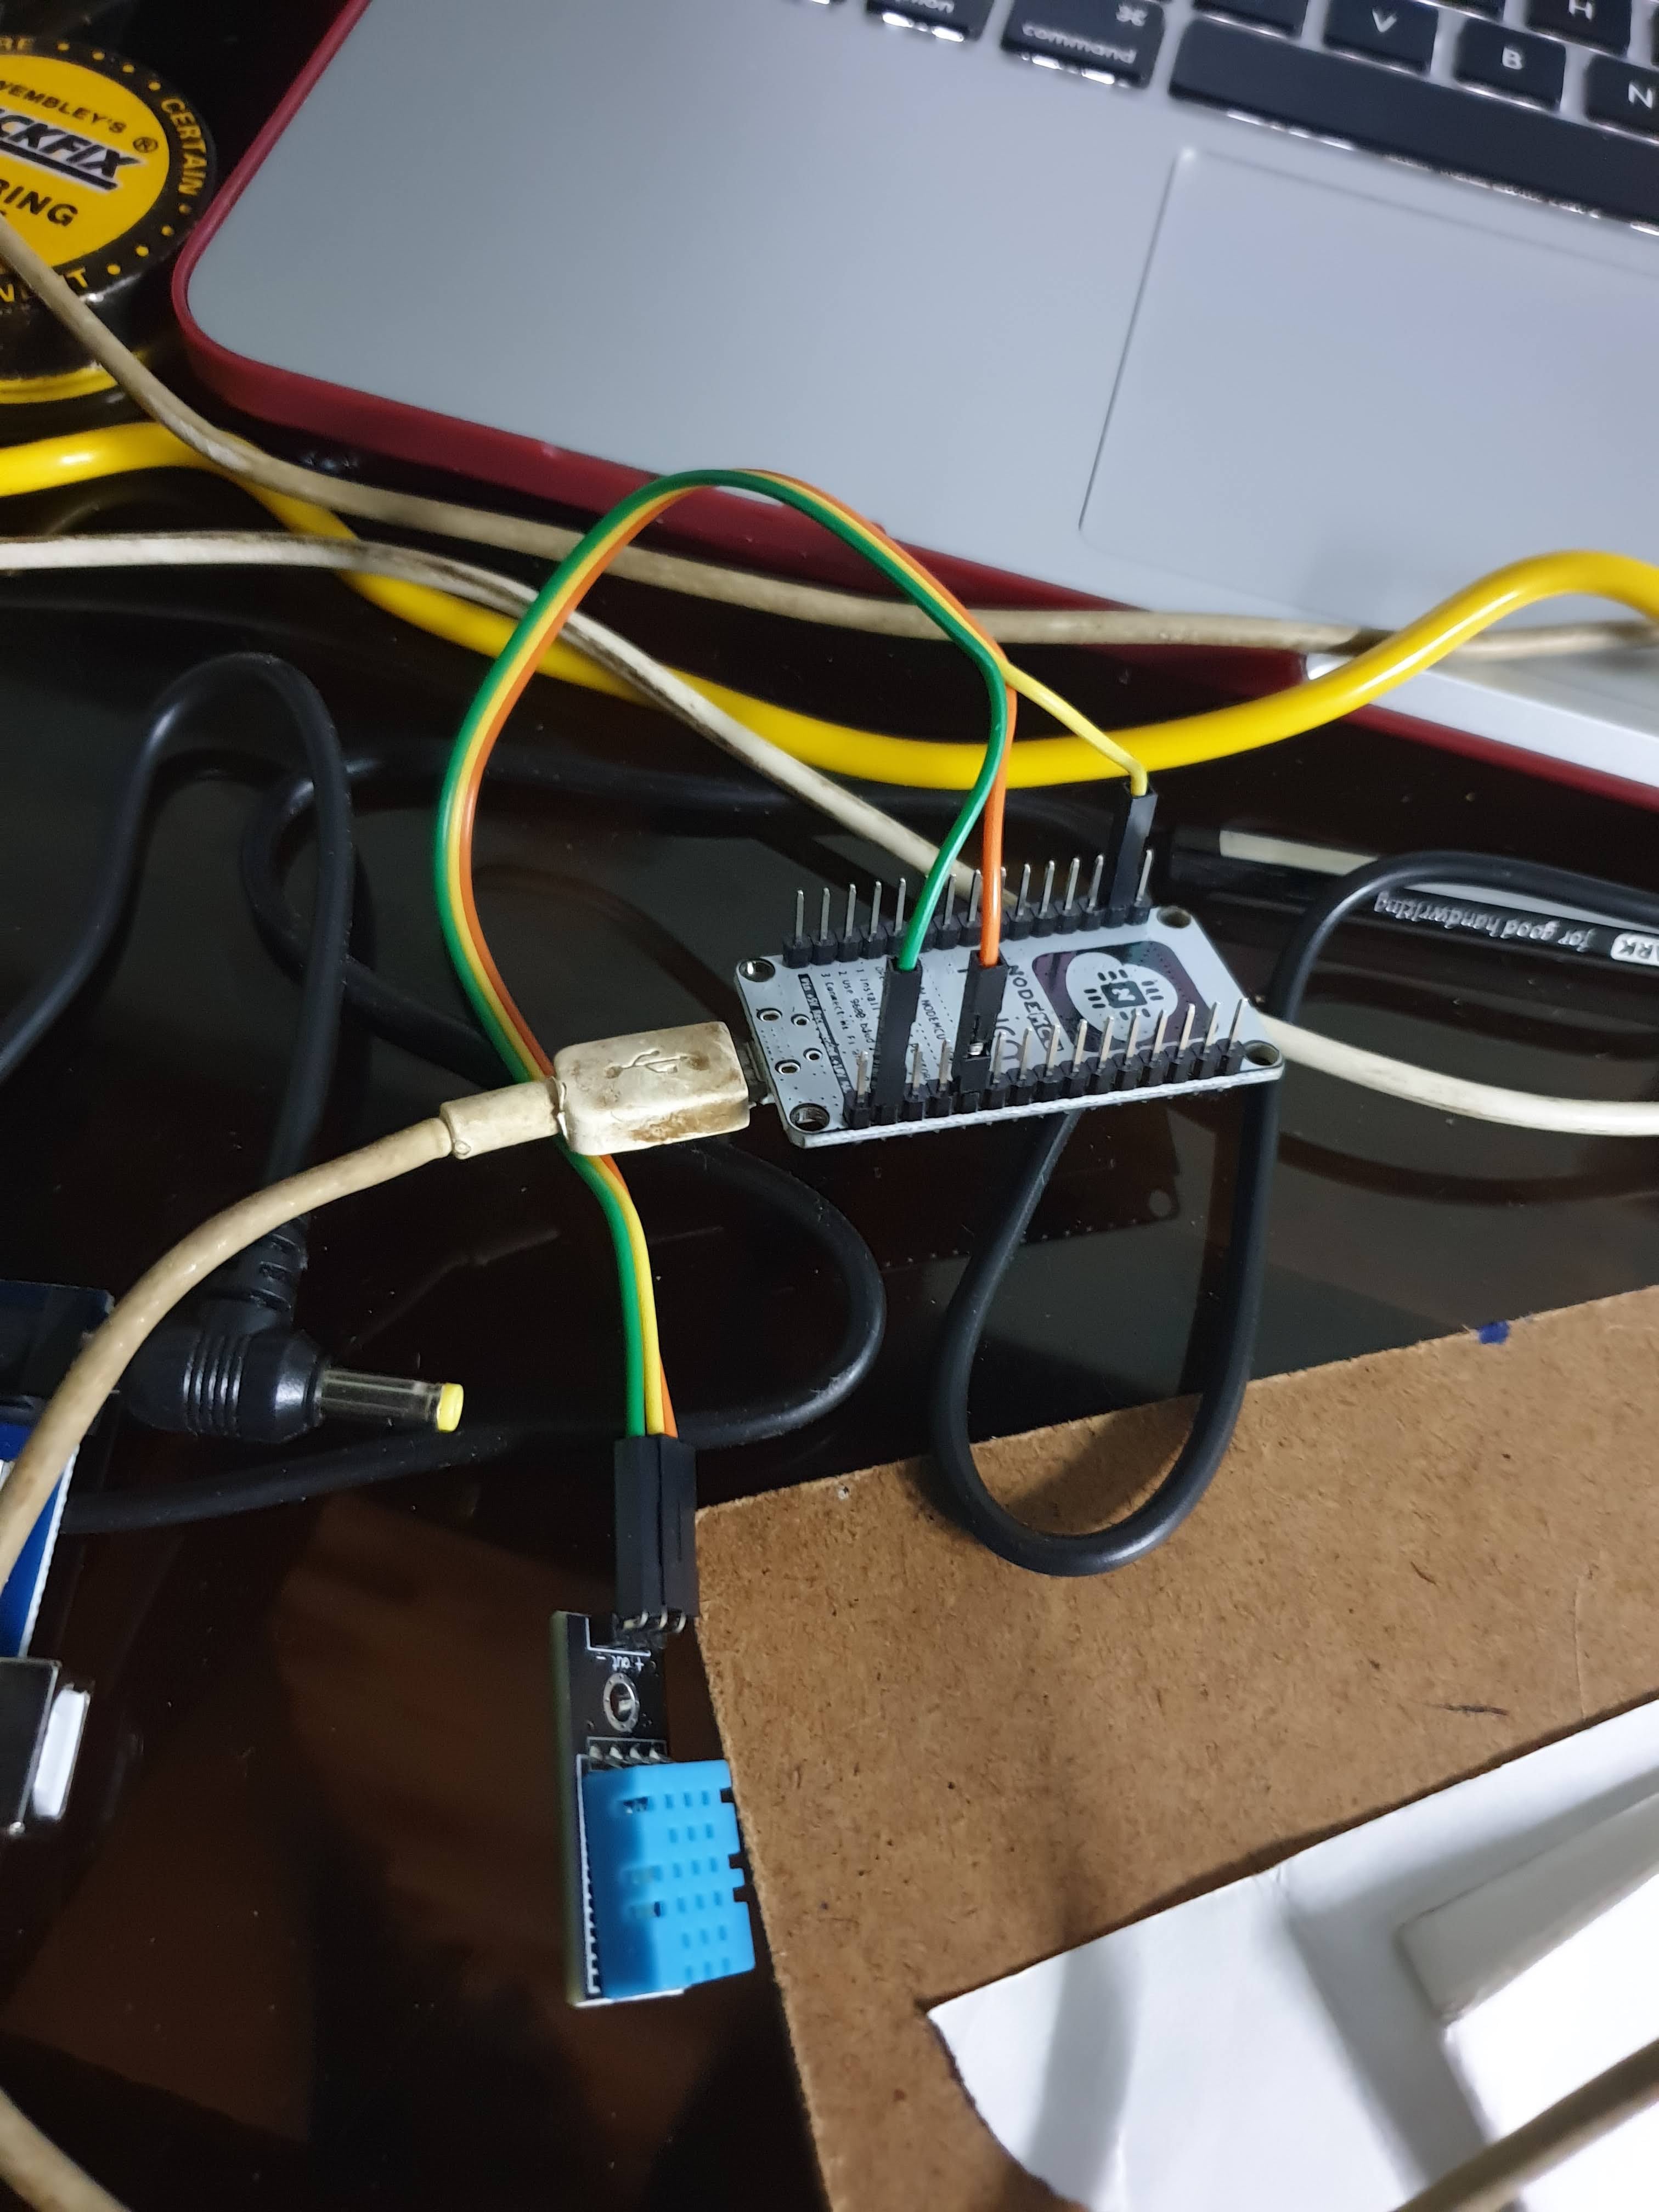 Arduino control assembly
Electronics Assembly
All the electronics are housed in a small ice cream container fitted inside the paint bucket — relay, temperature sensor (DS18B20), humidity sensor (DHT11), and the Arduino board itself. A fan regulator controls the intensity of the light bulb: higher intensity means faster heat transfer. The temperature will hit setpoint either way, but the rate of heat radiation may affect the eggs — slower and more even is better.
The controller assembly is removable, which made debugging easier during the 18-day run without disturbing the incubation environment.
↓ Download Arduino & NodeMCU sketch files (.zip)Arduino control assembly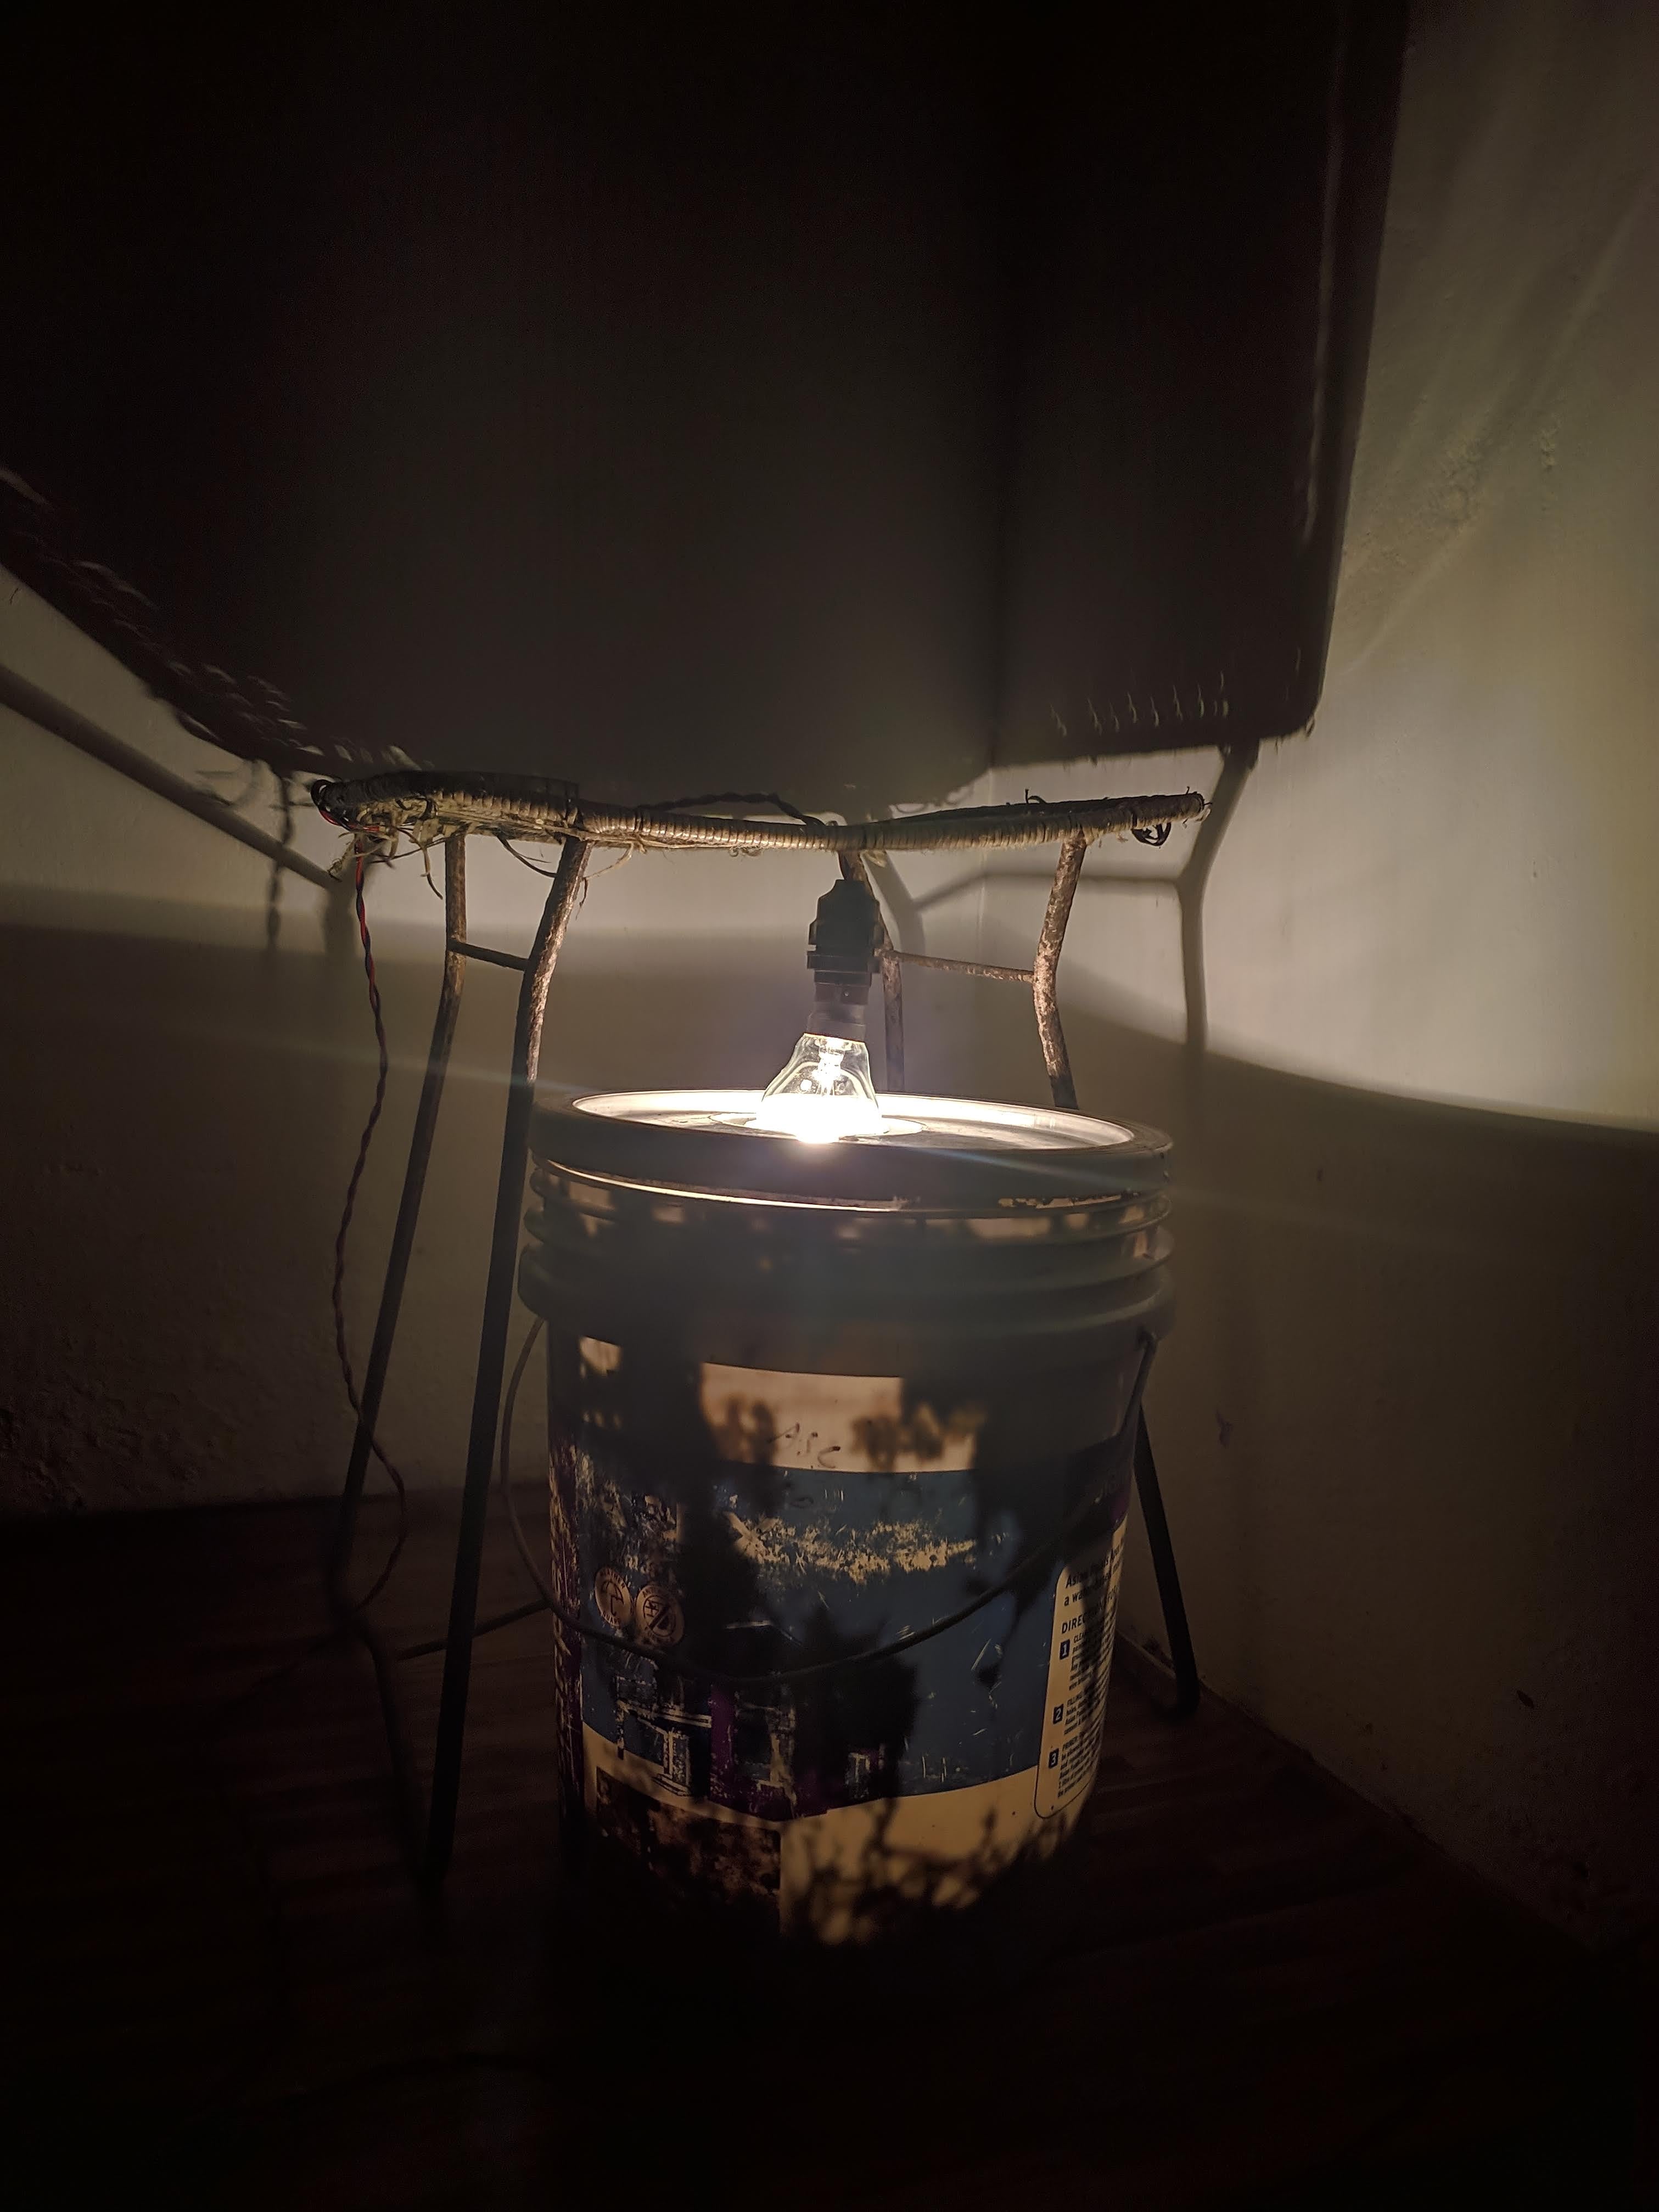 Electronics inside the ice cream container
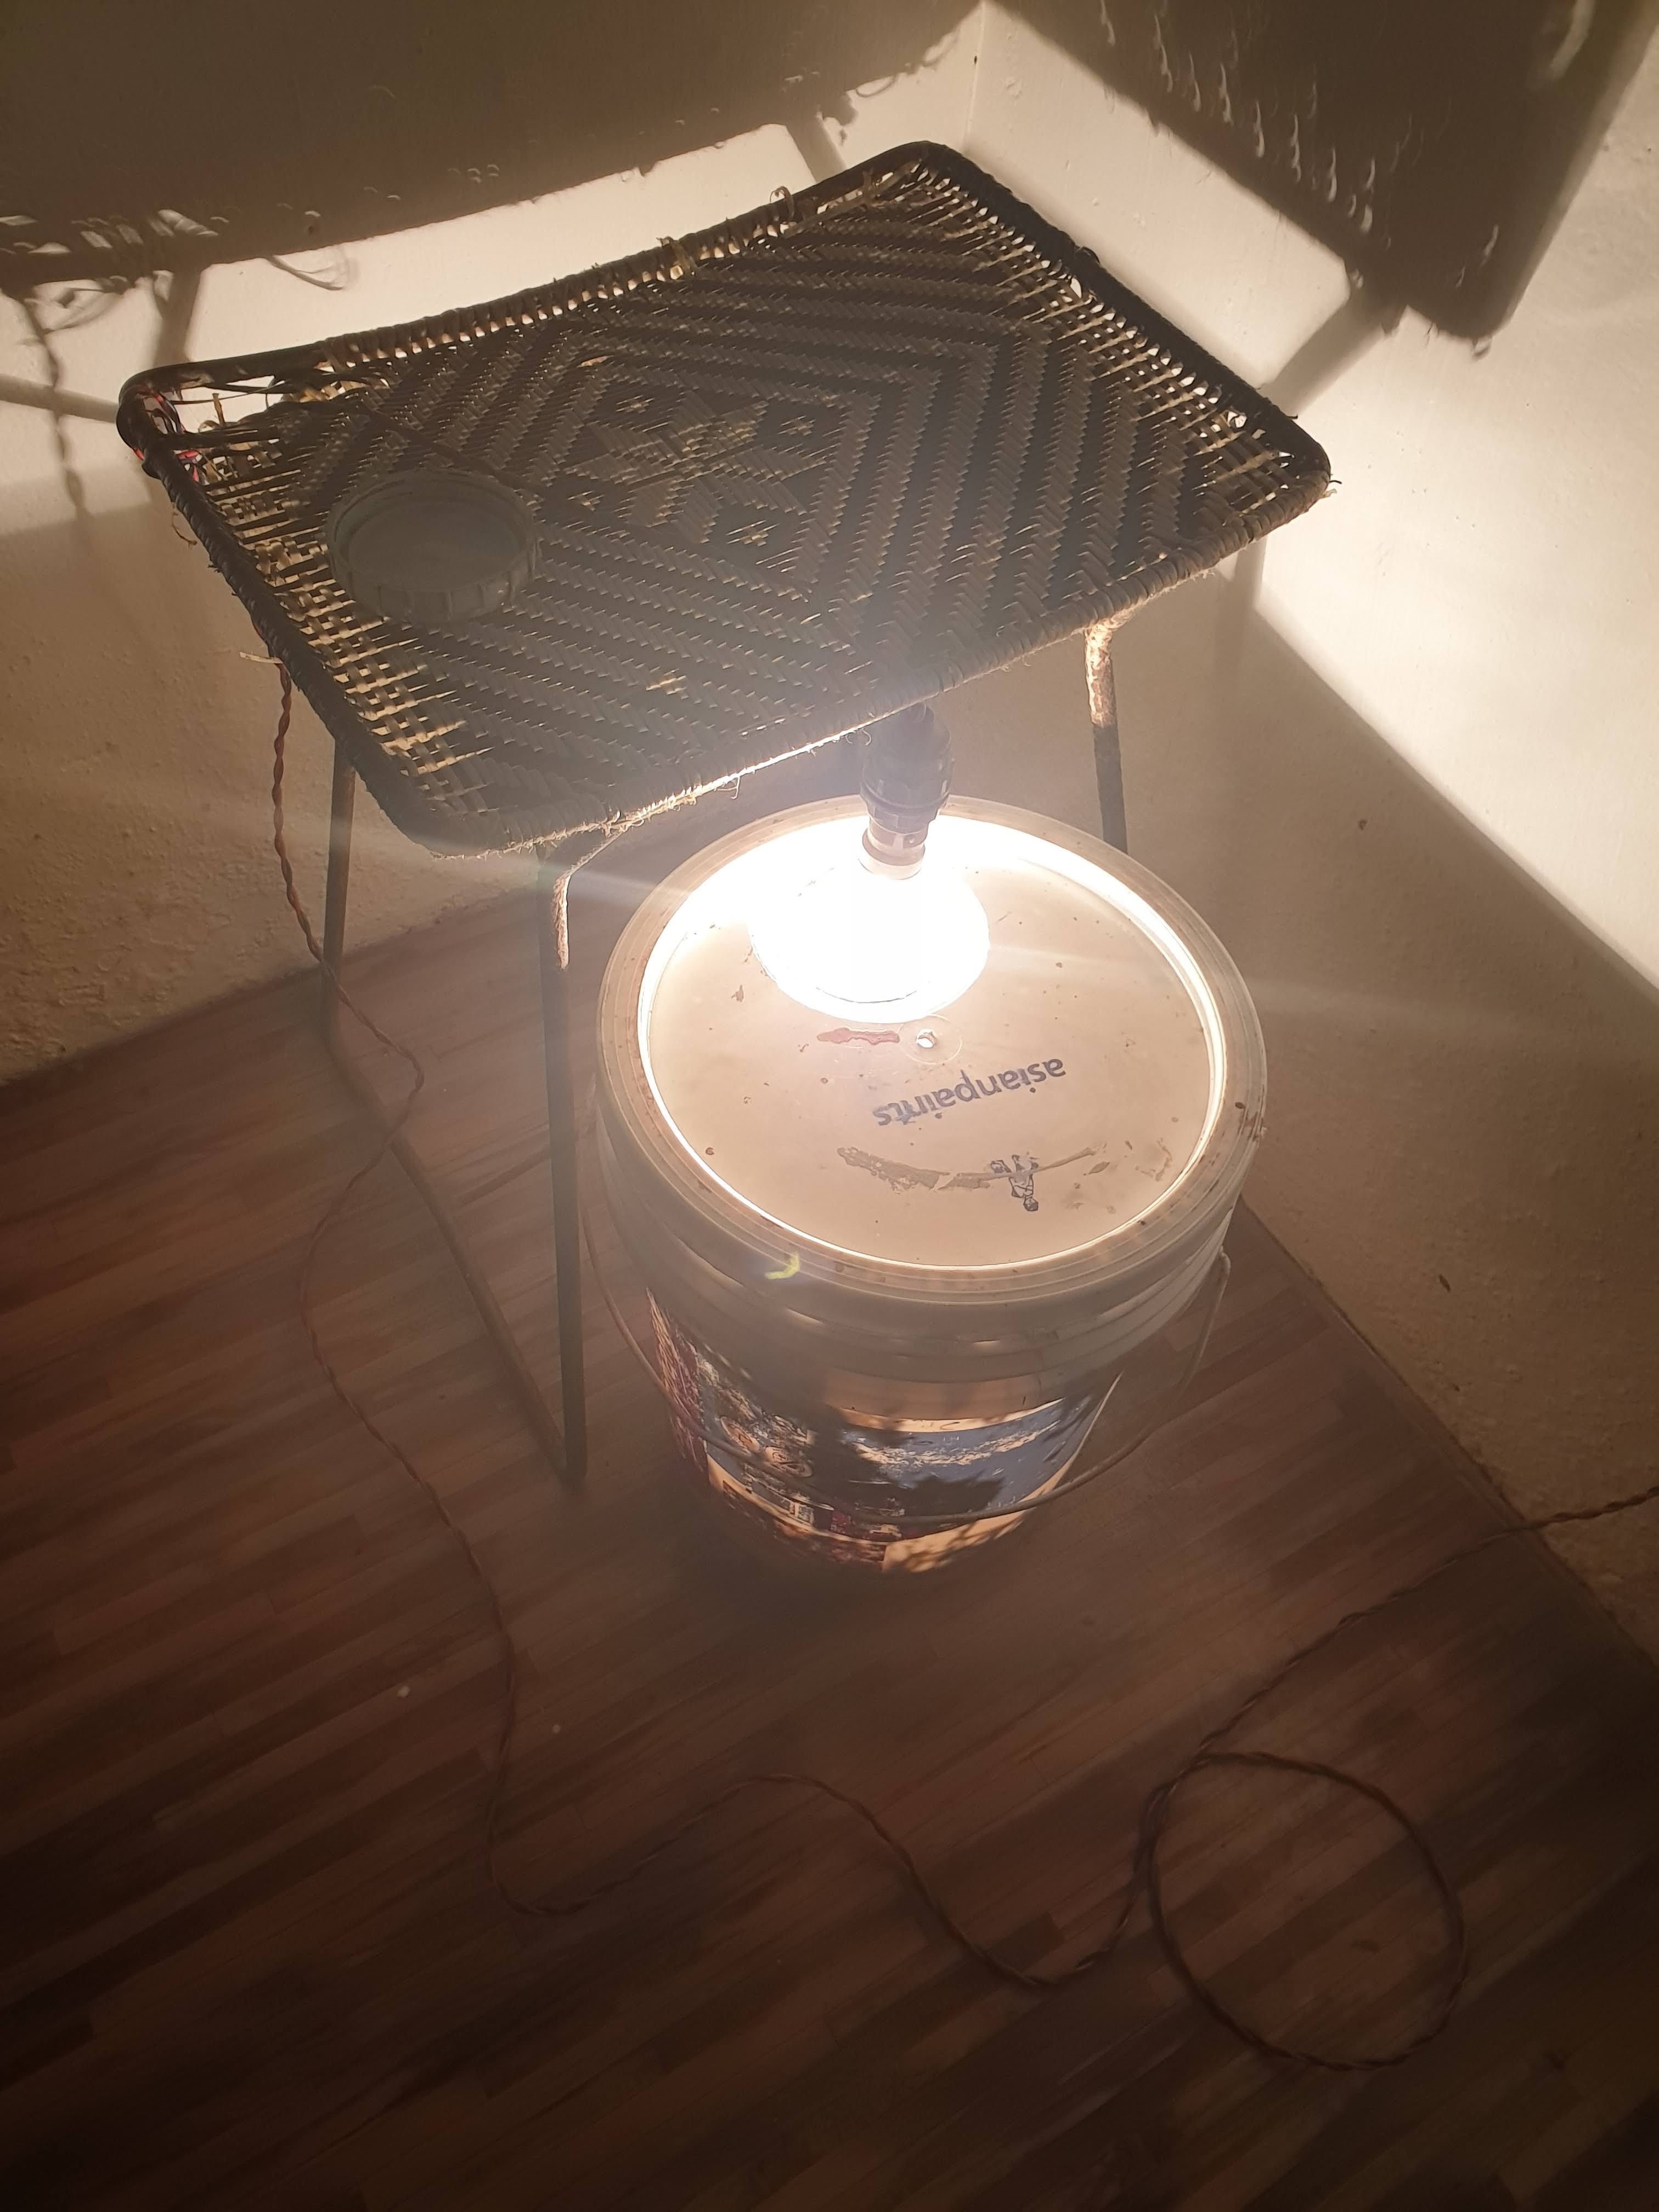 Wiring detail — relay, temp & humidity sensors
Full Assembly
 Fan regulator for heat intensity control
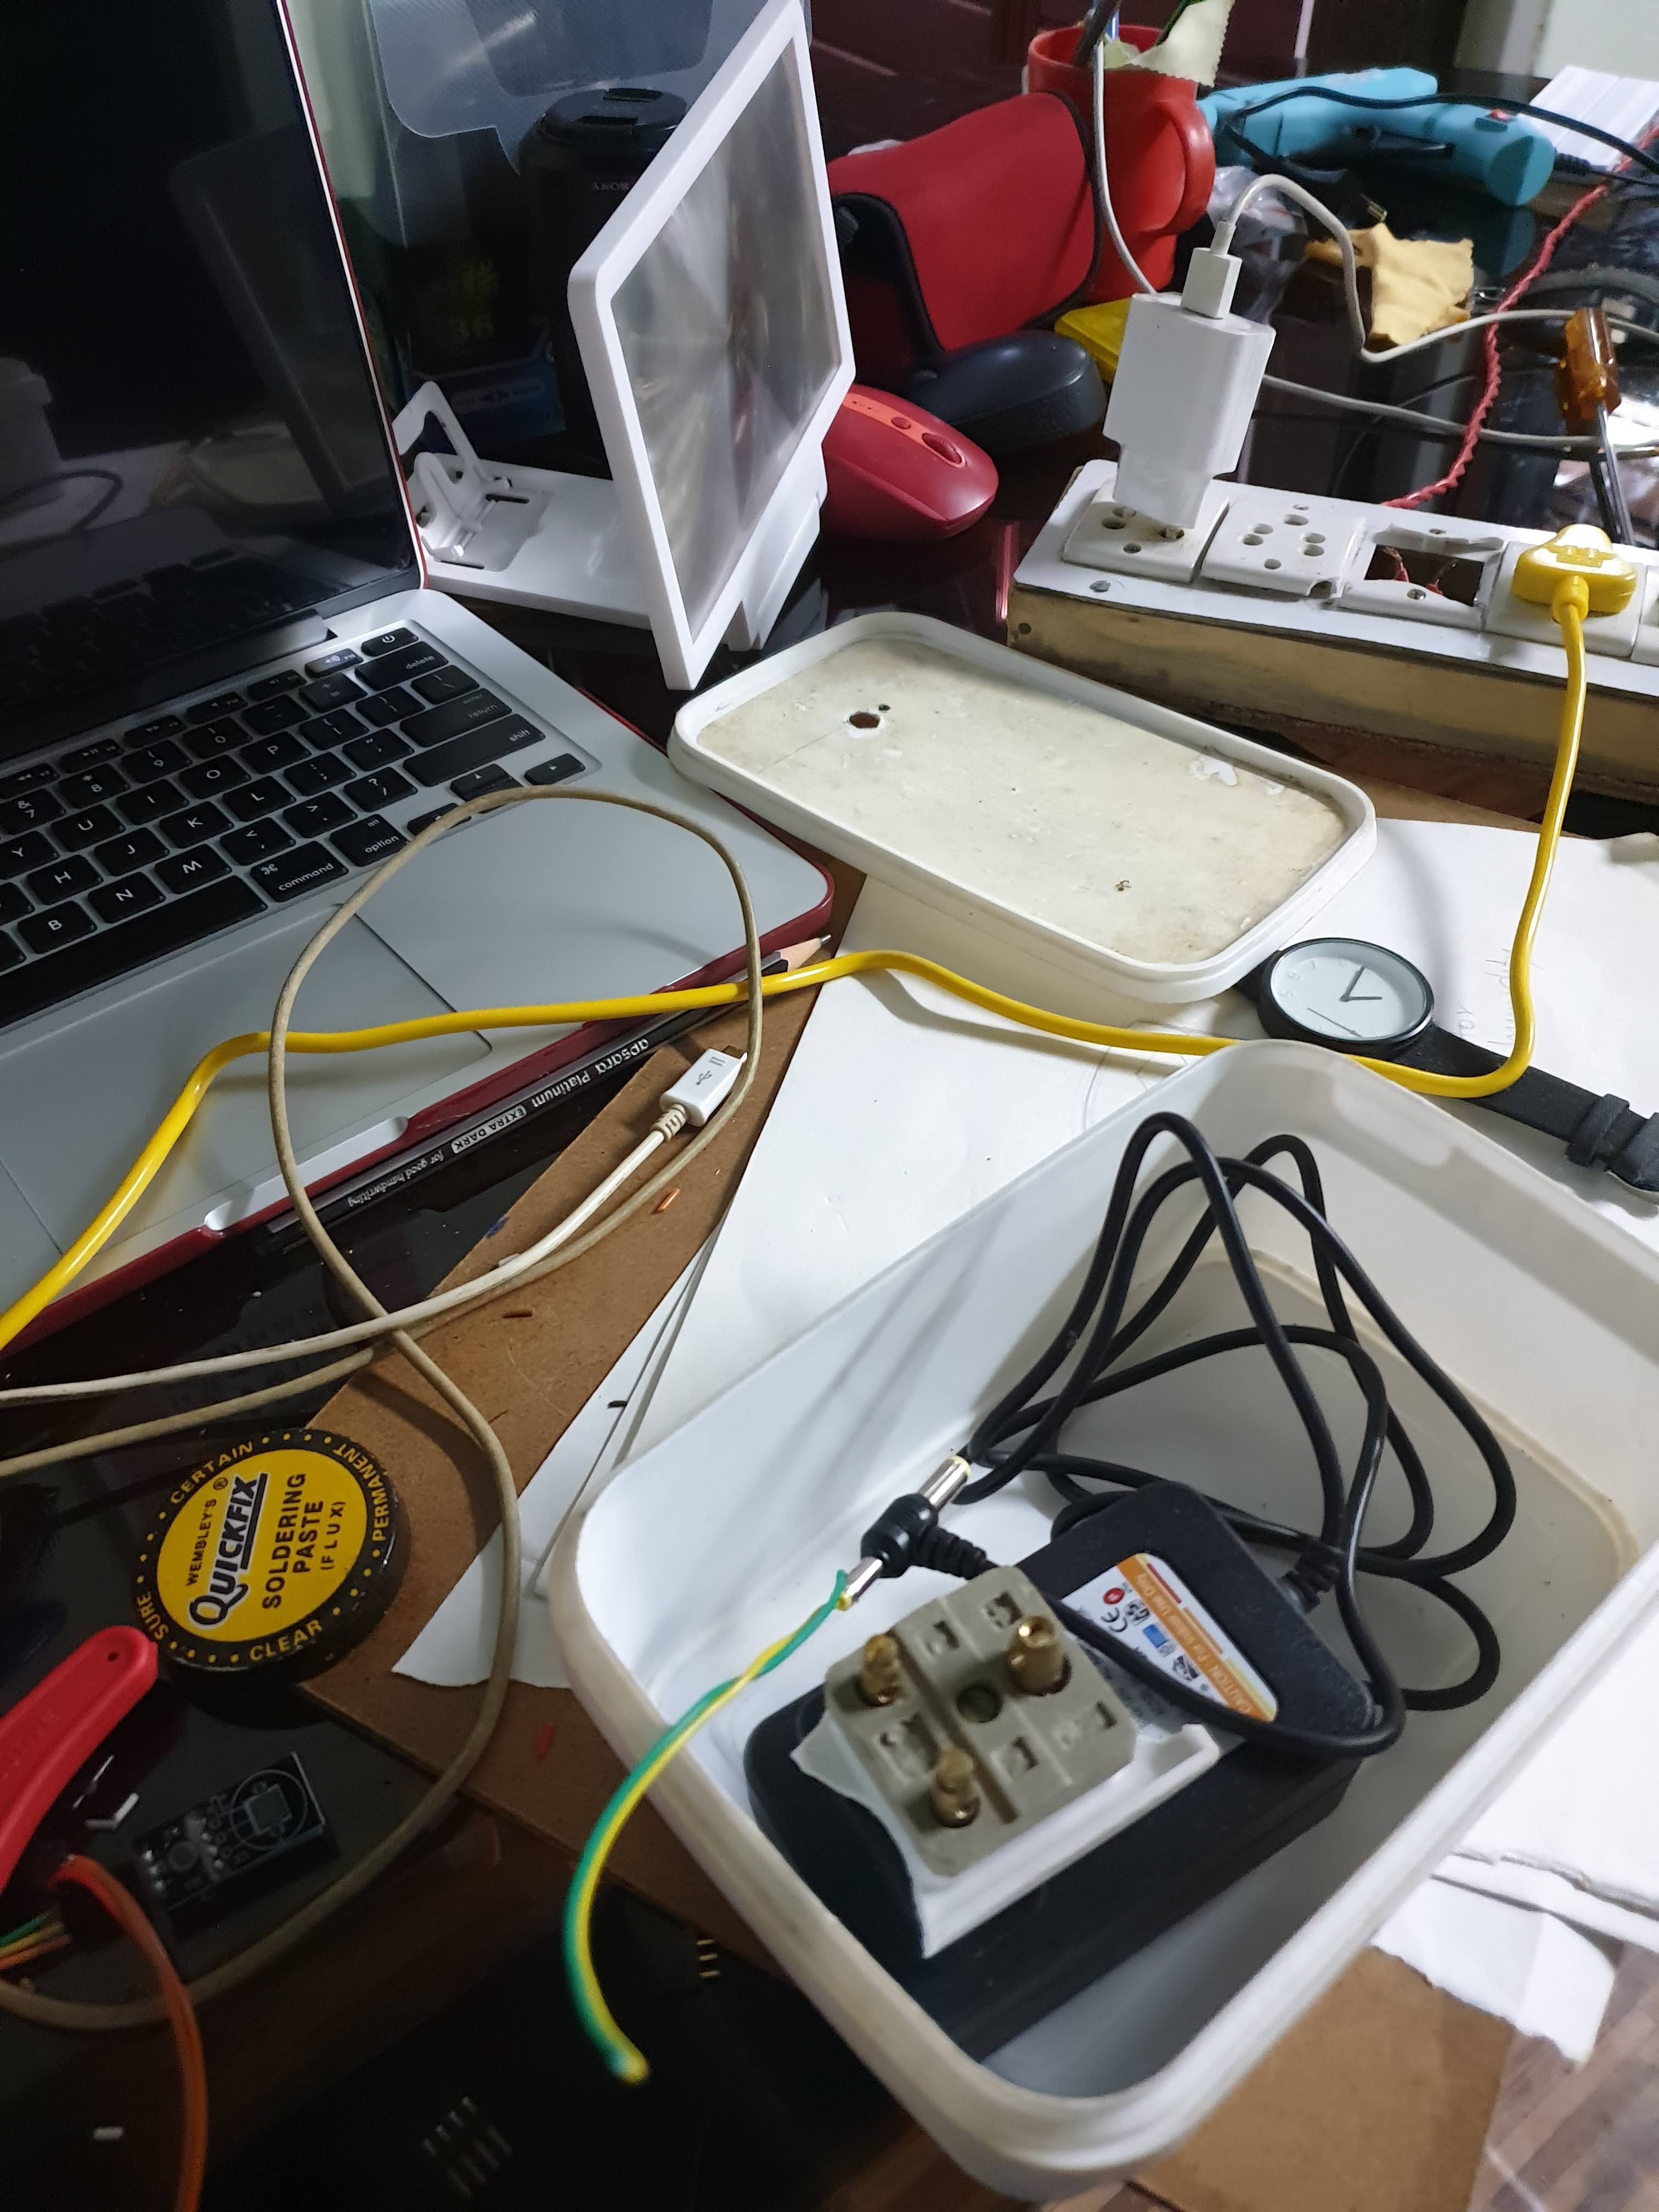 Full assembly in the paint bucket enclosure
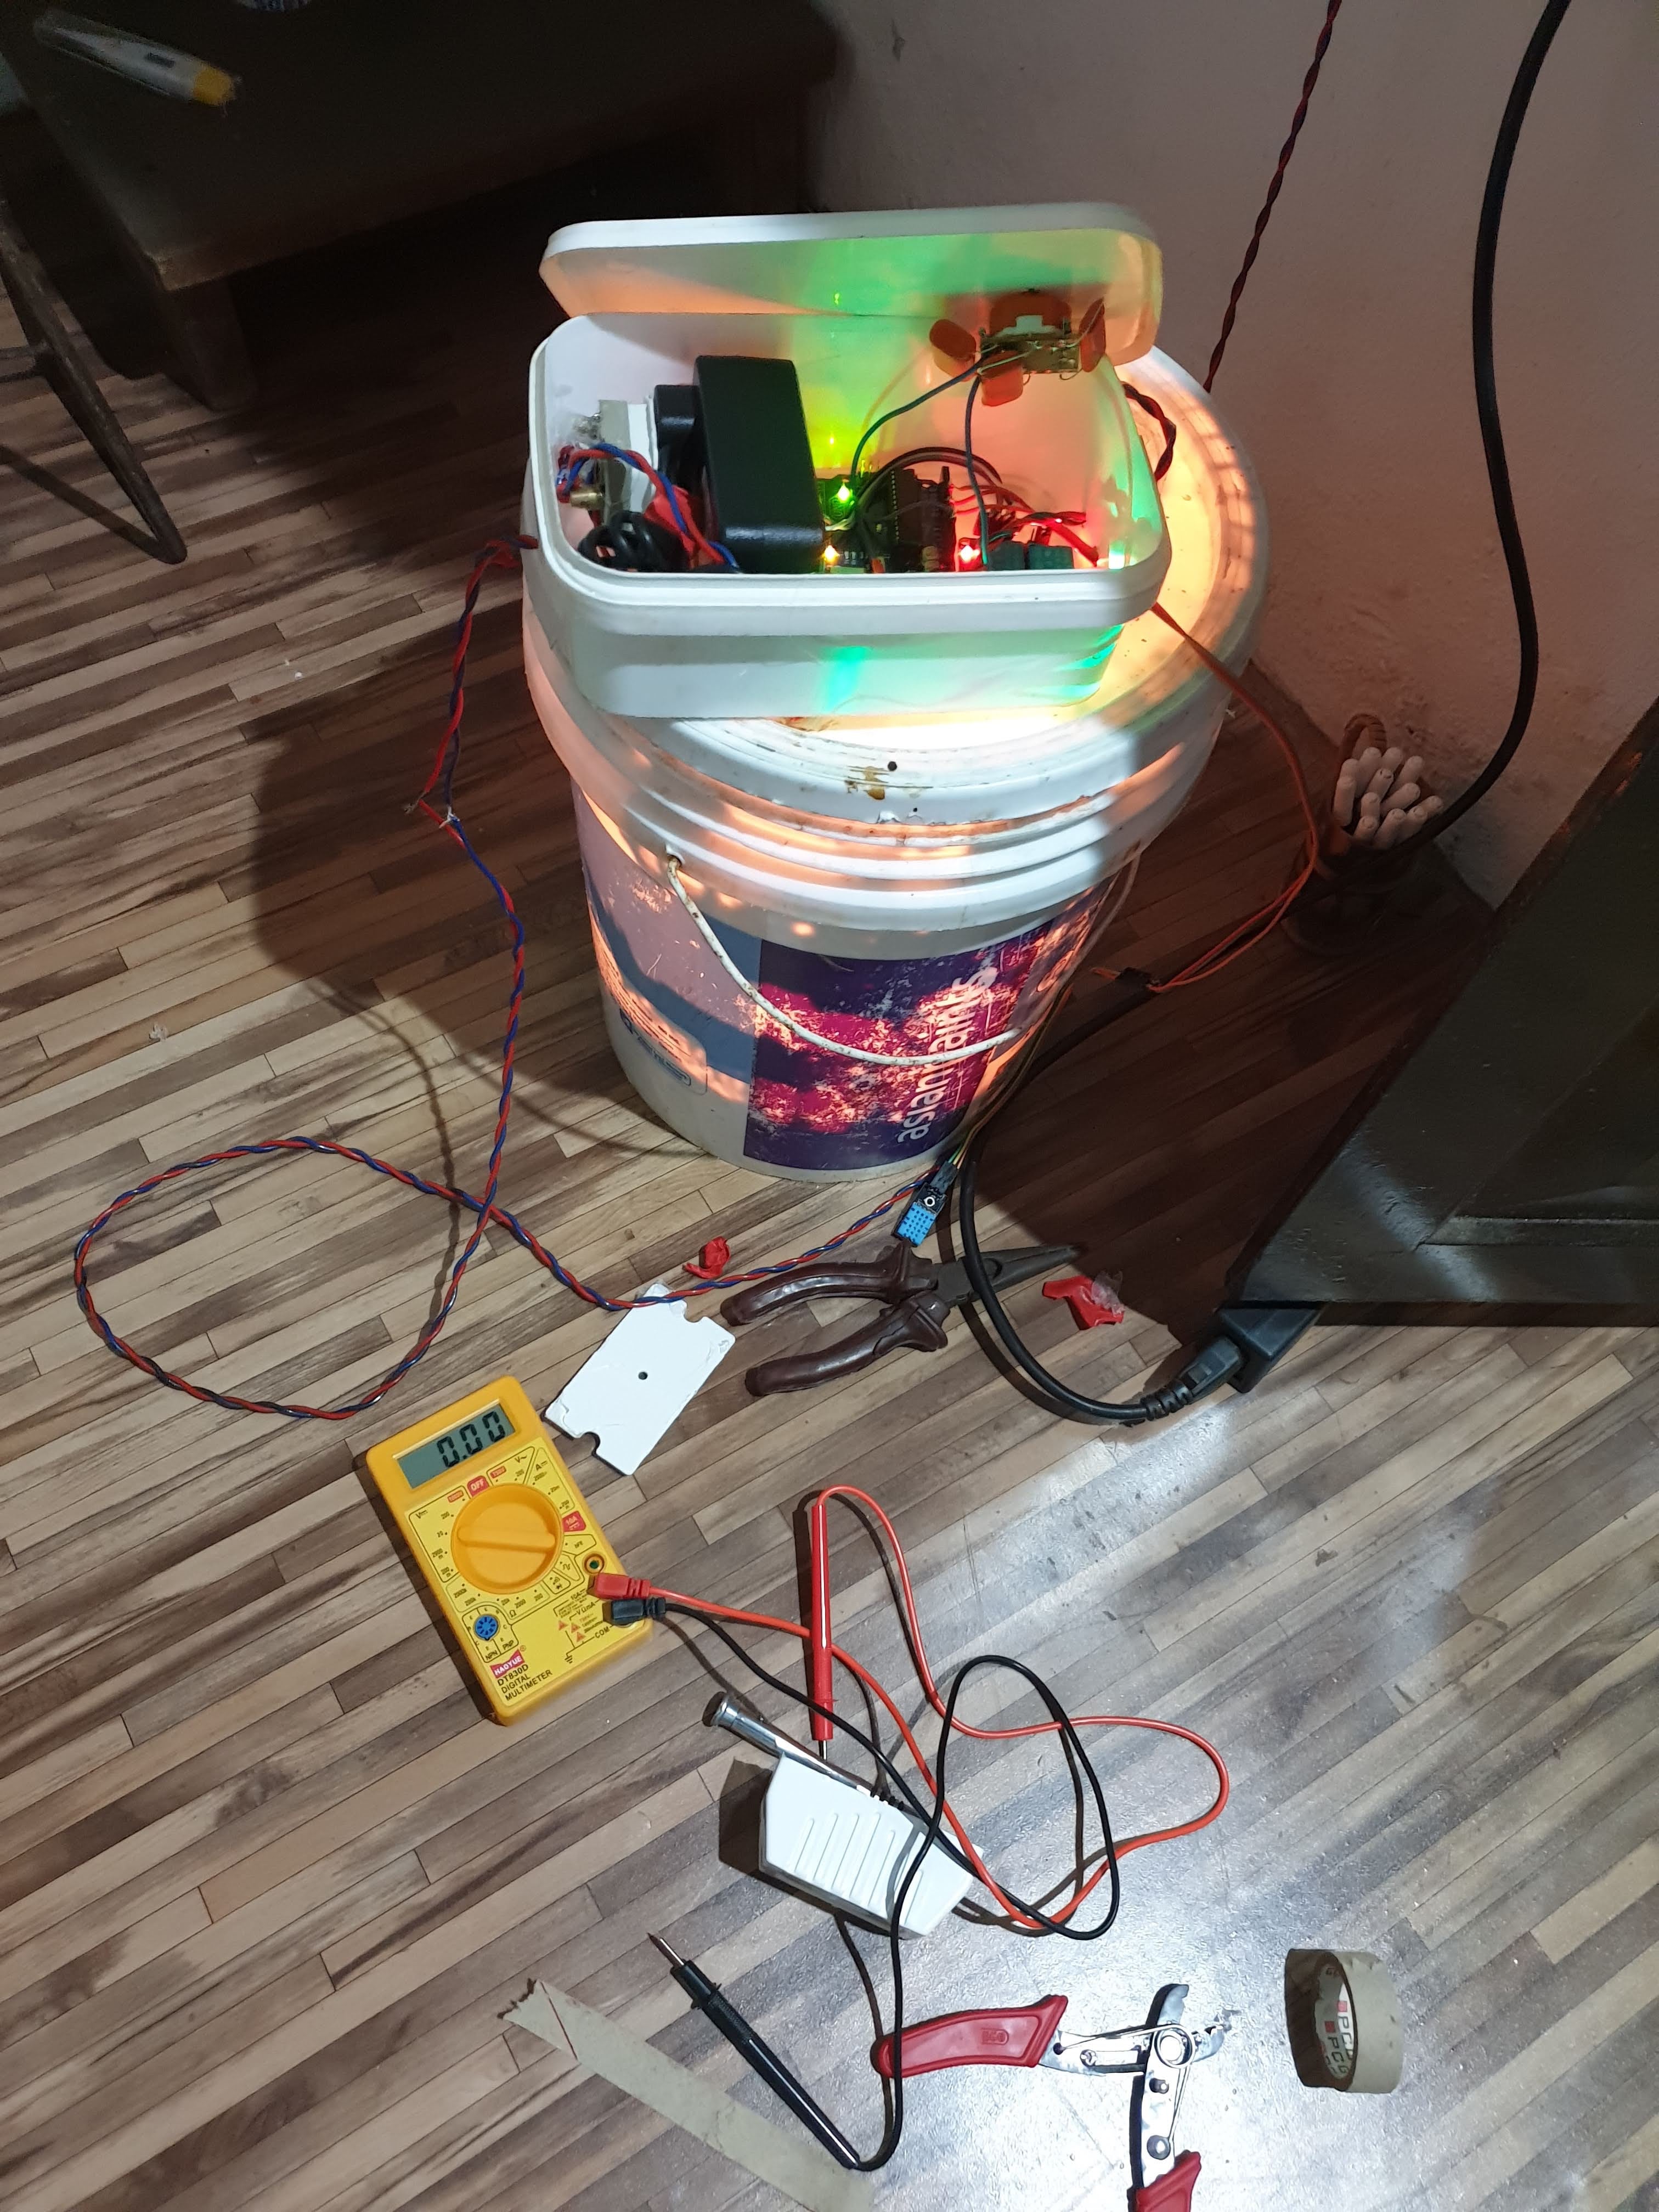 First prototype — bucket and light bulb, no microcontroller
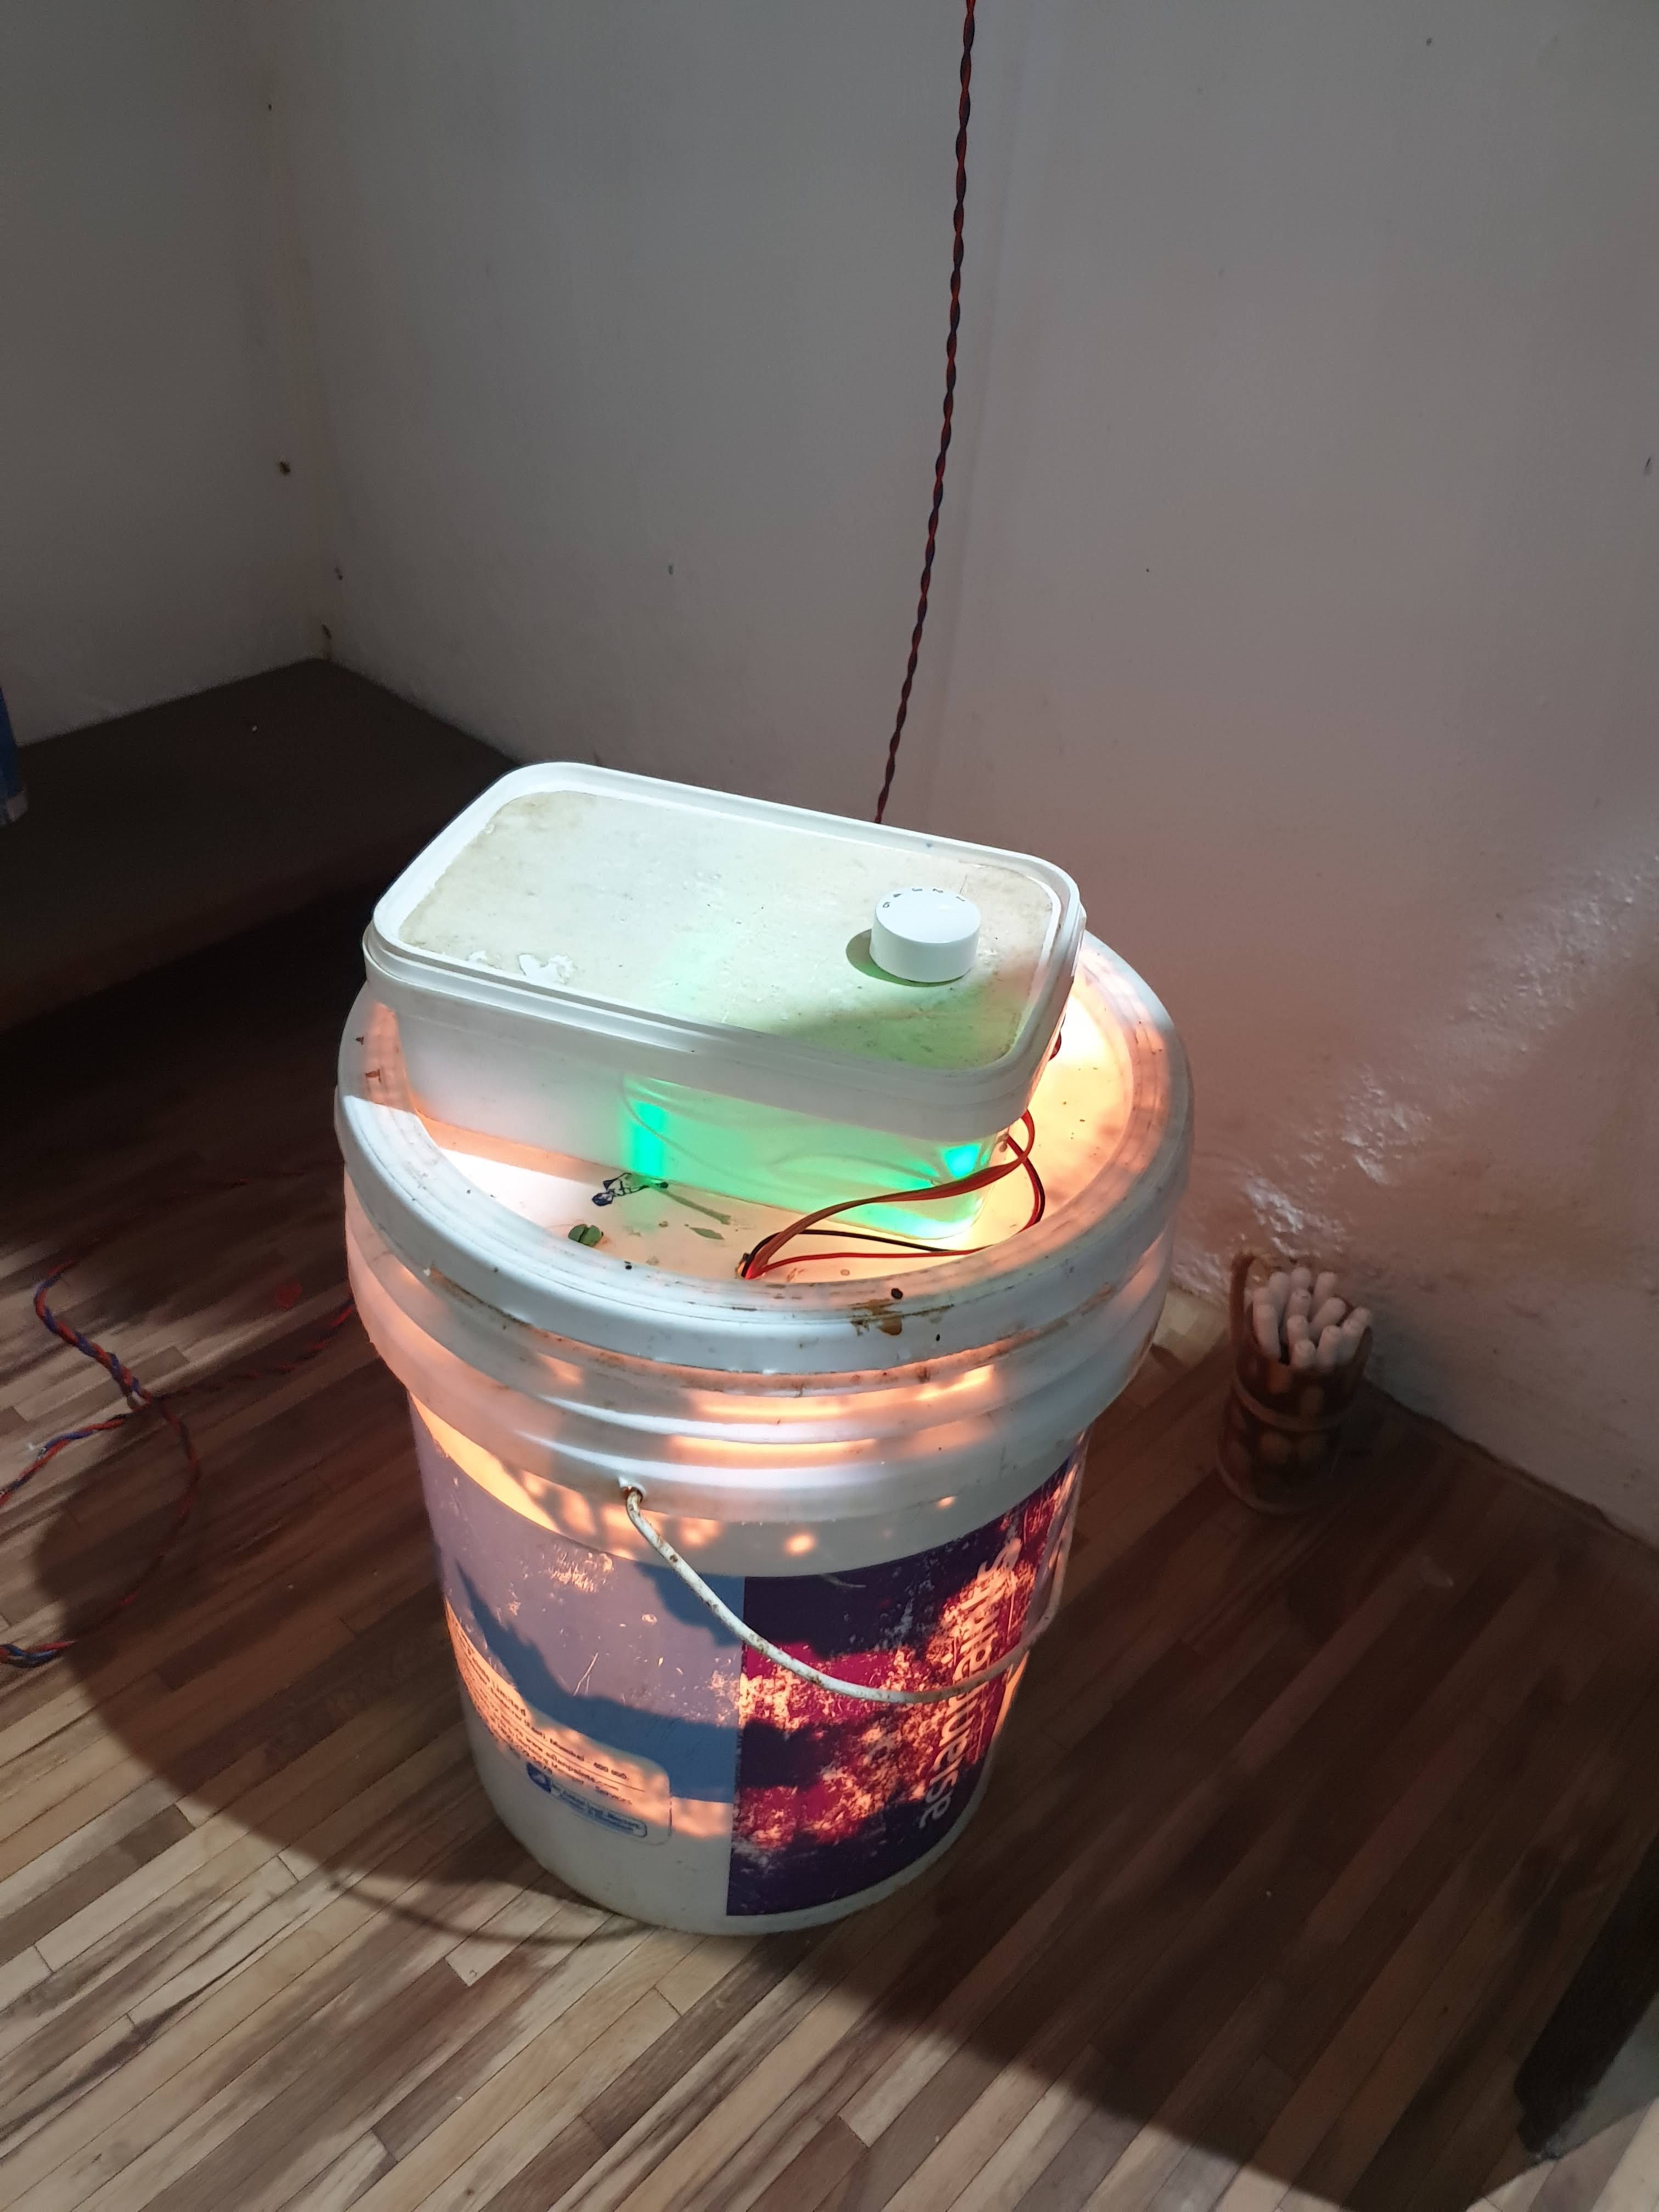 Temperature & humidity readings during incubation
18 Days of Monitoring
Temperature & humidity readings during incubation Monitoring the environment over 18 days
 Control loop in action
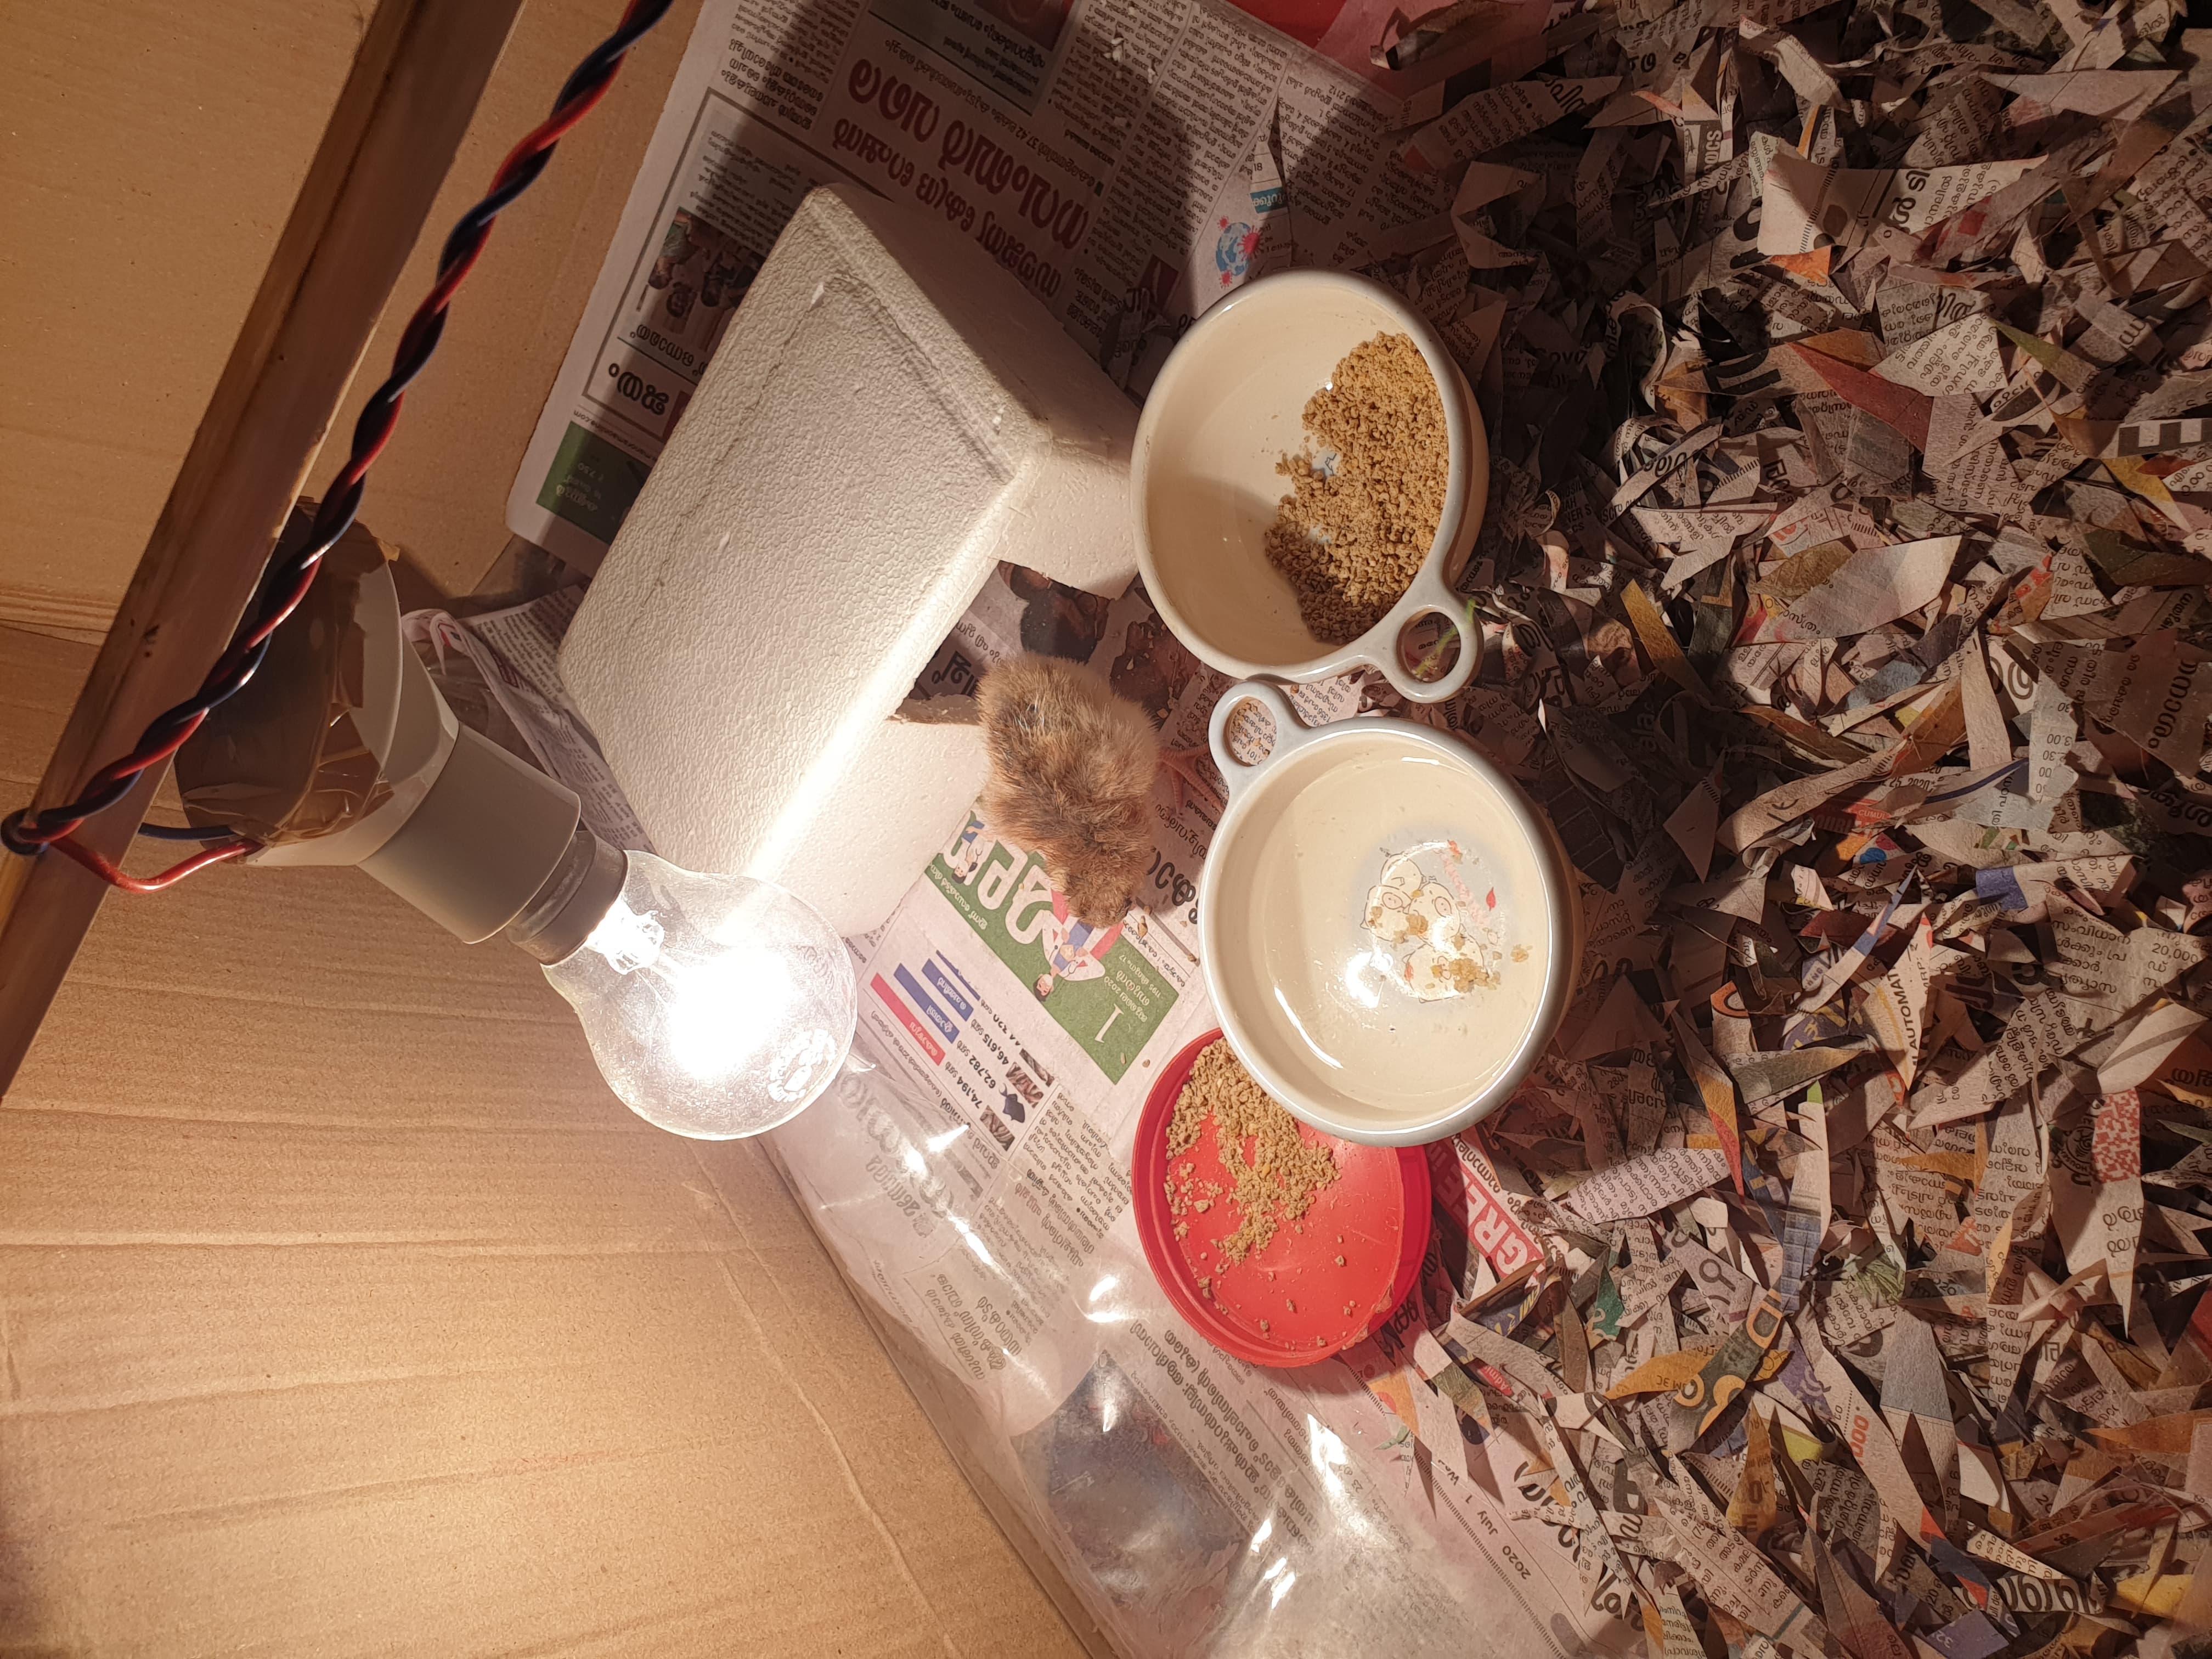 Day 11 — checking progress
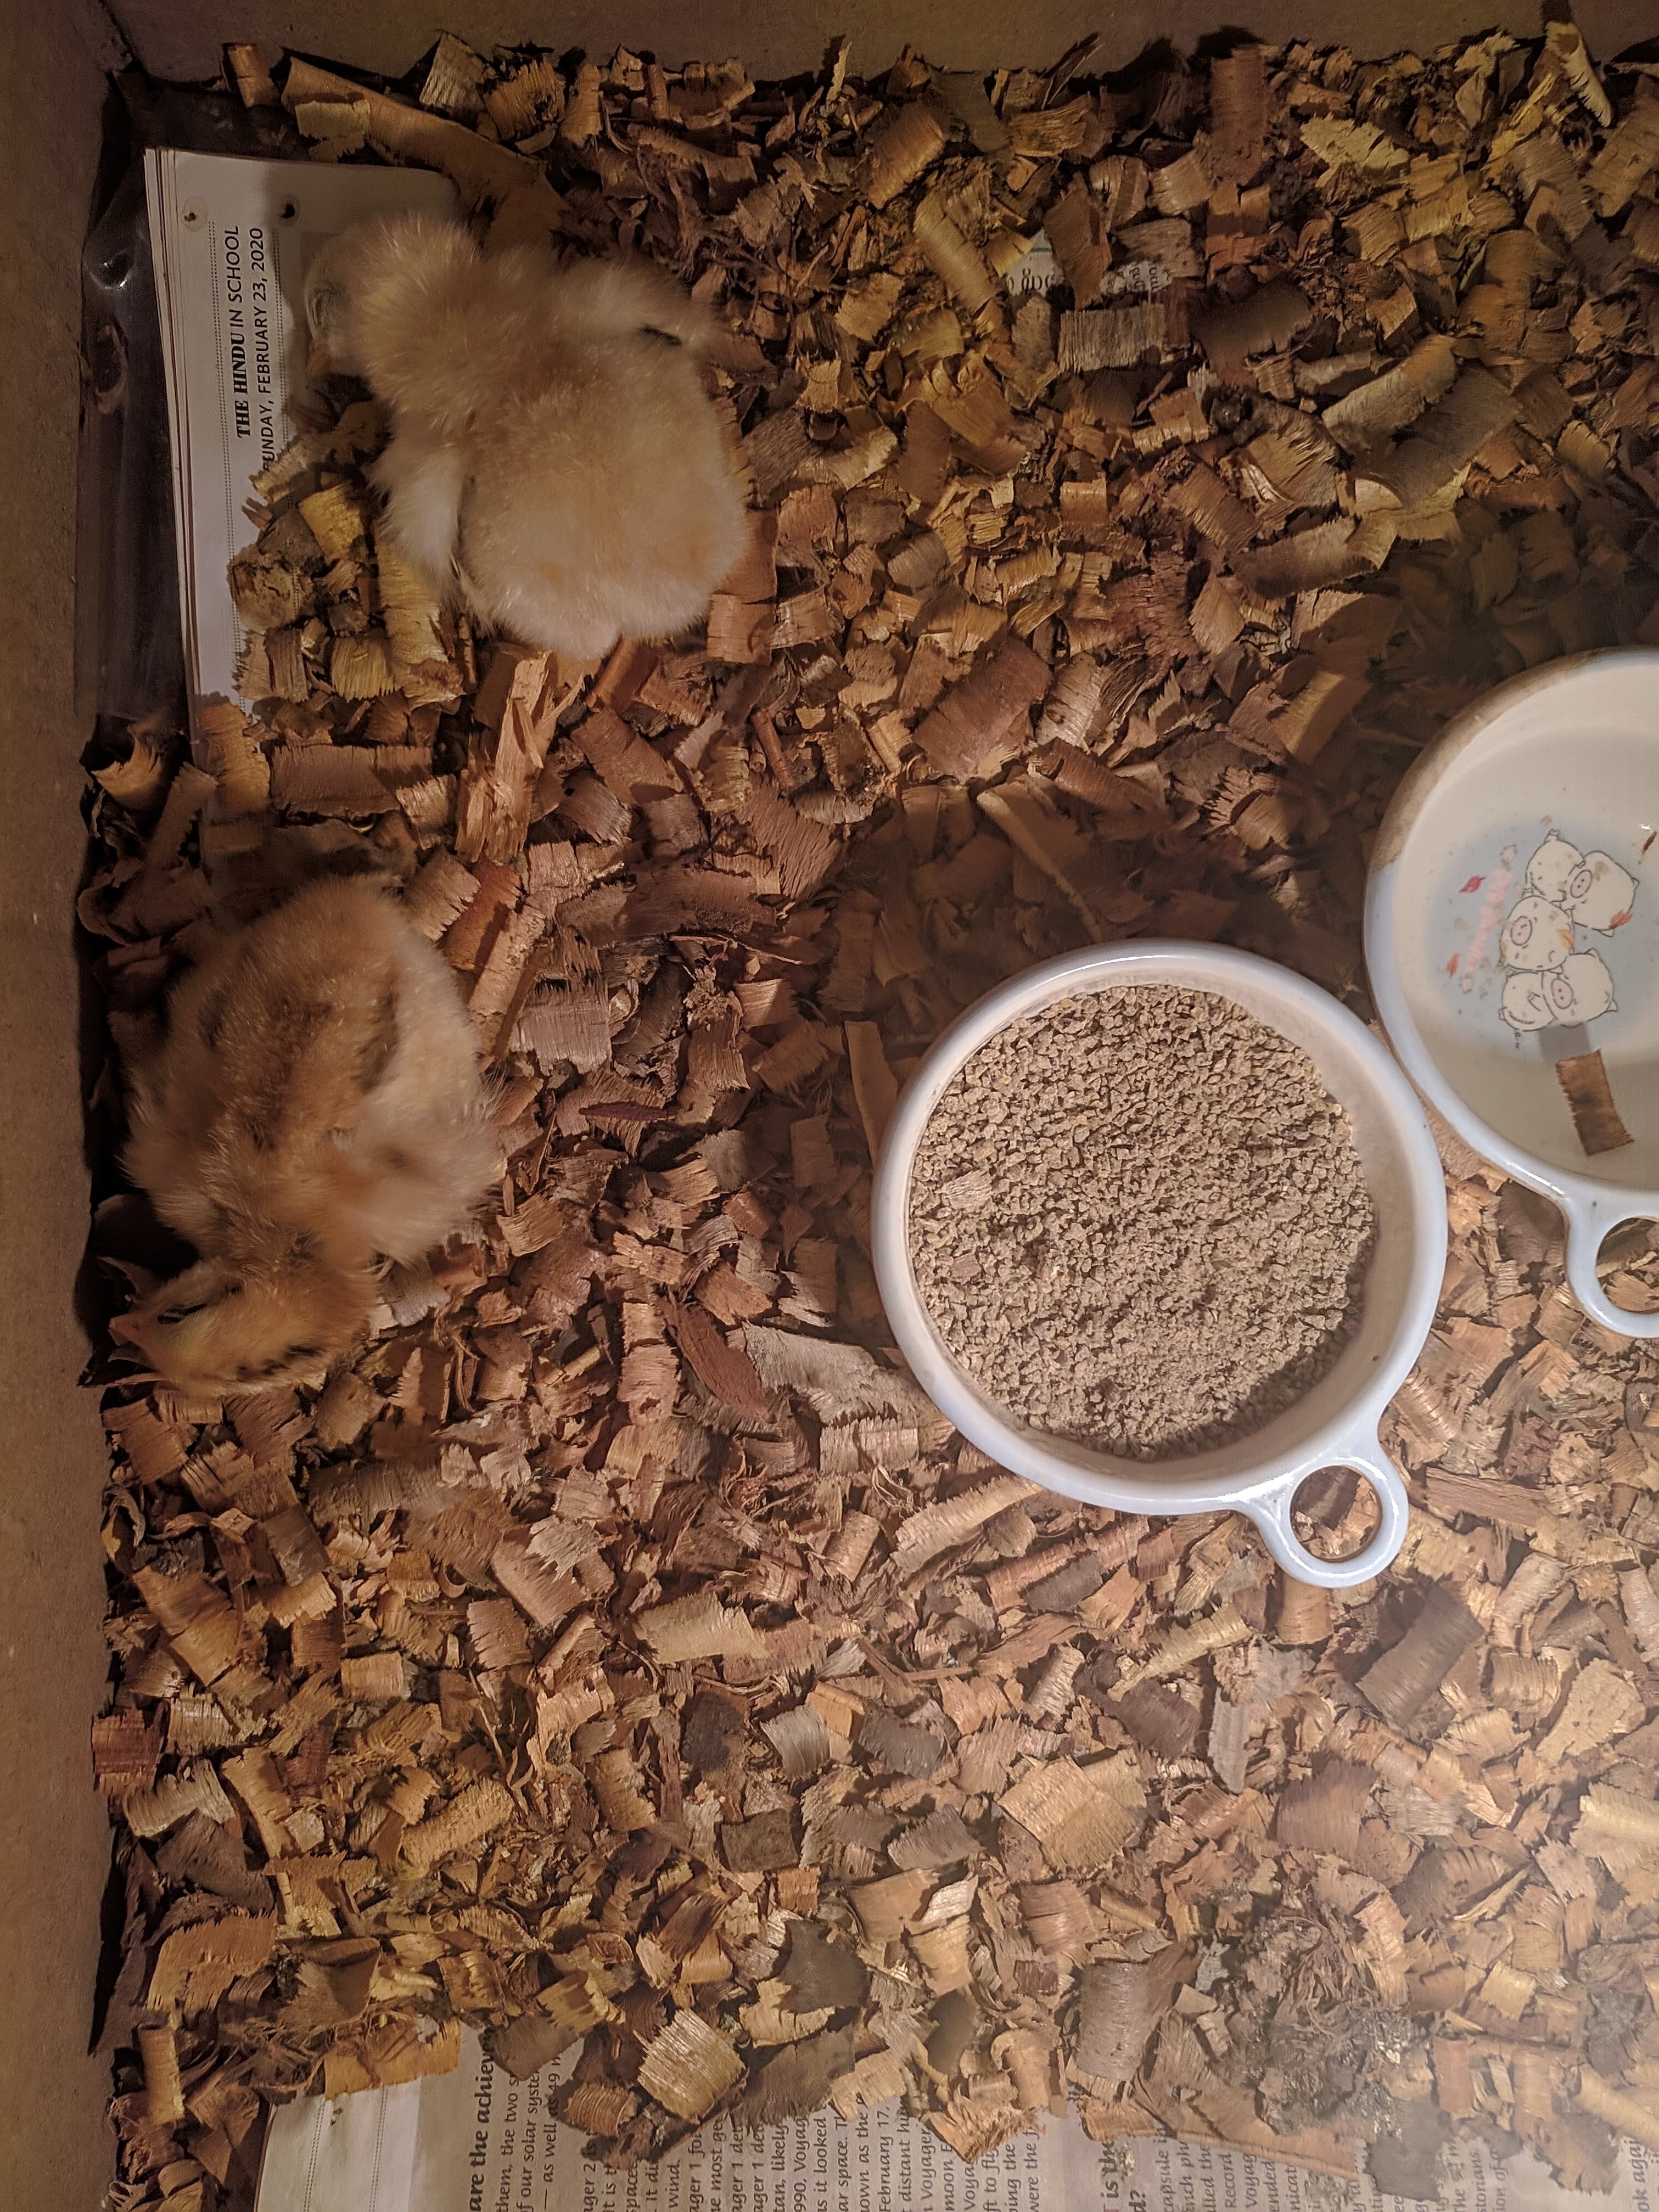 Day 14 — the wait continues
Temperature and humidity were logged throughout the 18-day incubation period. Maintaining 37.7 °C and 57% humidity in a closed loop — checking in twice daily to manually turn the eggs.
Results & What Went Wrong
The final prototype was assembled, run for 18 days, and 2 out of 8 eggs hatched — a 25% yield. Technically successful; practically inefficient. A commercial incubator runs at 80–90% hatch rates.
Frequent power cuts in the area weren't factored into the original design. Most commercial incubators retain heat for 6–8 hours without active power. This prototype had no thermal mass or battery backup — every cut meant a temperature dip that stressed the developing embryos.
Manual turning twice a day worked, but consistency was hard to maintain. Missed turns or irregular intervals directly affect embryo development. An automated egg-turner mechanism would be the most impactful single upgrade for a second version.
Migrate from Arduino to NodeMCU / ESP32 for WiFi monitoring and logging. Add a thermal mass (water reservoir) inside the enclosure for heat retention during power cuts. Design an automatic egg-turning tray on a timer. Improve sensor calibration — the DHT11 has ±5% humidity accuracy which isn't ideal.
"The yield is pathetic, but watching something hatch from a box you built yourself is a completely different kind of satisfaction."