Repainting the Family Jeep
This jeep has been in the family since I was three years old. It had cycled through several paint colours over the years and ended up an ugly blue. When the cost of a professional respray came up, I decided to learn automotive painting and do it myself instead.
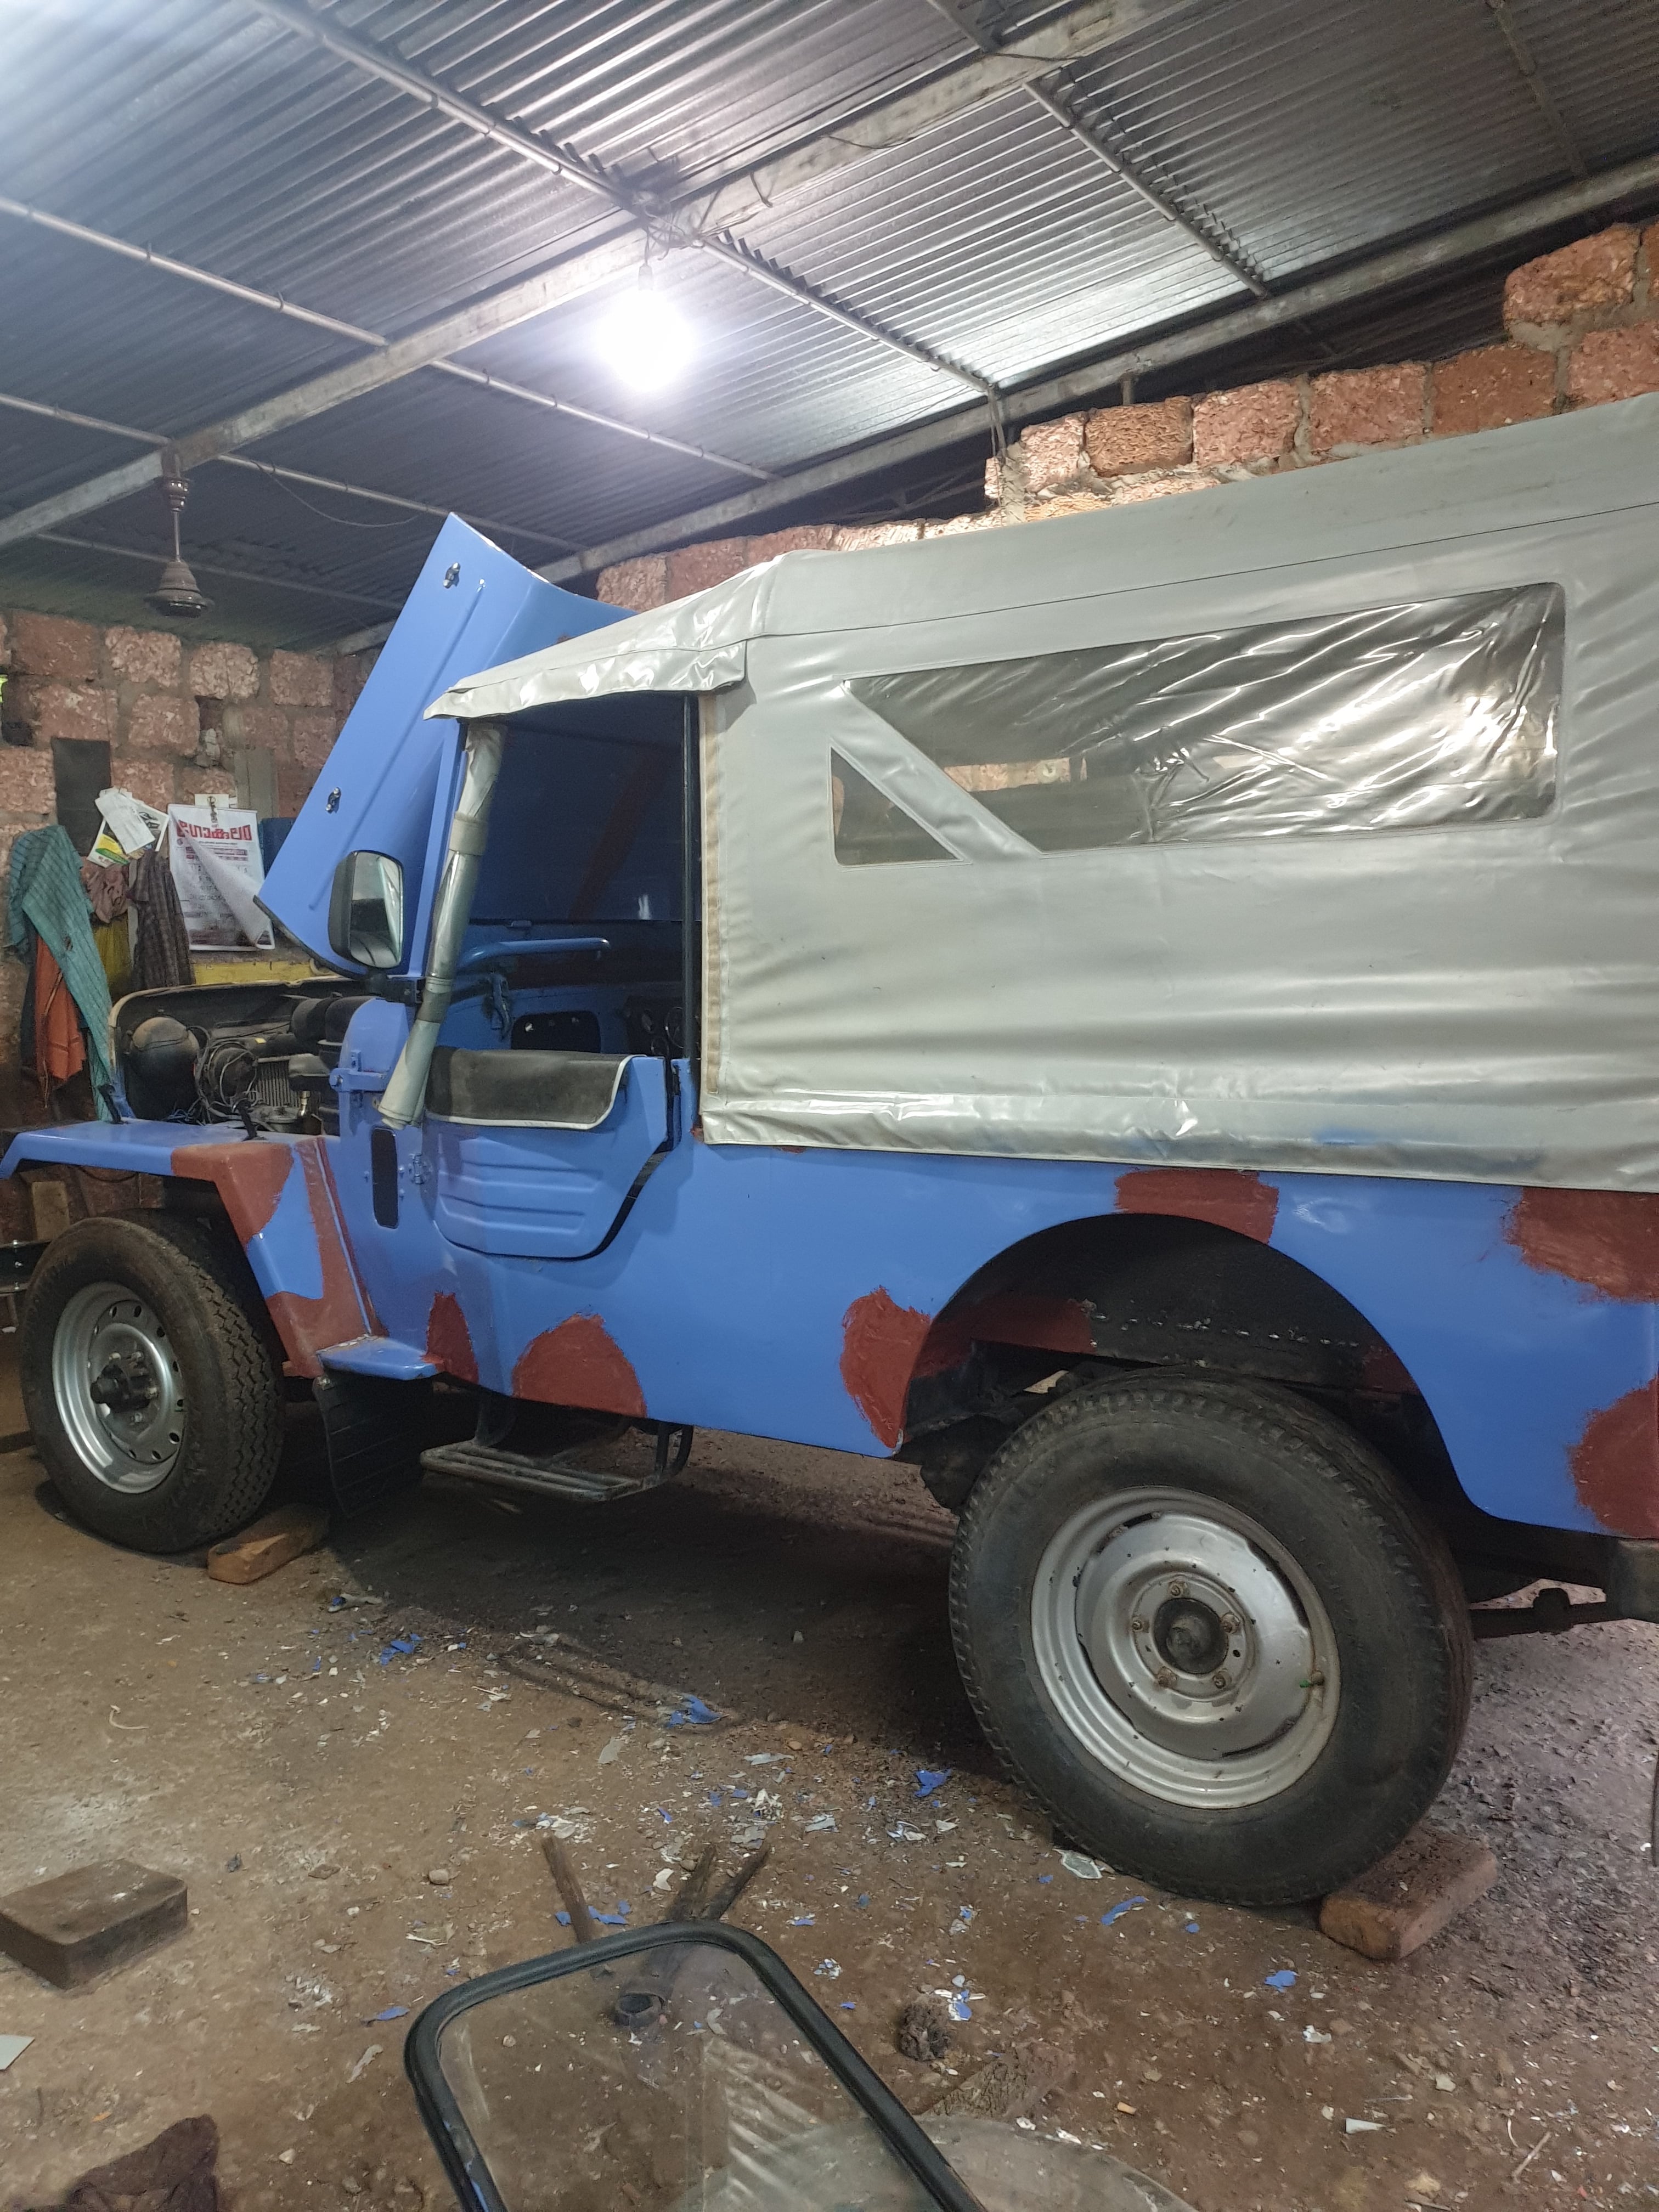
The jeep before restoration — the blue that started it all
I had always hated the blue. The jeep deserved better. When the idea of a professional paintjob came up, the cost made it a non-starter. That left one option: figure out how to do it. I spent time researching automotive spray technique, the layering sequence, and what materials a proper job actually requires.
Automotive painting is a layered process — each coat has to be right before the next one goes on. Welding and metal repair first, then putty to level imperfections, then primer, then colour, then clear. Rushing any stage shows in the finish. The interior surfaces got white enamel before the exterior received the final two-part polyurethane coat.
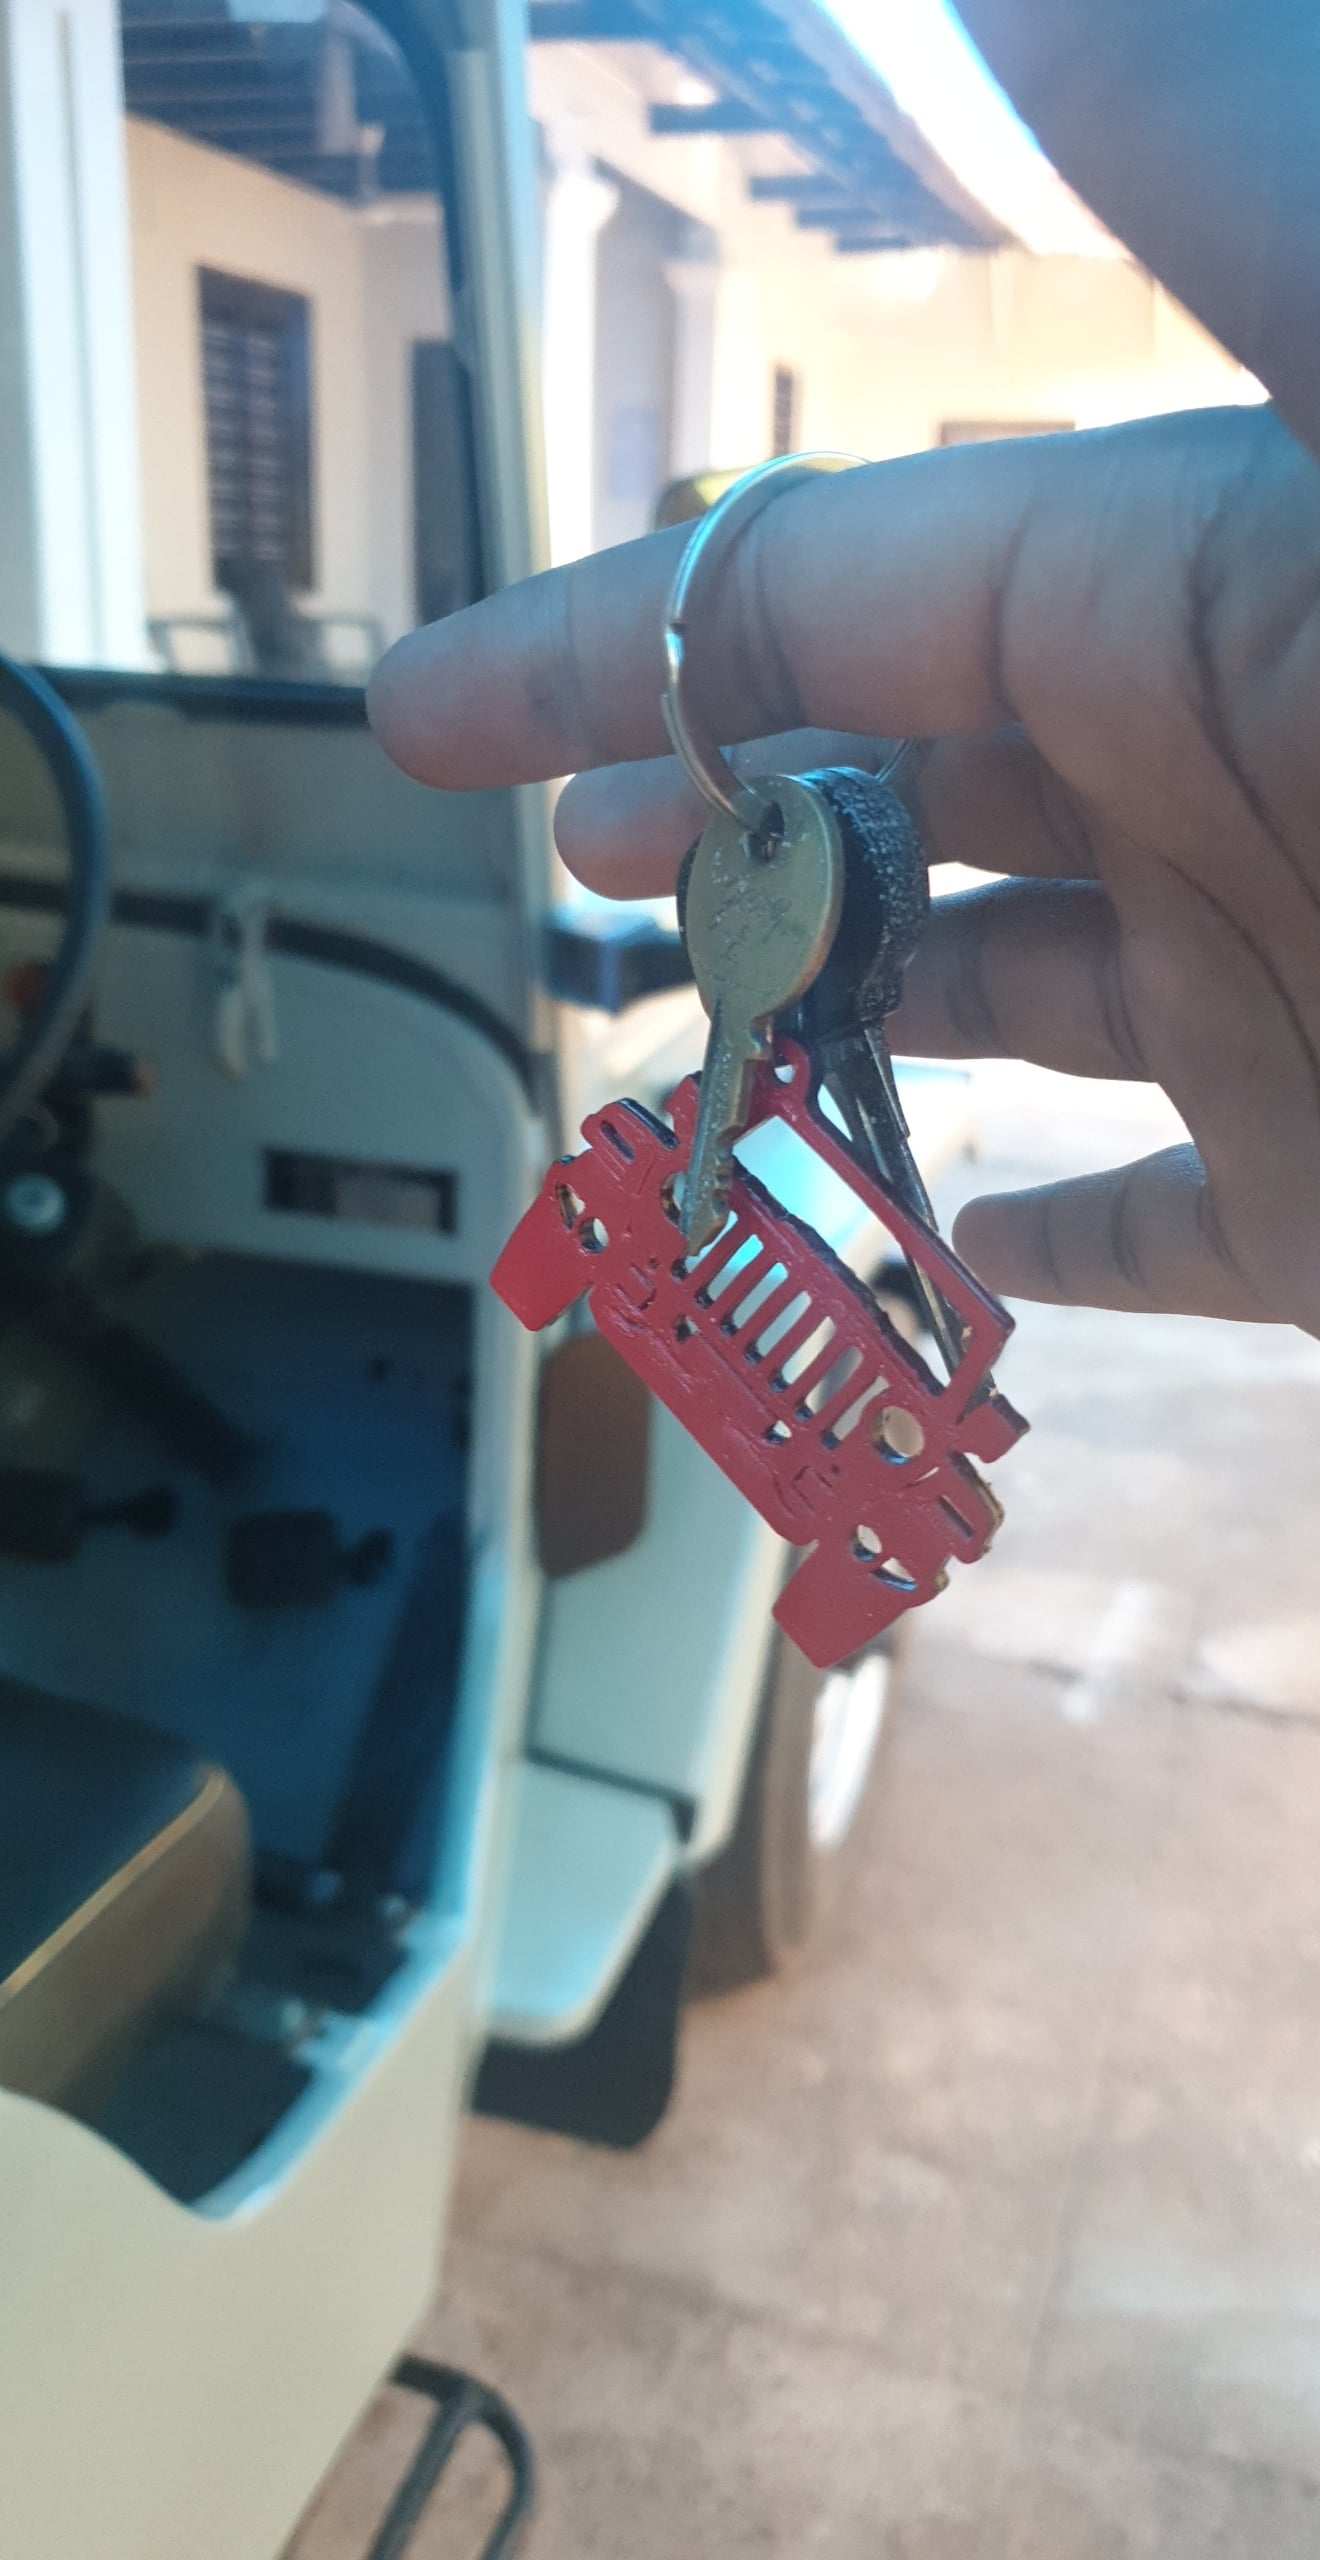
The final coat is a two-part polyurethane with a clear lacquer on top — the same process a professional body shop would use, just with more patience and fewer spray guns. Reassembly happened late into the night. The number plate got its own restoration treatment, and the project ended with a 3D-printed red-and-black keychain.
Process
Any rust or damaged metal was addressed first — welds cleaned up before any surface treatment.
All panels, trim pieces, and detachable parts removed to access bare metal properly.
Grey nitrocellulose putty applied and sanded to level surface imperfections.
1K grey primer coat across all exterior panels — the foundation everything else sits on.
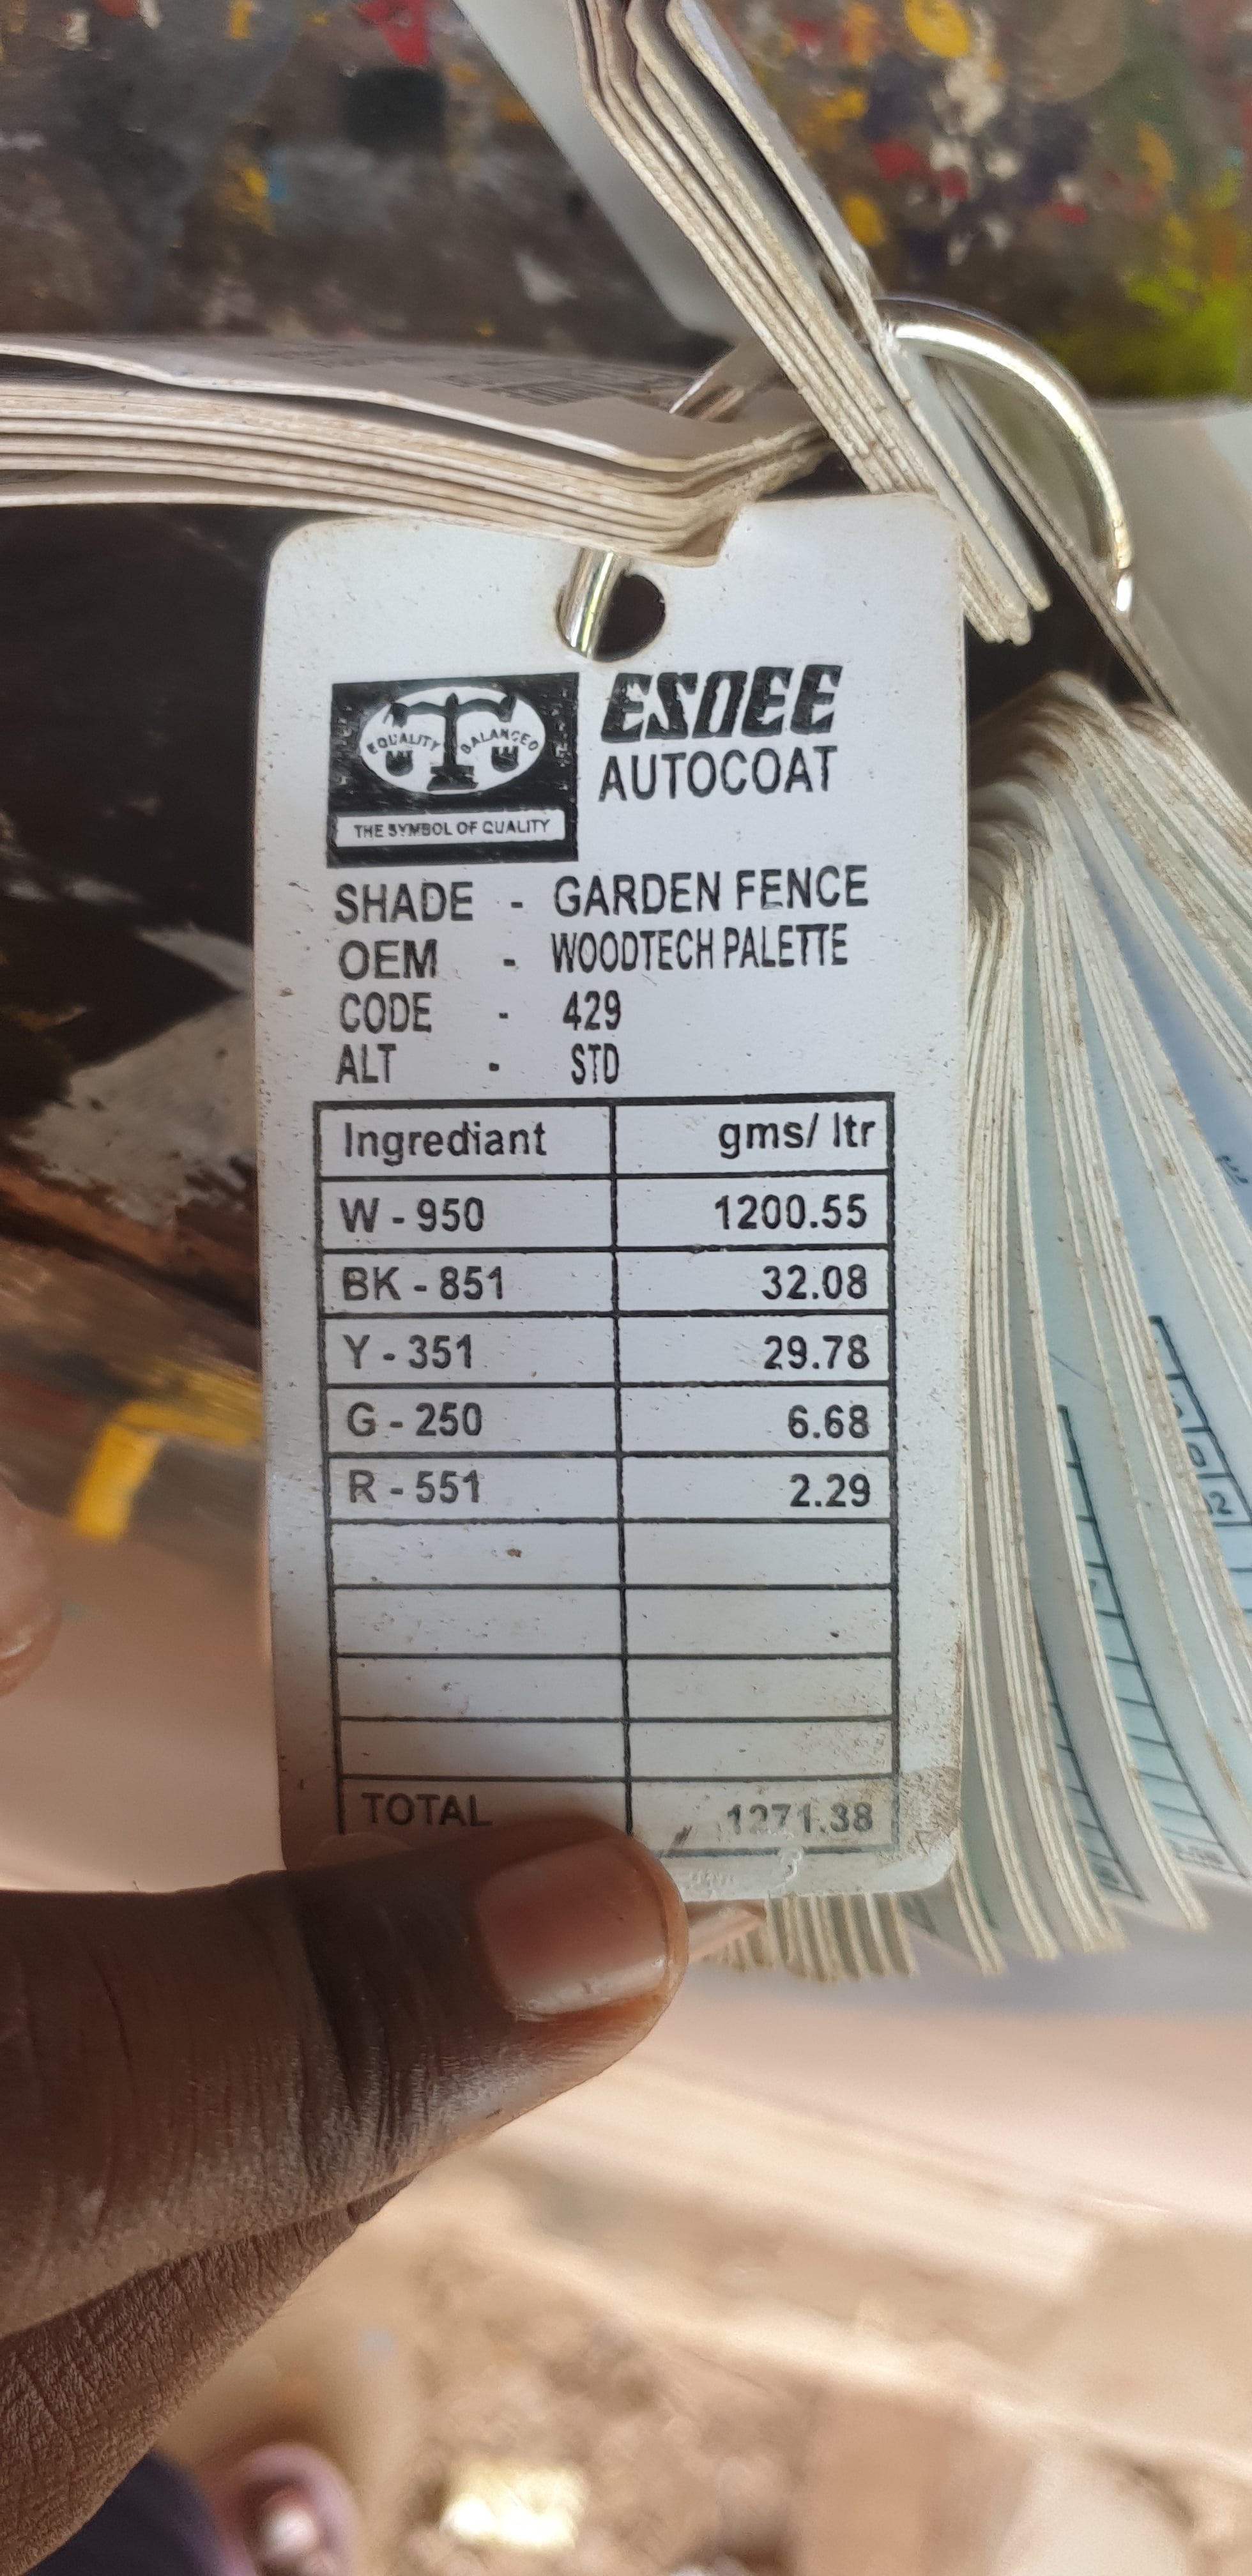
Researched the original factory colour scheme and sourced matching polyurethane paint.
White enamel brushed onto interior surfaces before the exterior got its final coat.
Two-part polyurethane topcoat with clear lacquer — durable, gloss, correct colour.
Late-night refit of all panels and trim. Everything back in its place.
Engine number plate cleaned, repainted with acrylic, documented.
Designed and printed a two-colour (red and black) keychain as a finishing touch.
Bodywork & Prep
 Welding and prep work
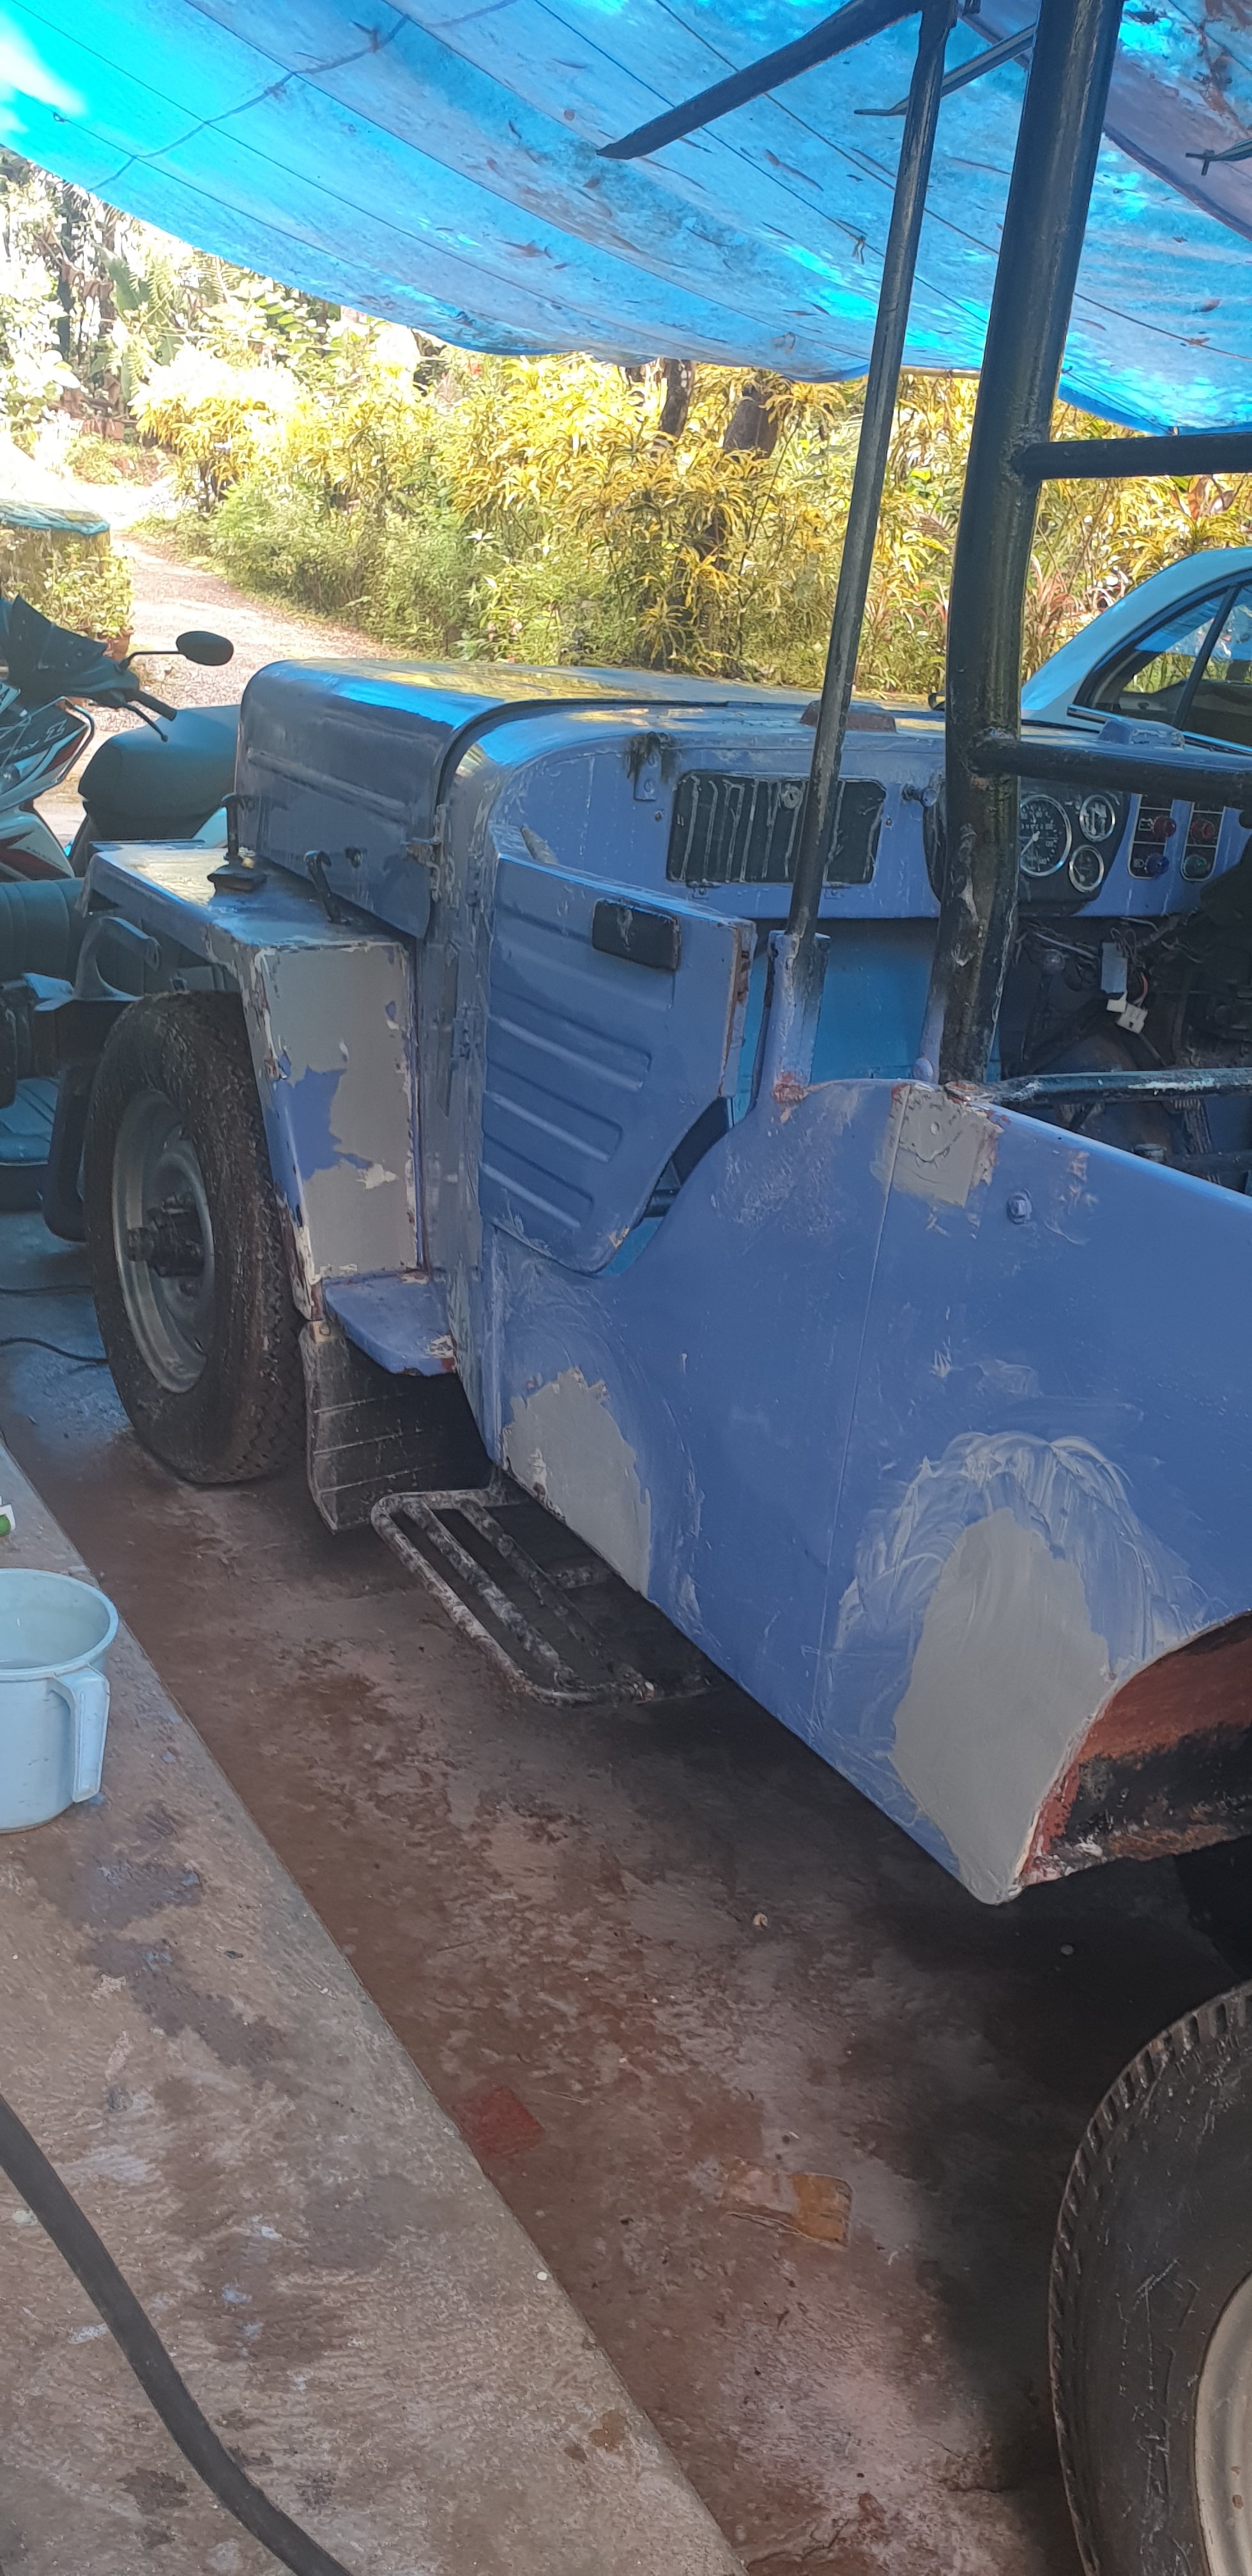 Disassembly — panels off, ready for bodywork
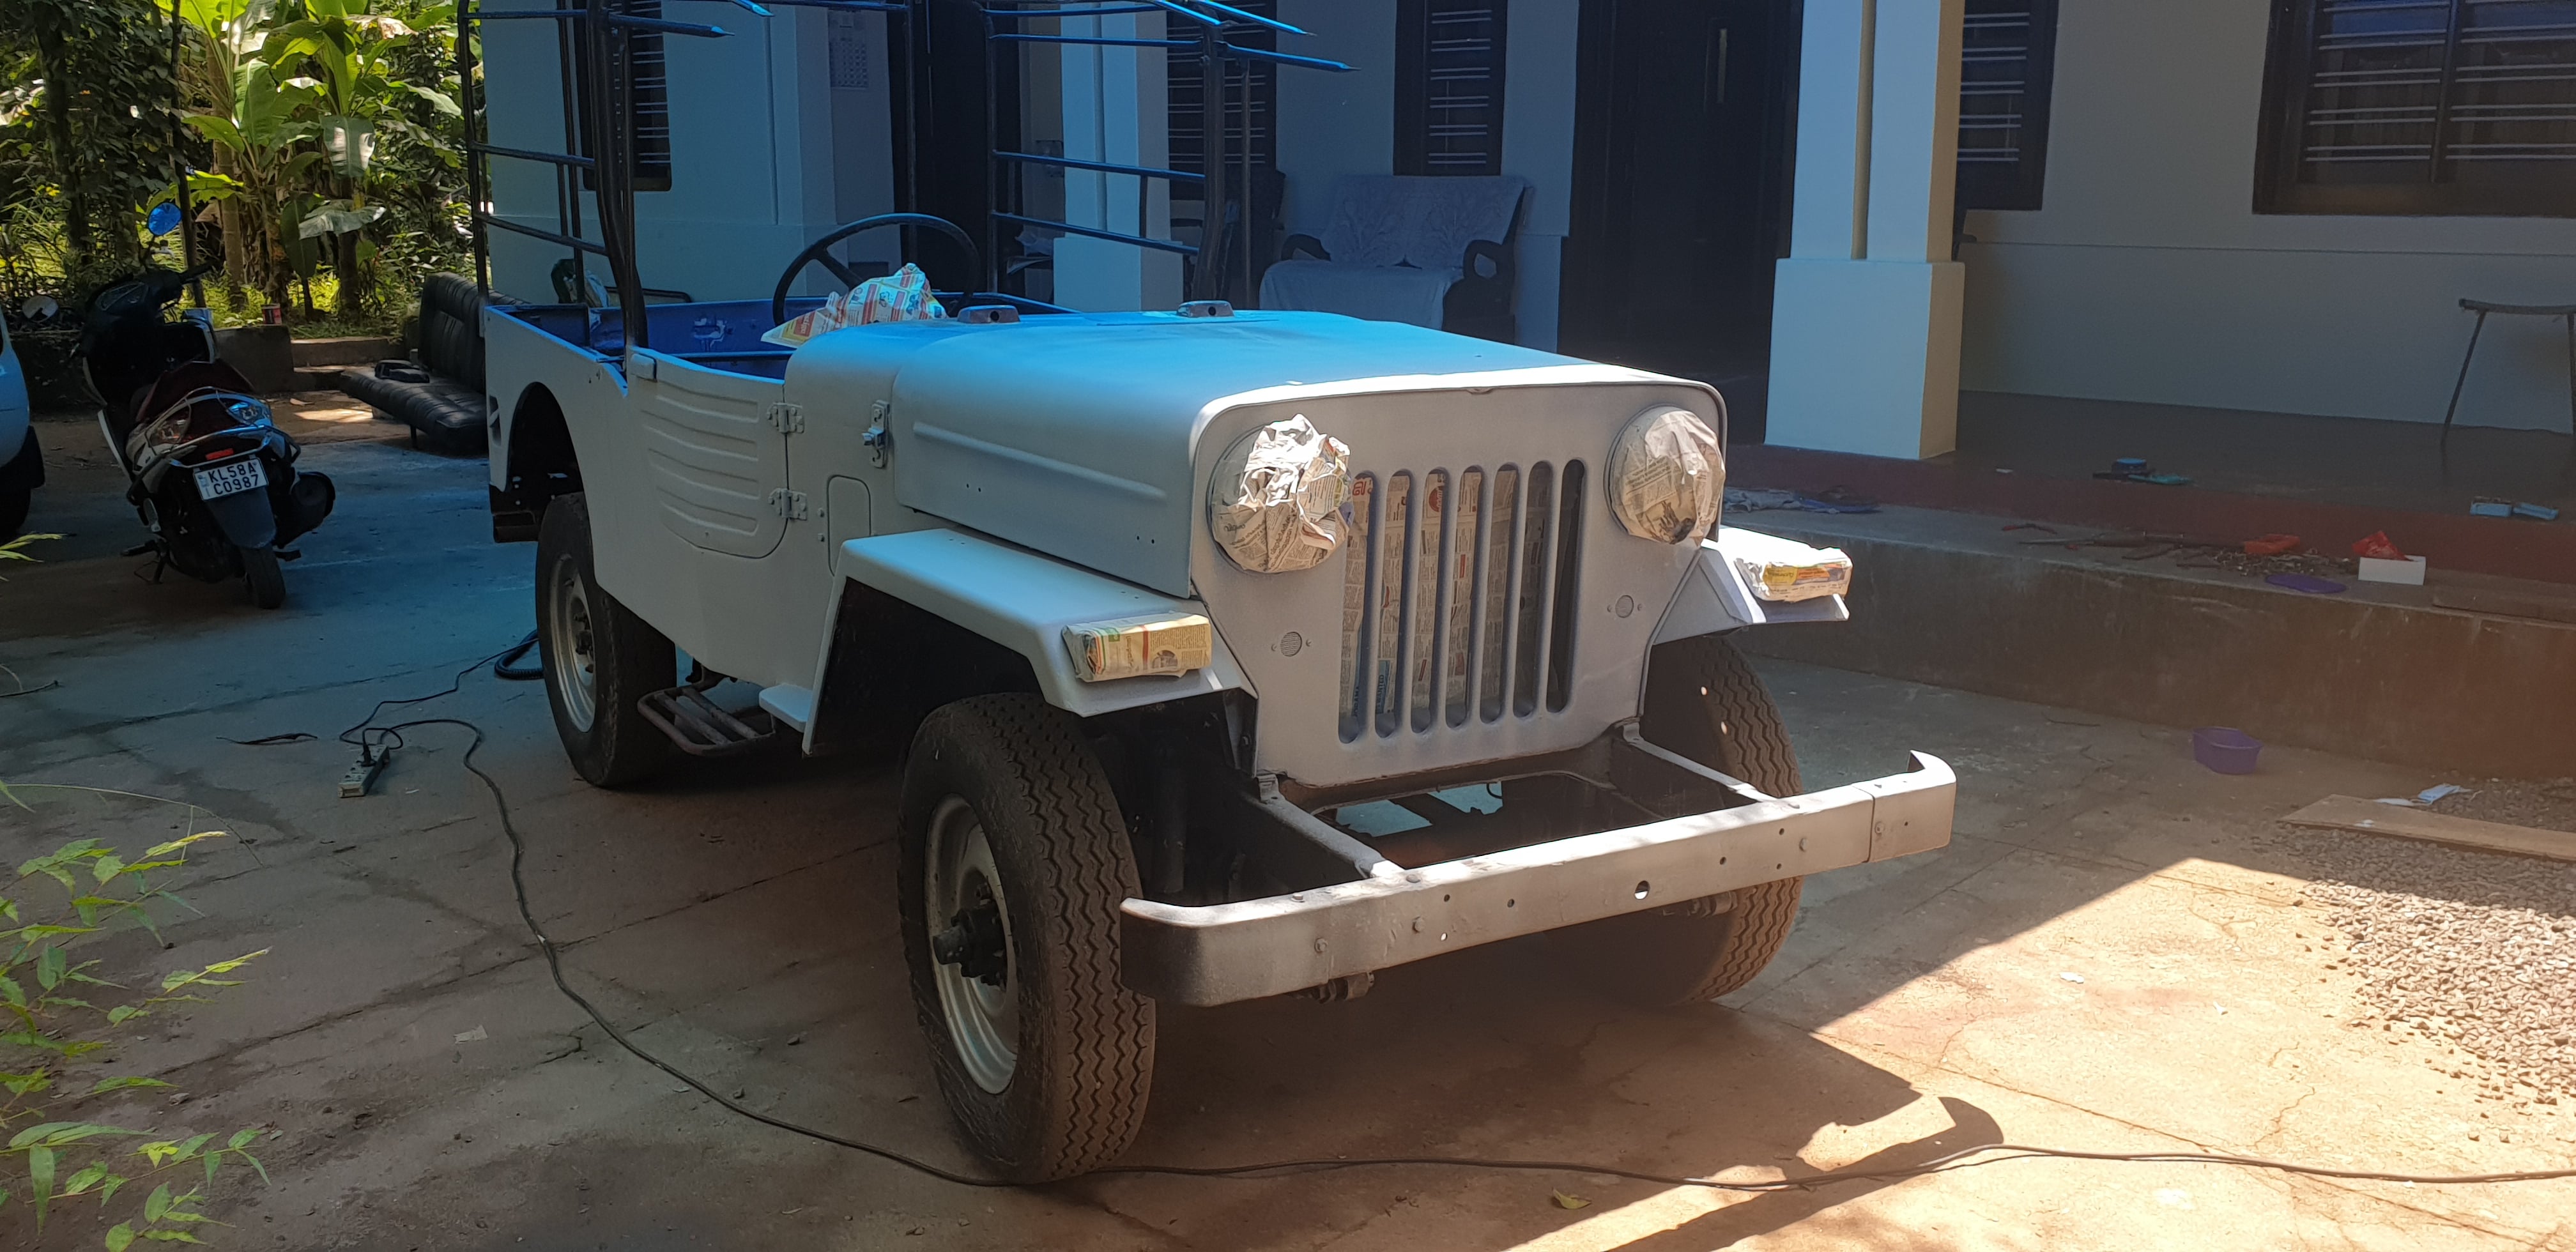 Grey nitrocellulose putty applied to bare metal
Painting
 1K grey primer coat
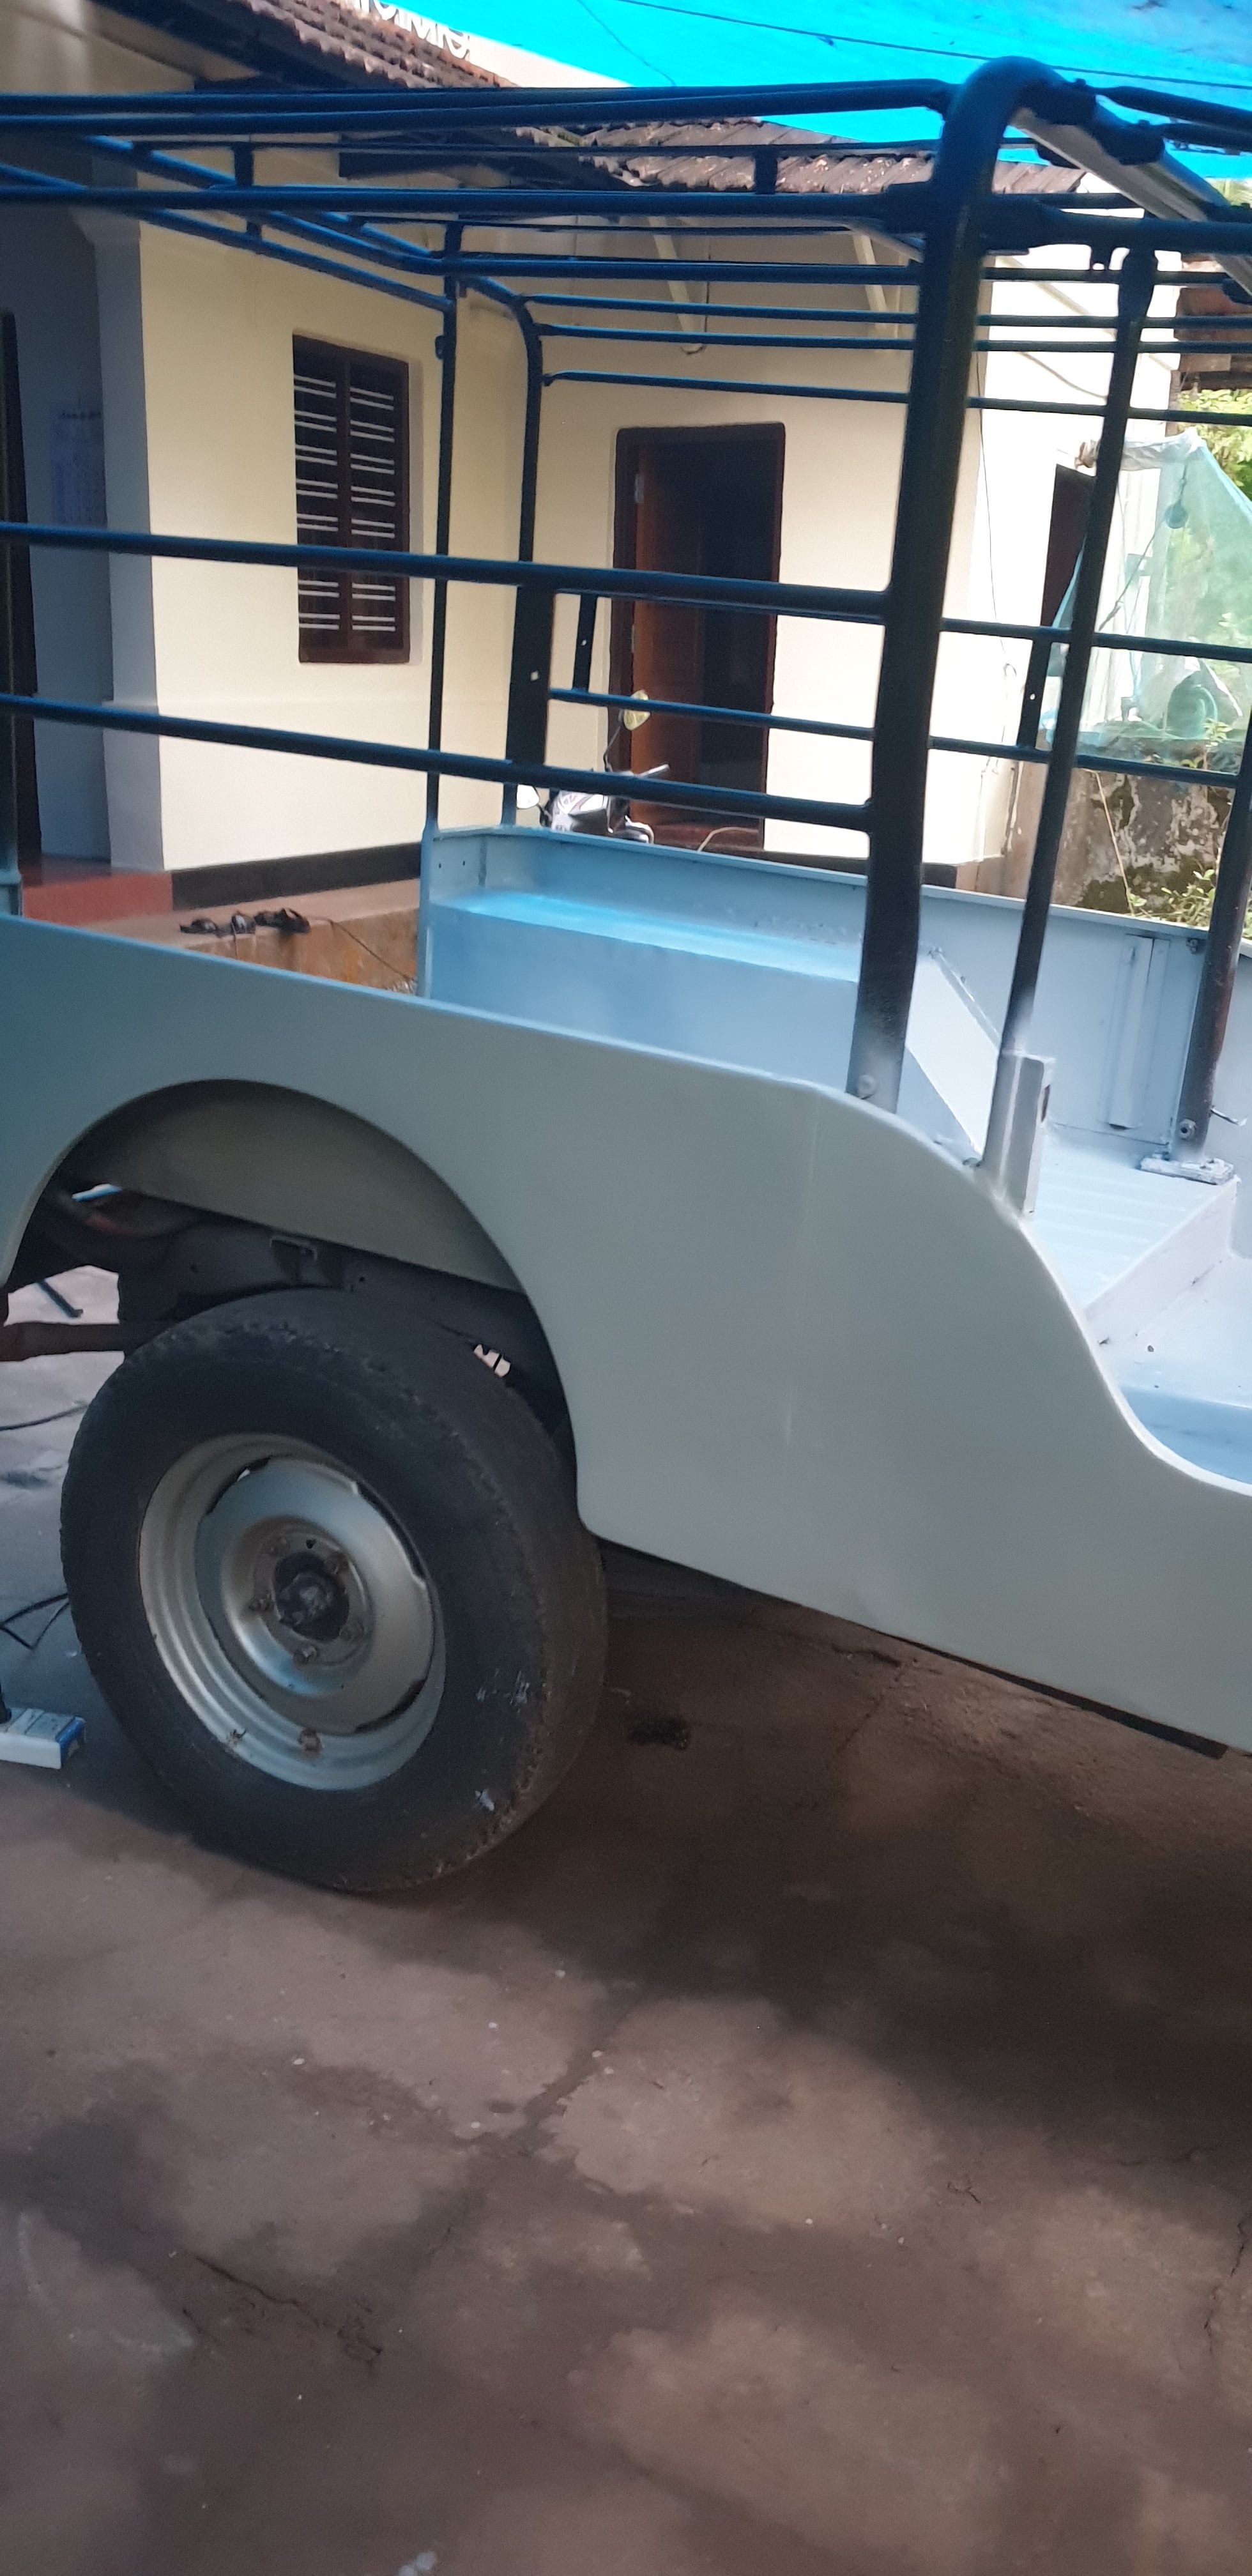 Choosing the original colour scheme
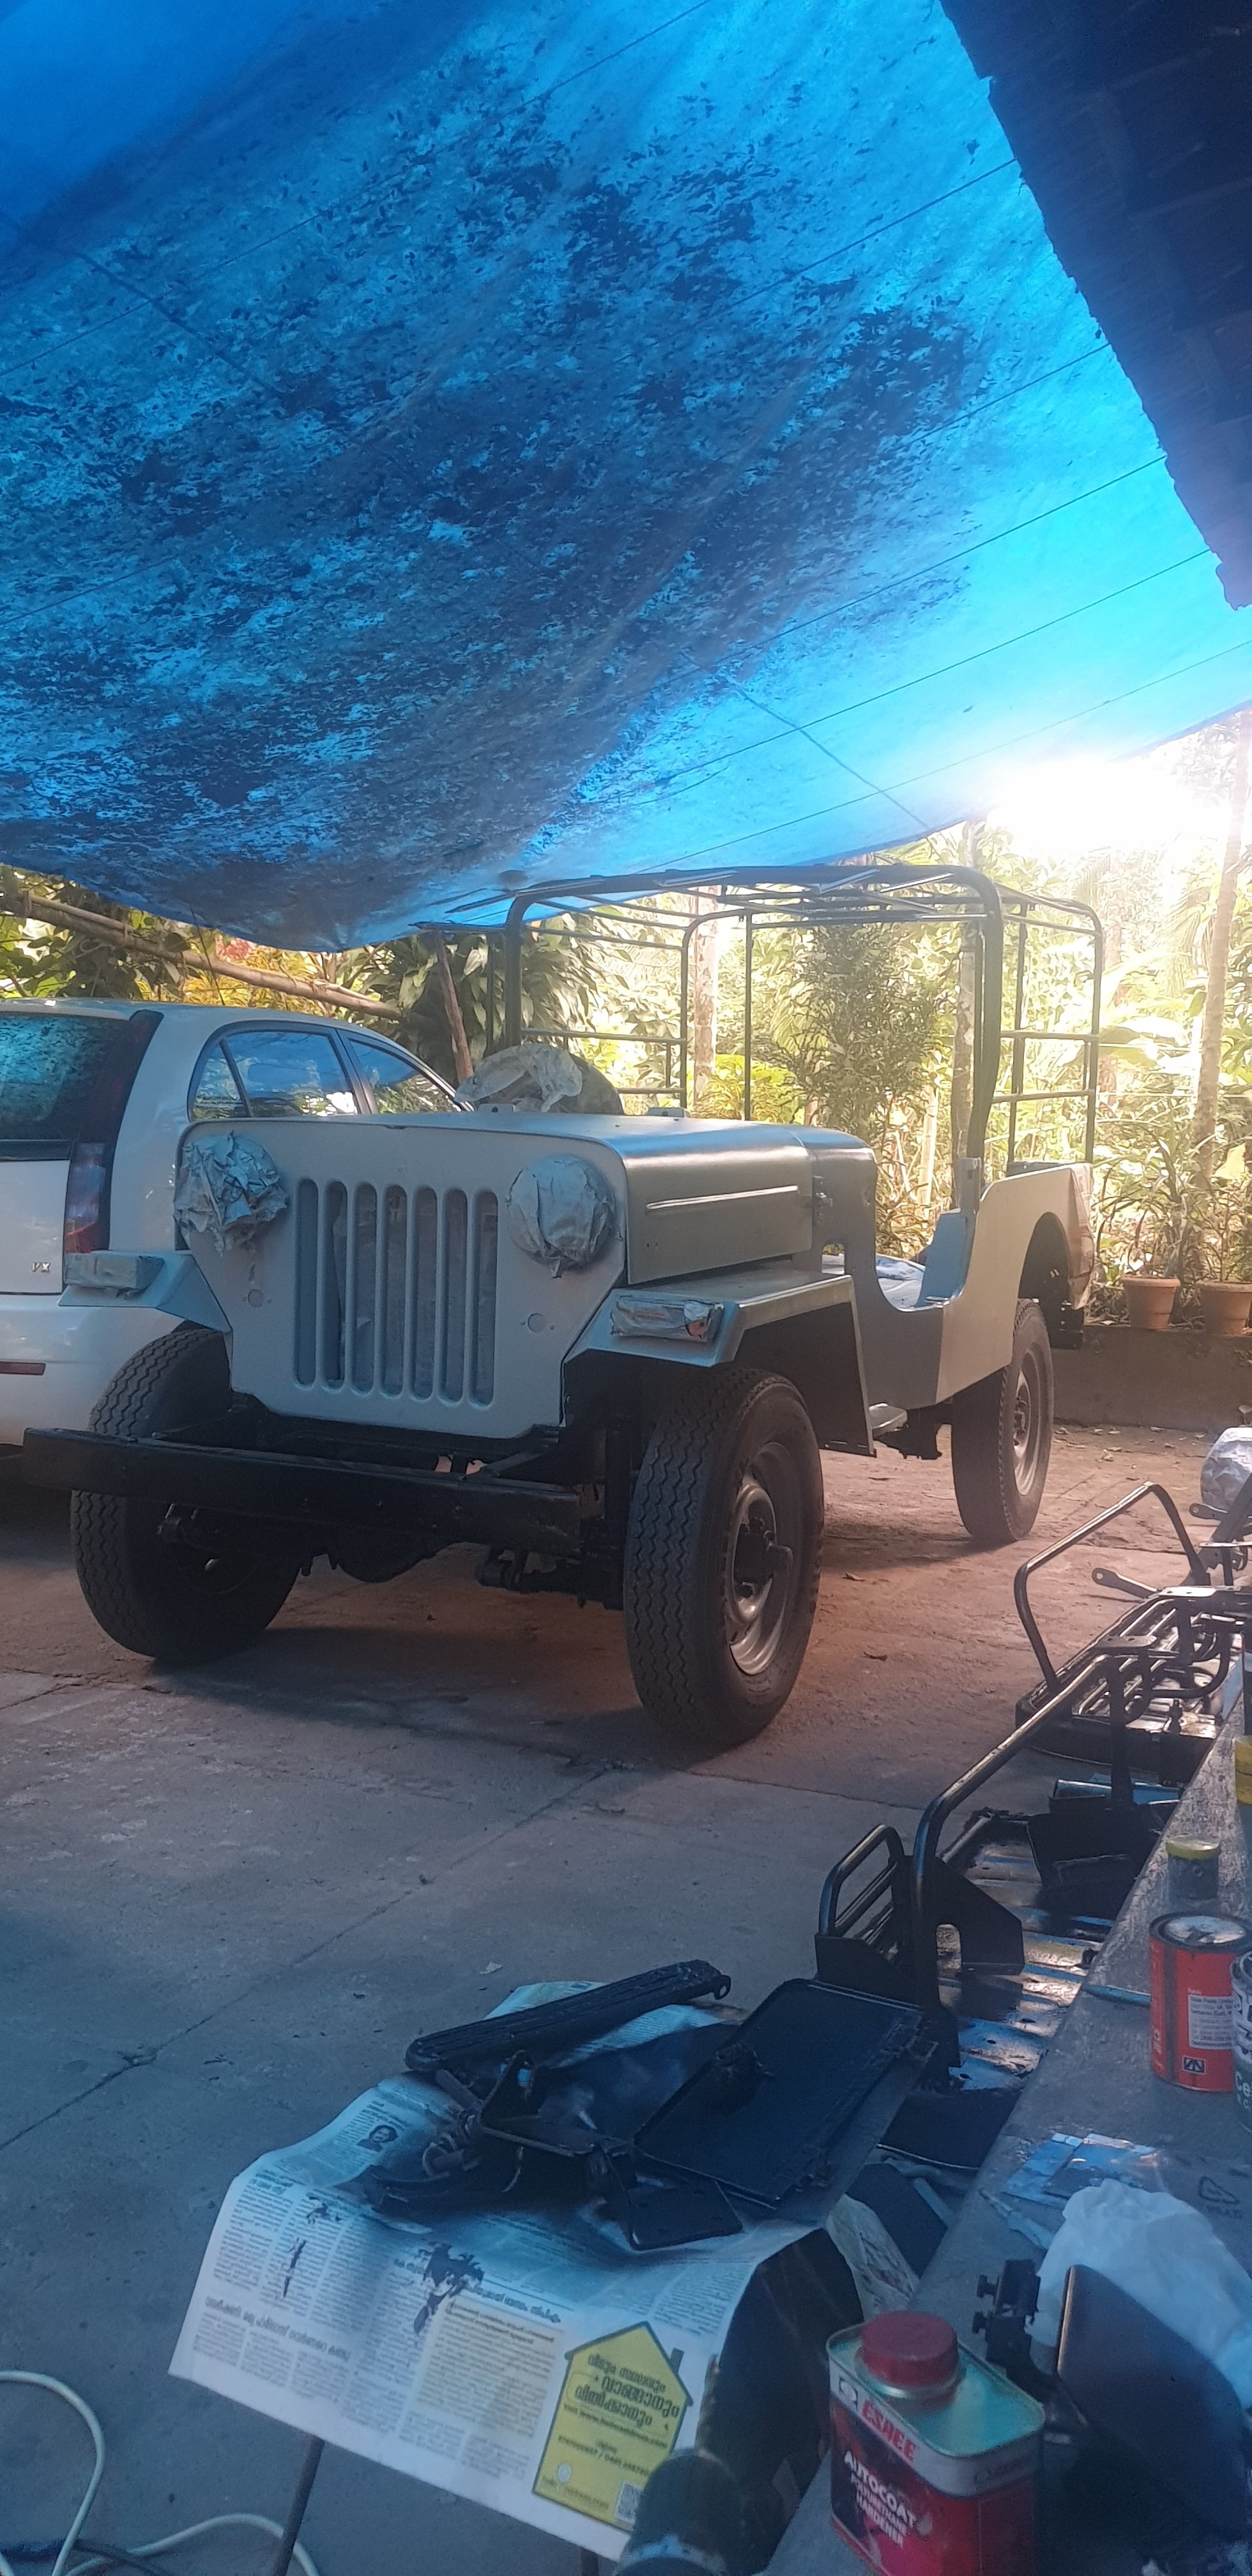 White enamel on the interior surfaces
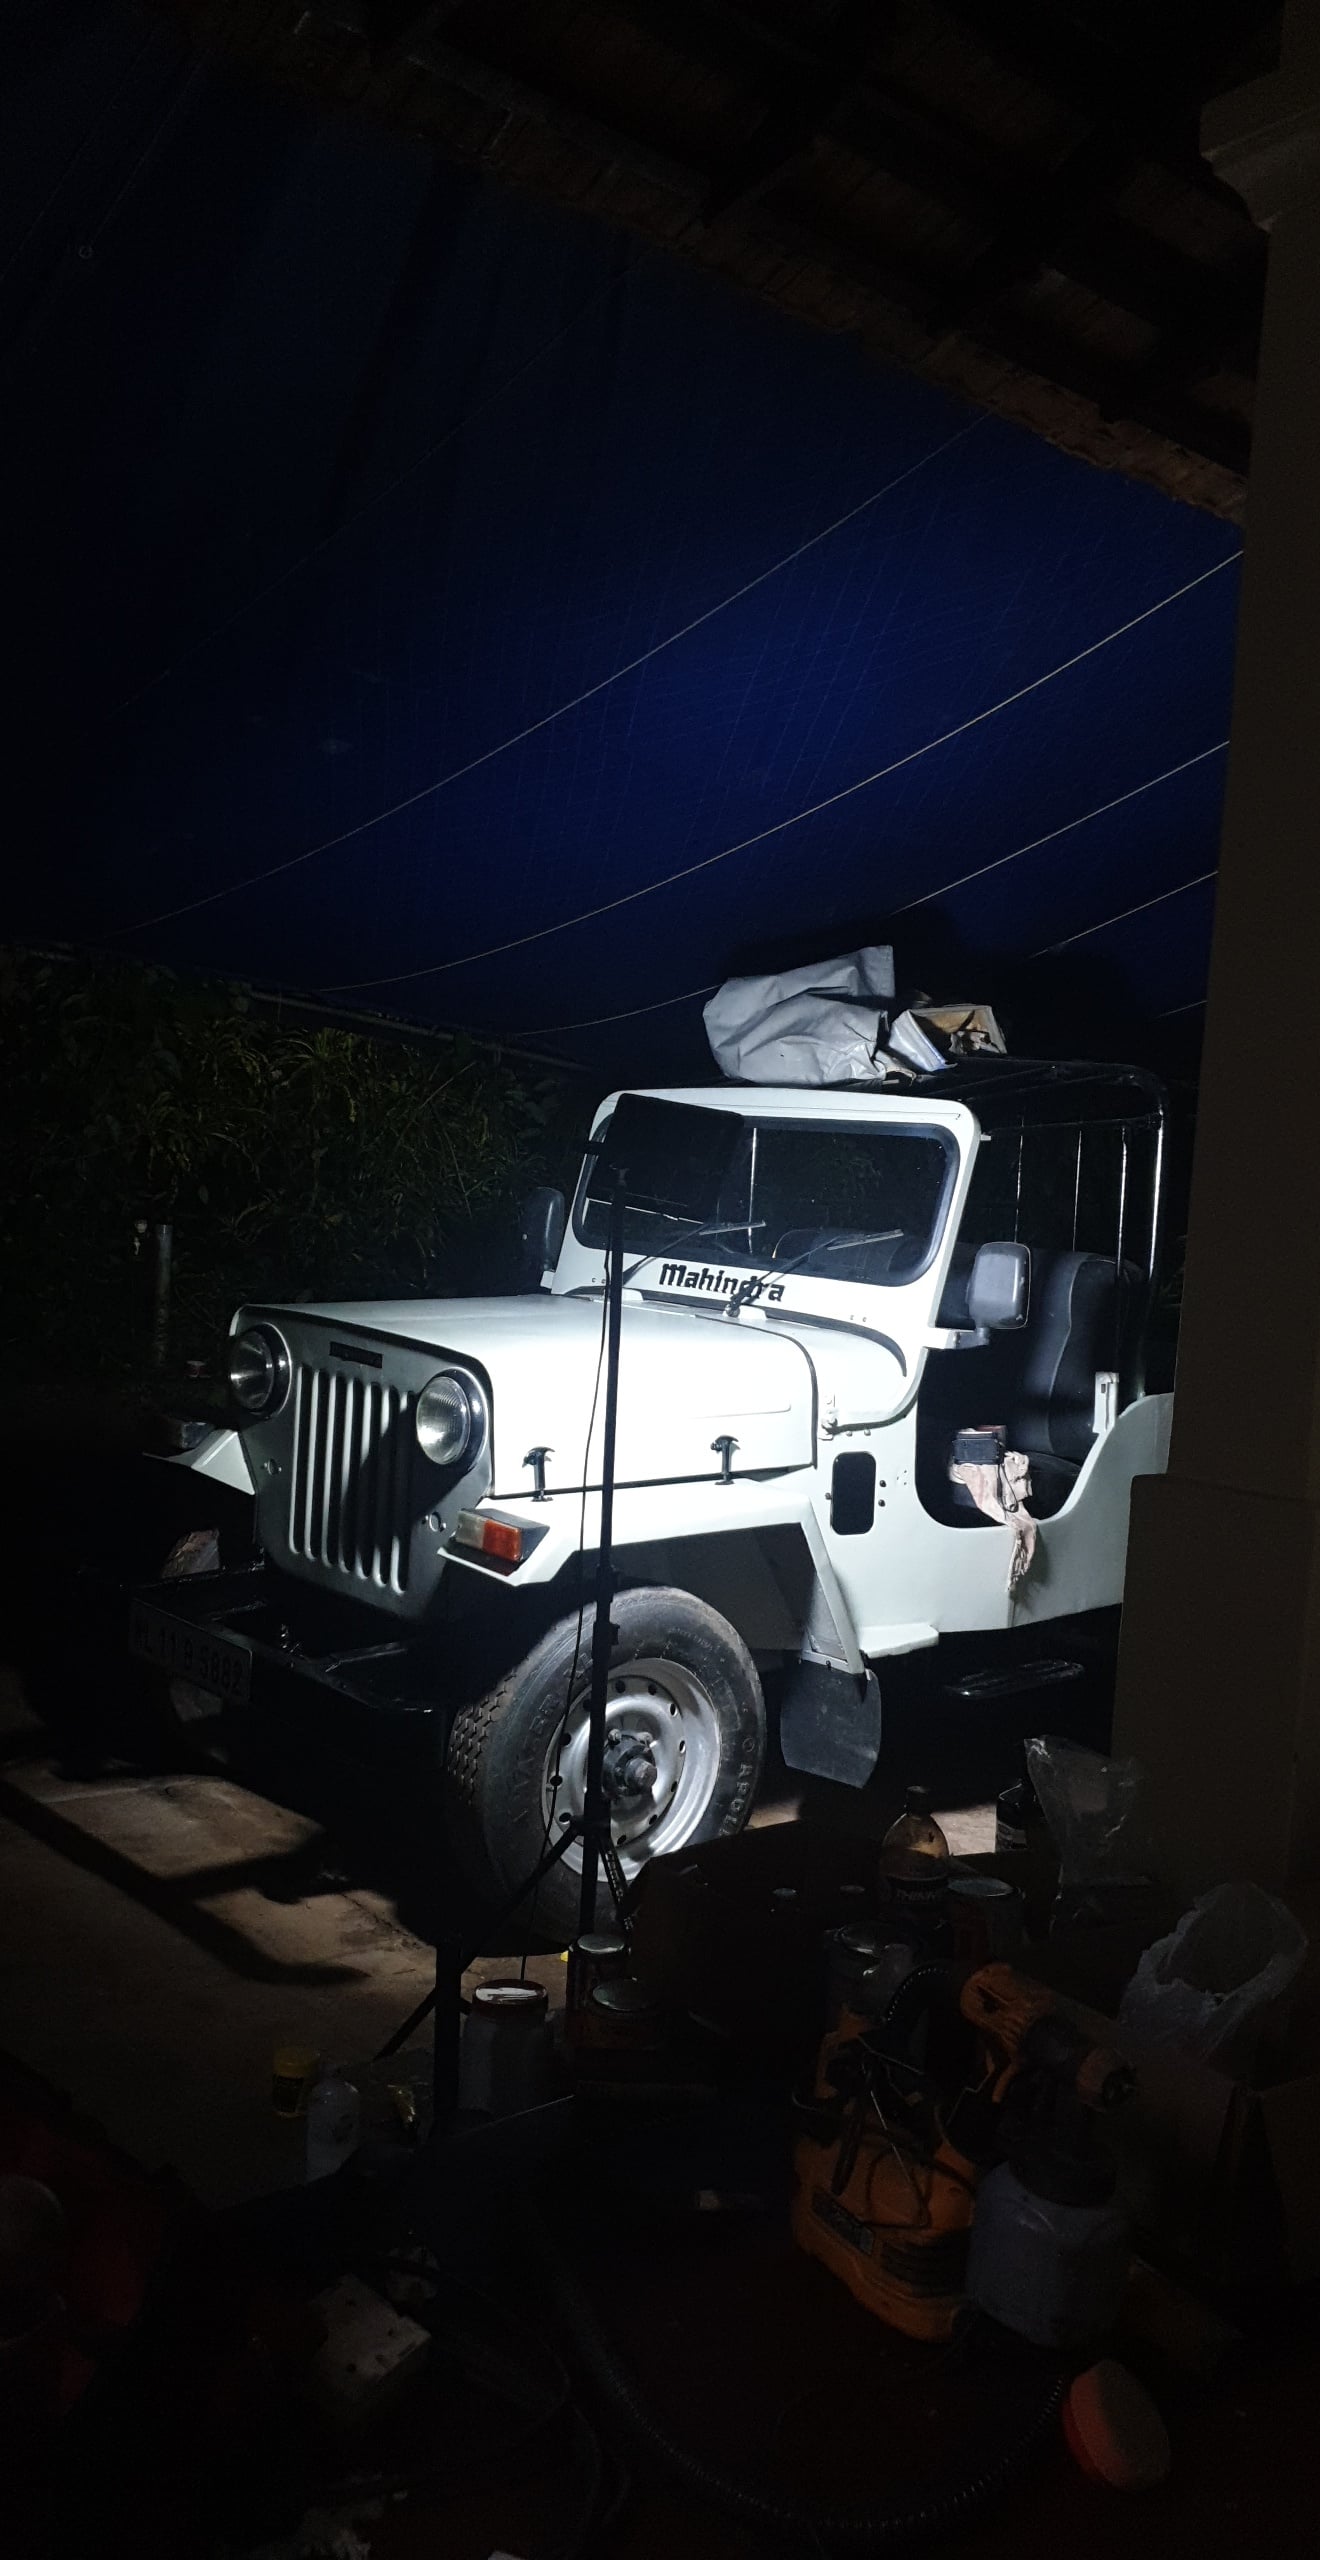 Final two-part polyurethane and clear coat
Reassembly & Details
 Late-night reassembly
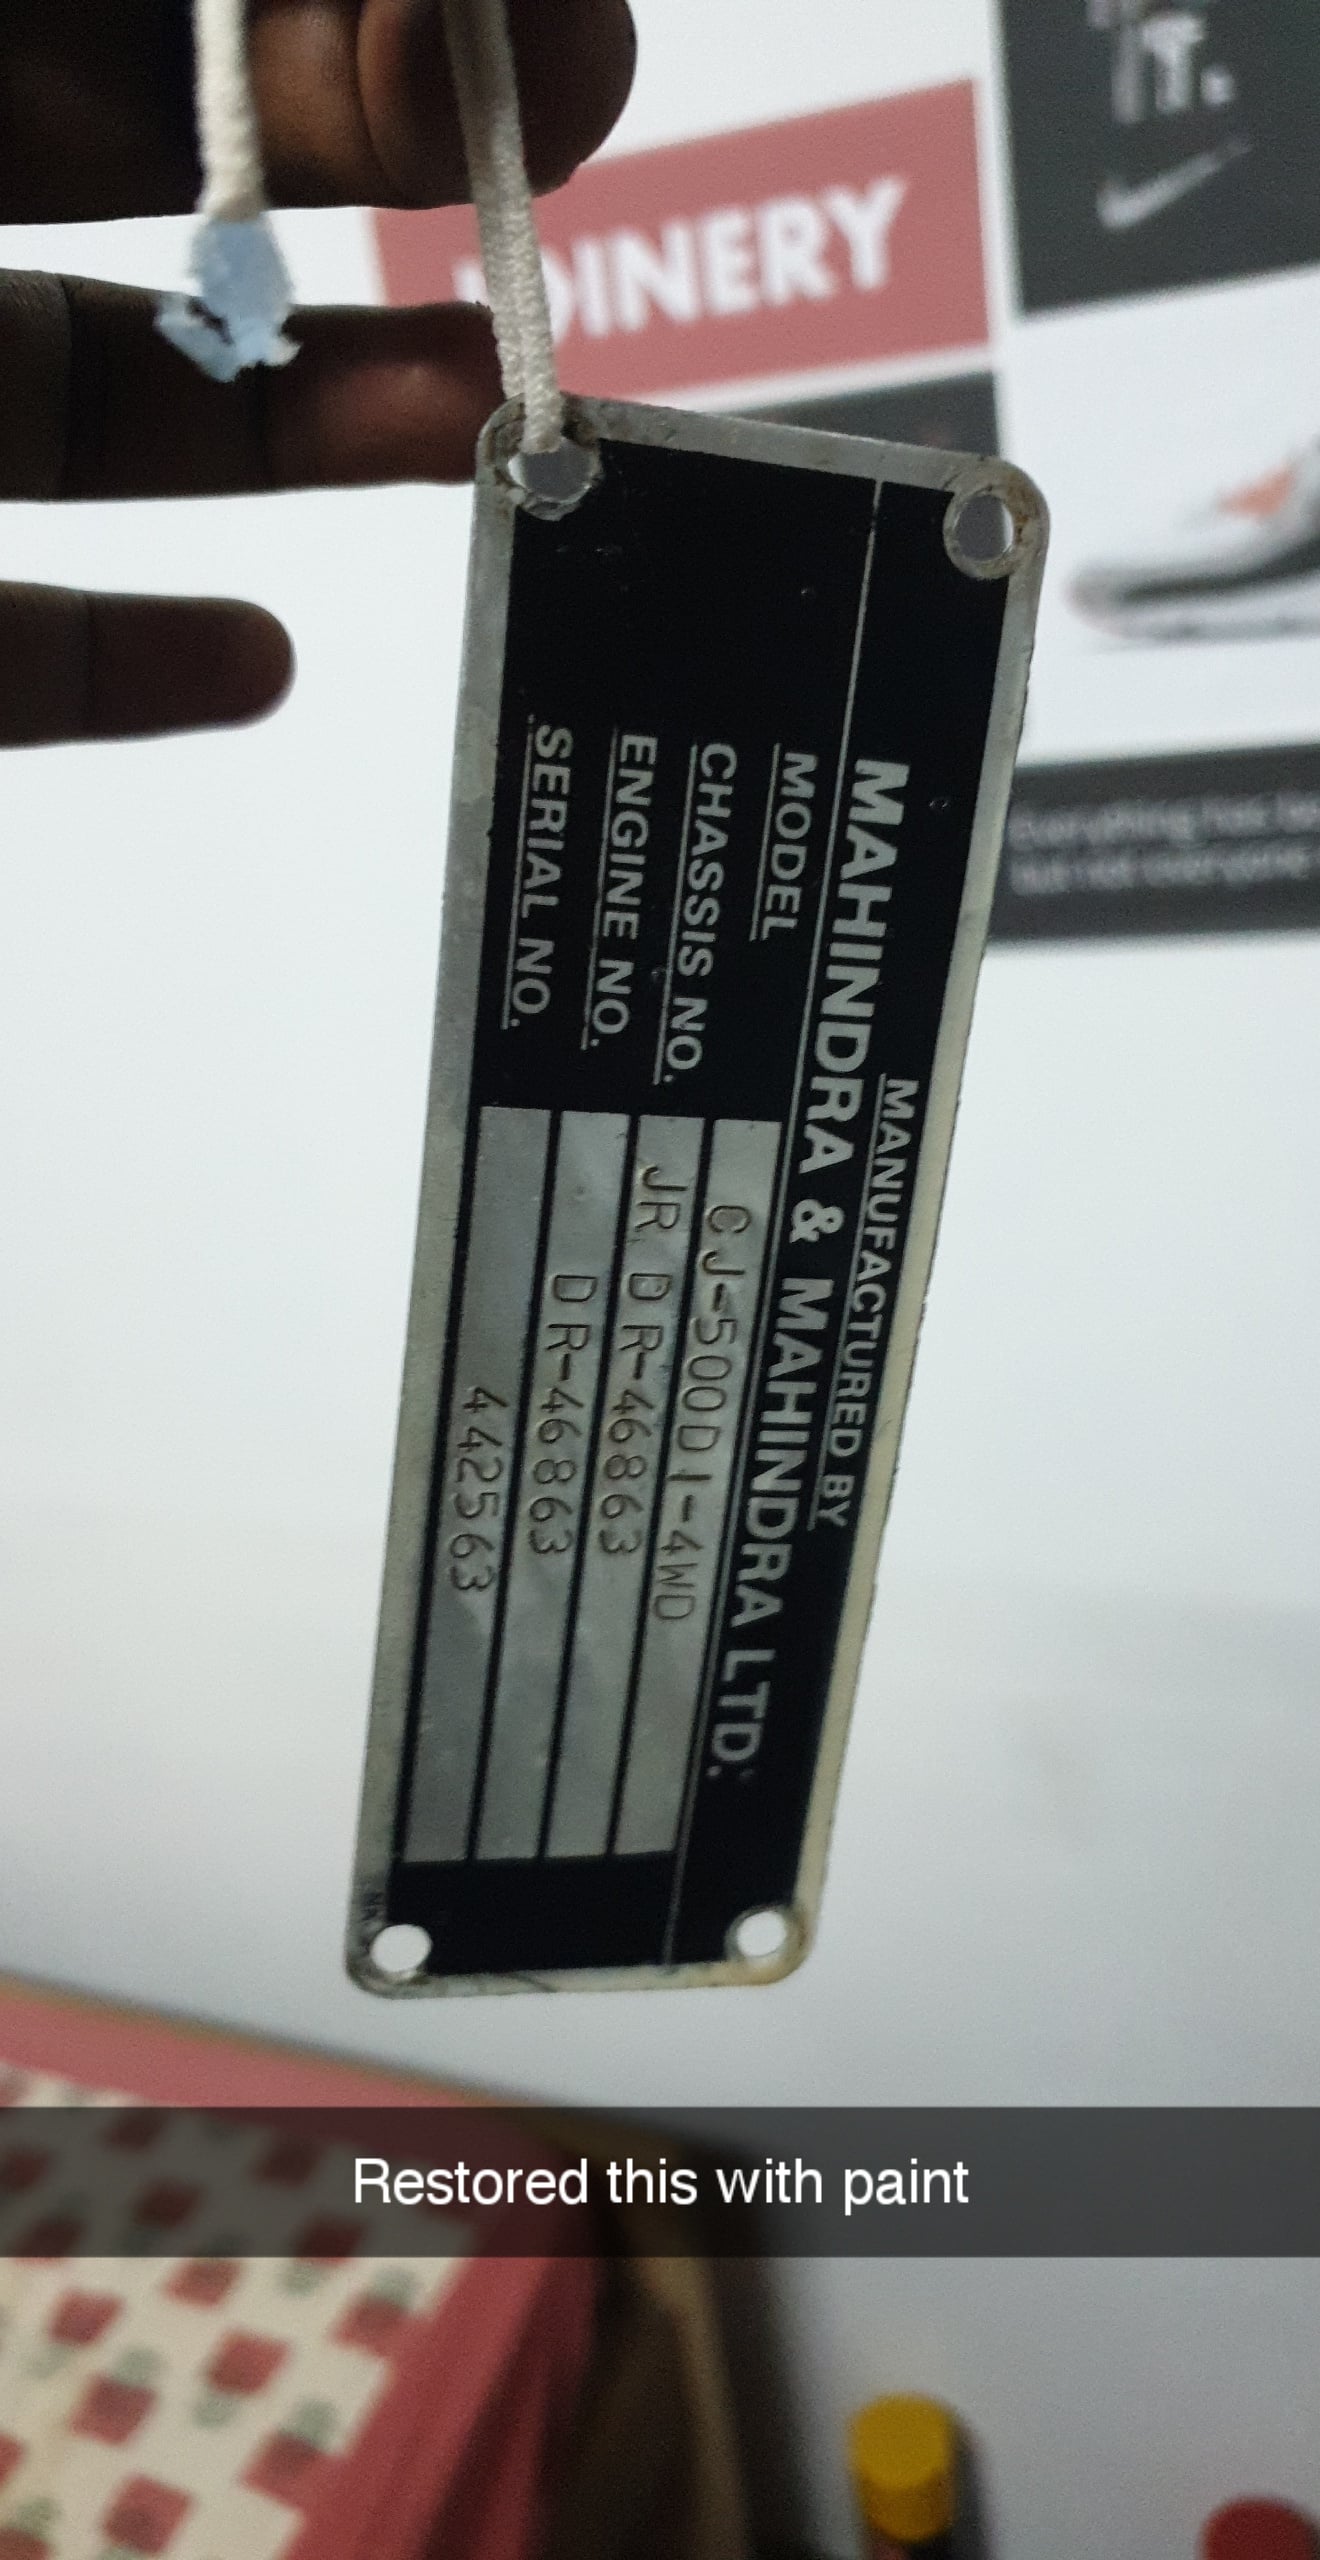 Engine number plate — cleaned and repainted
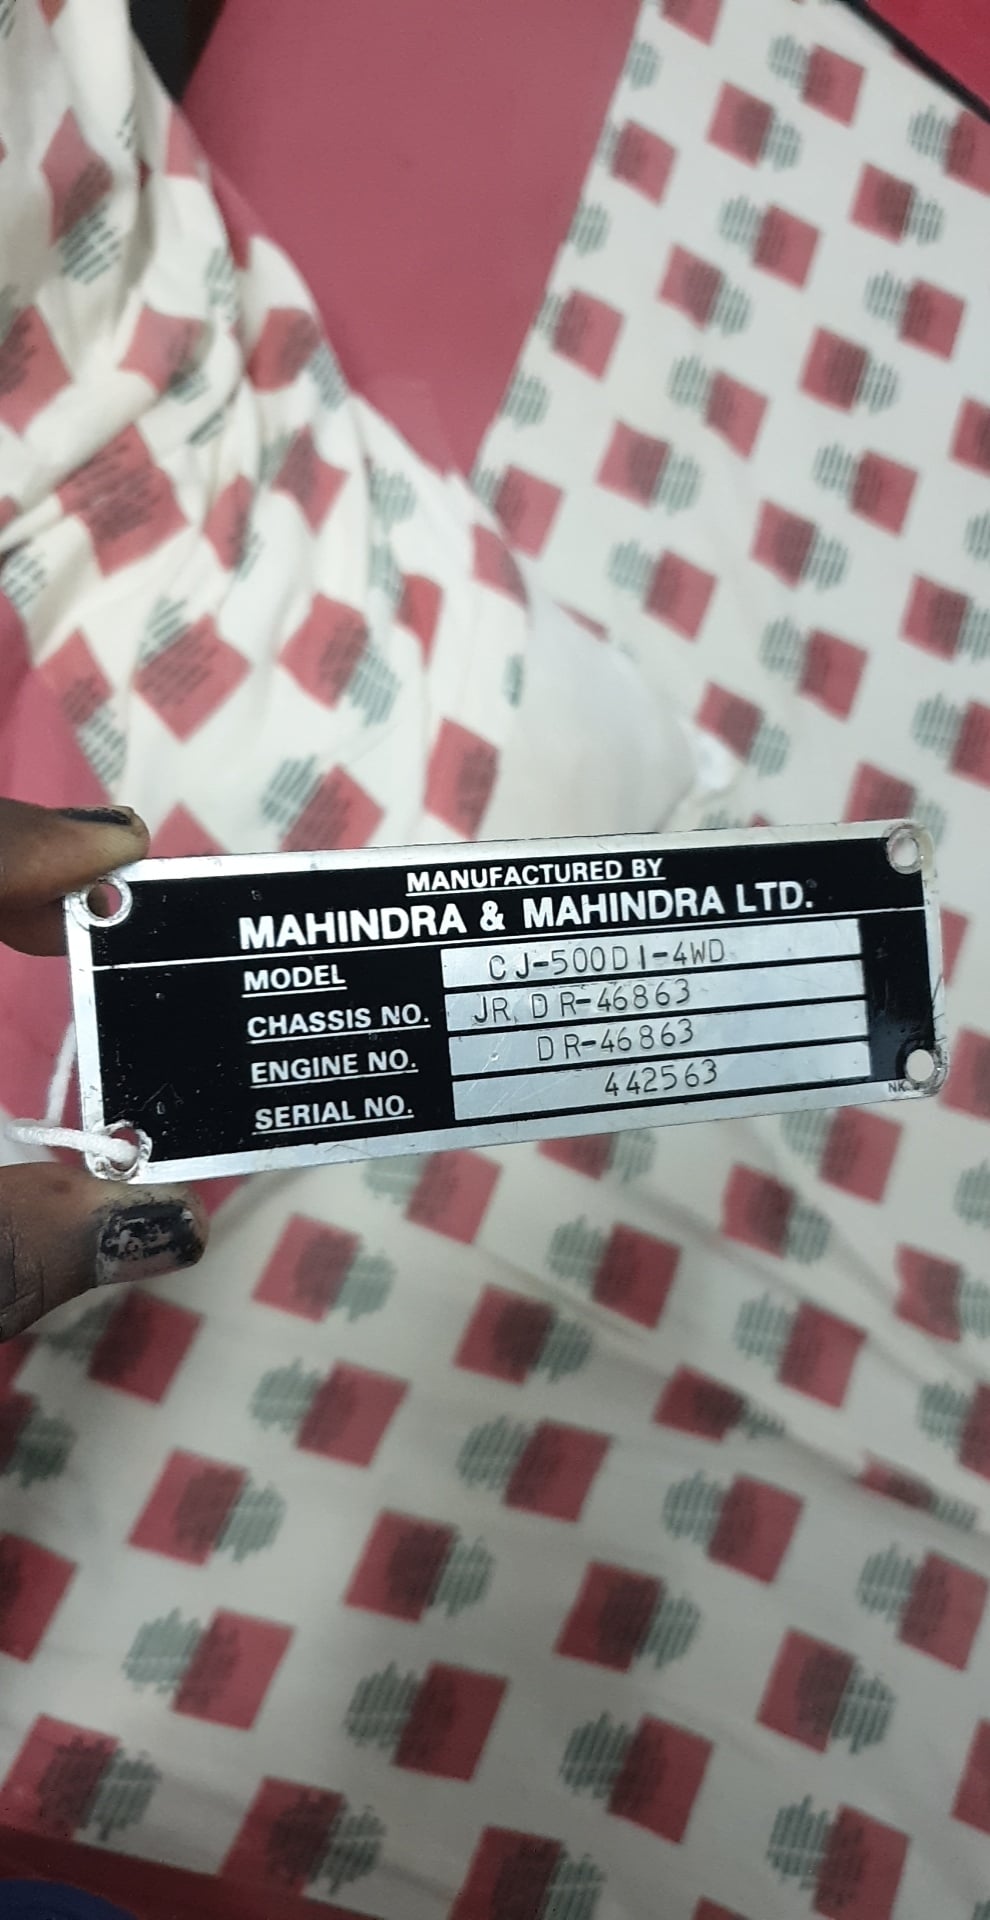 Plate detail after acrylic restoration
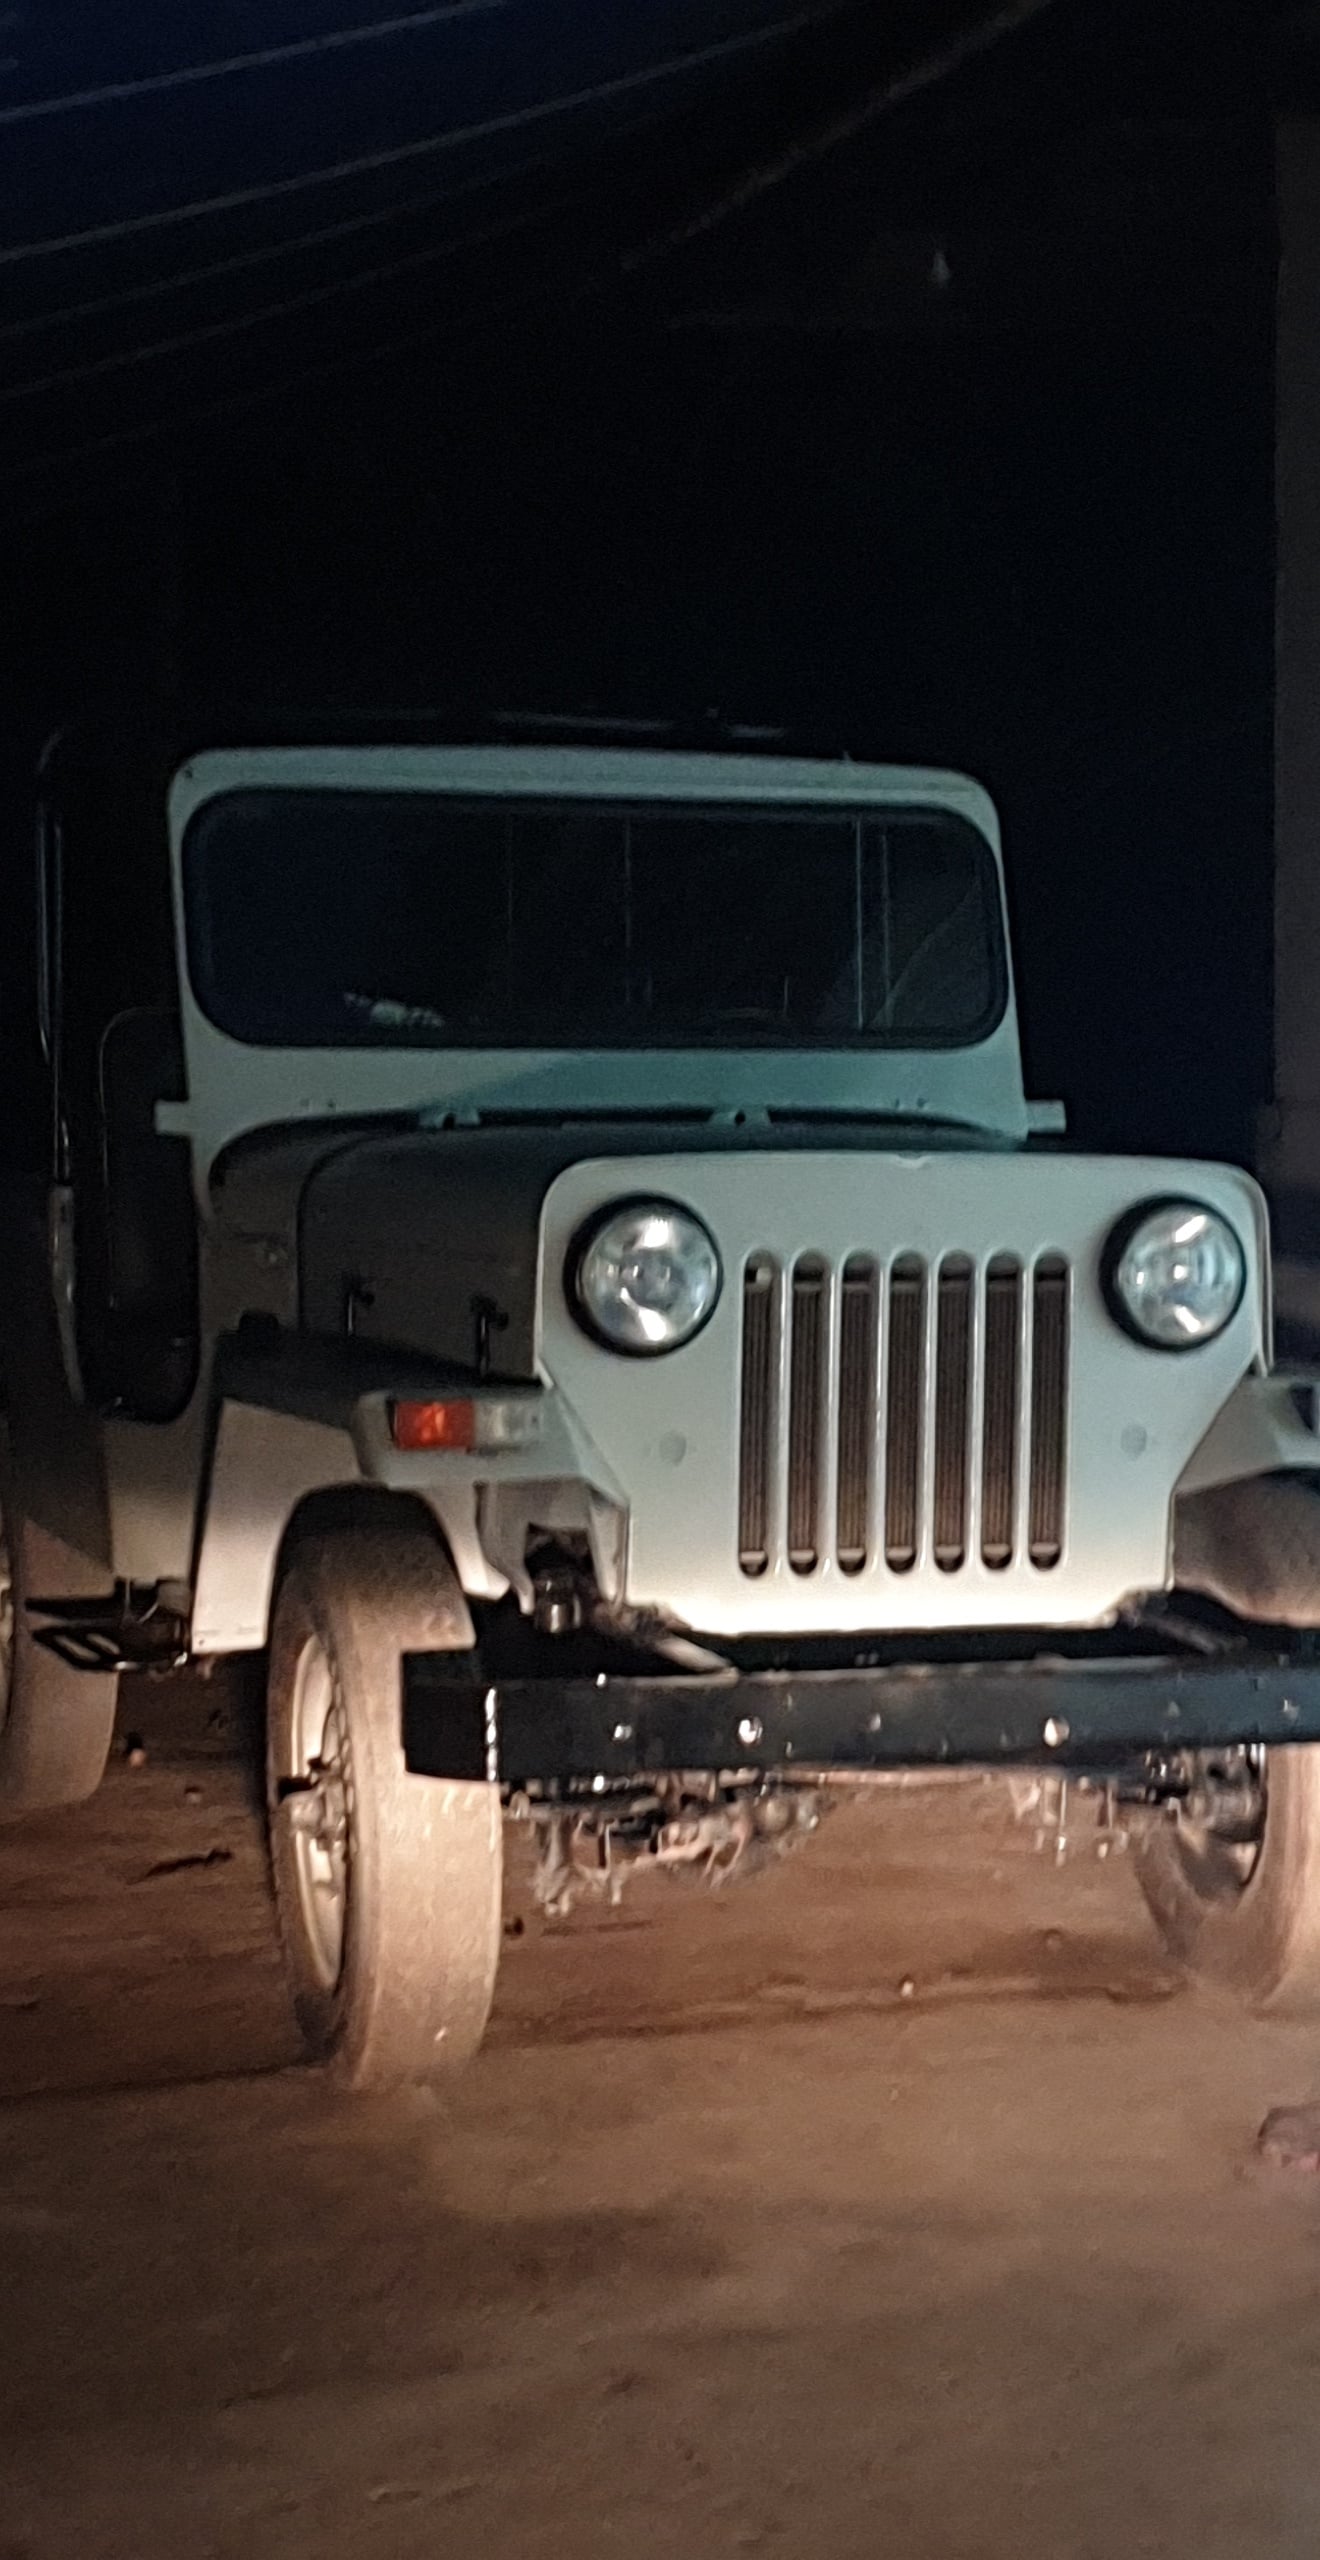 Documentation photography — tools and finish
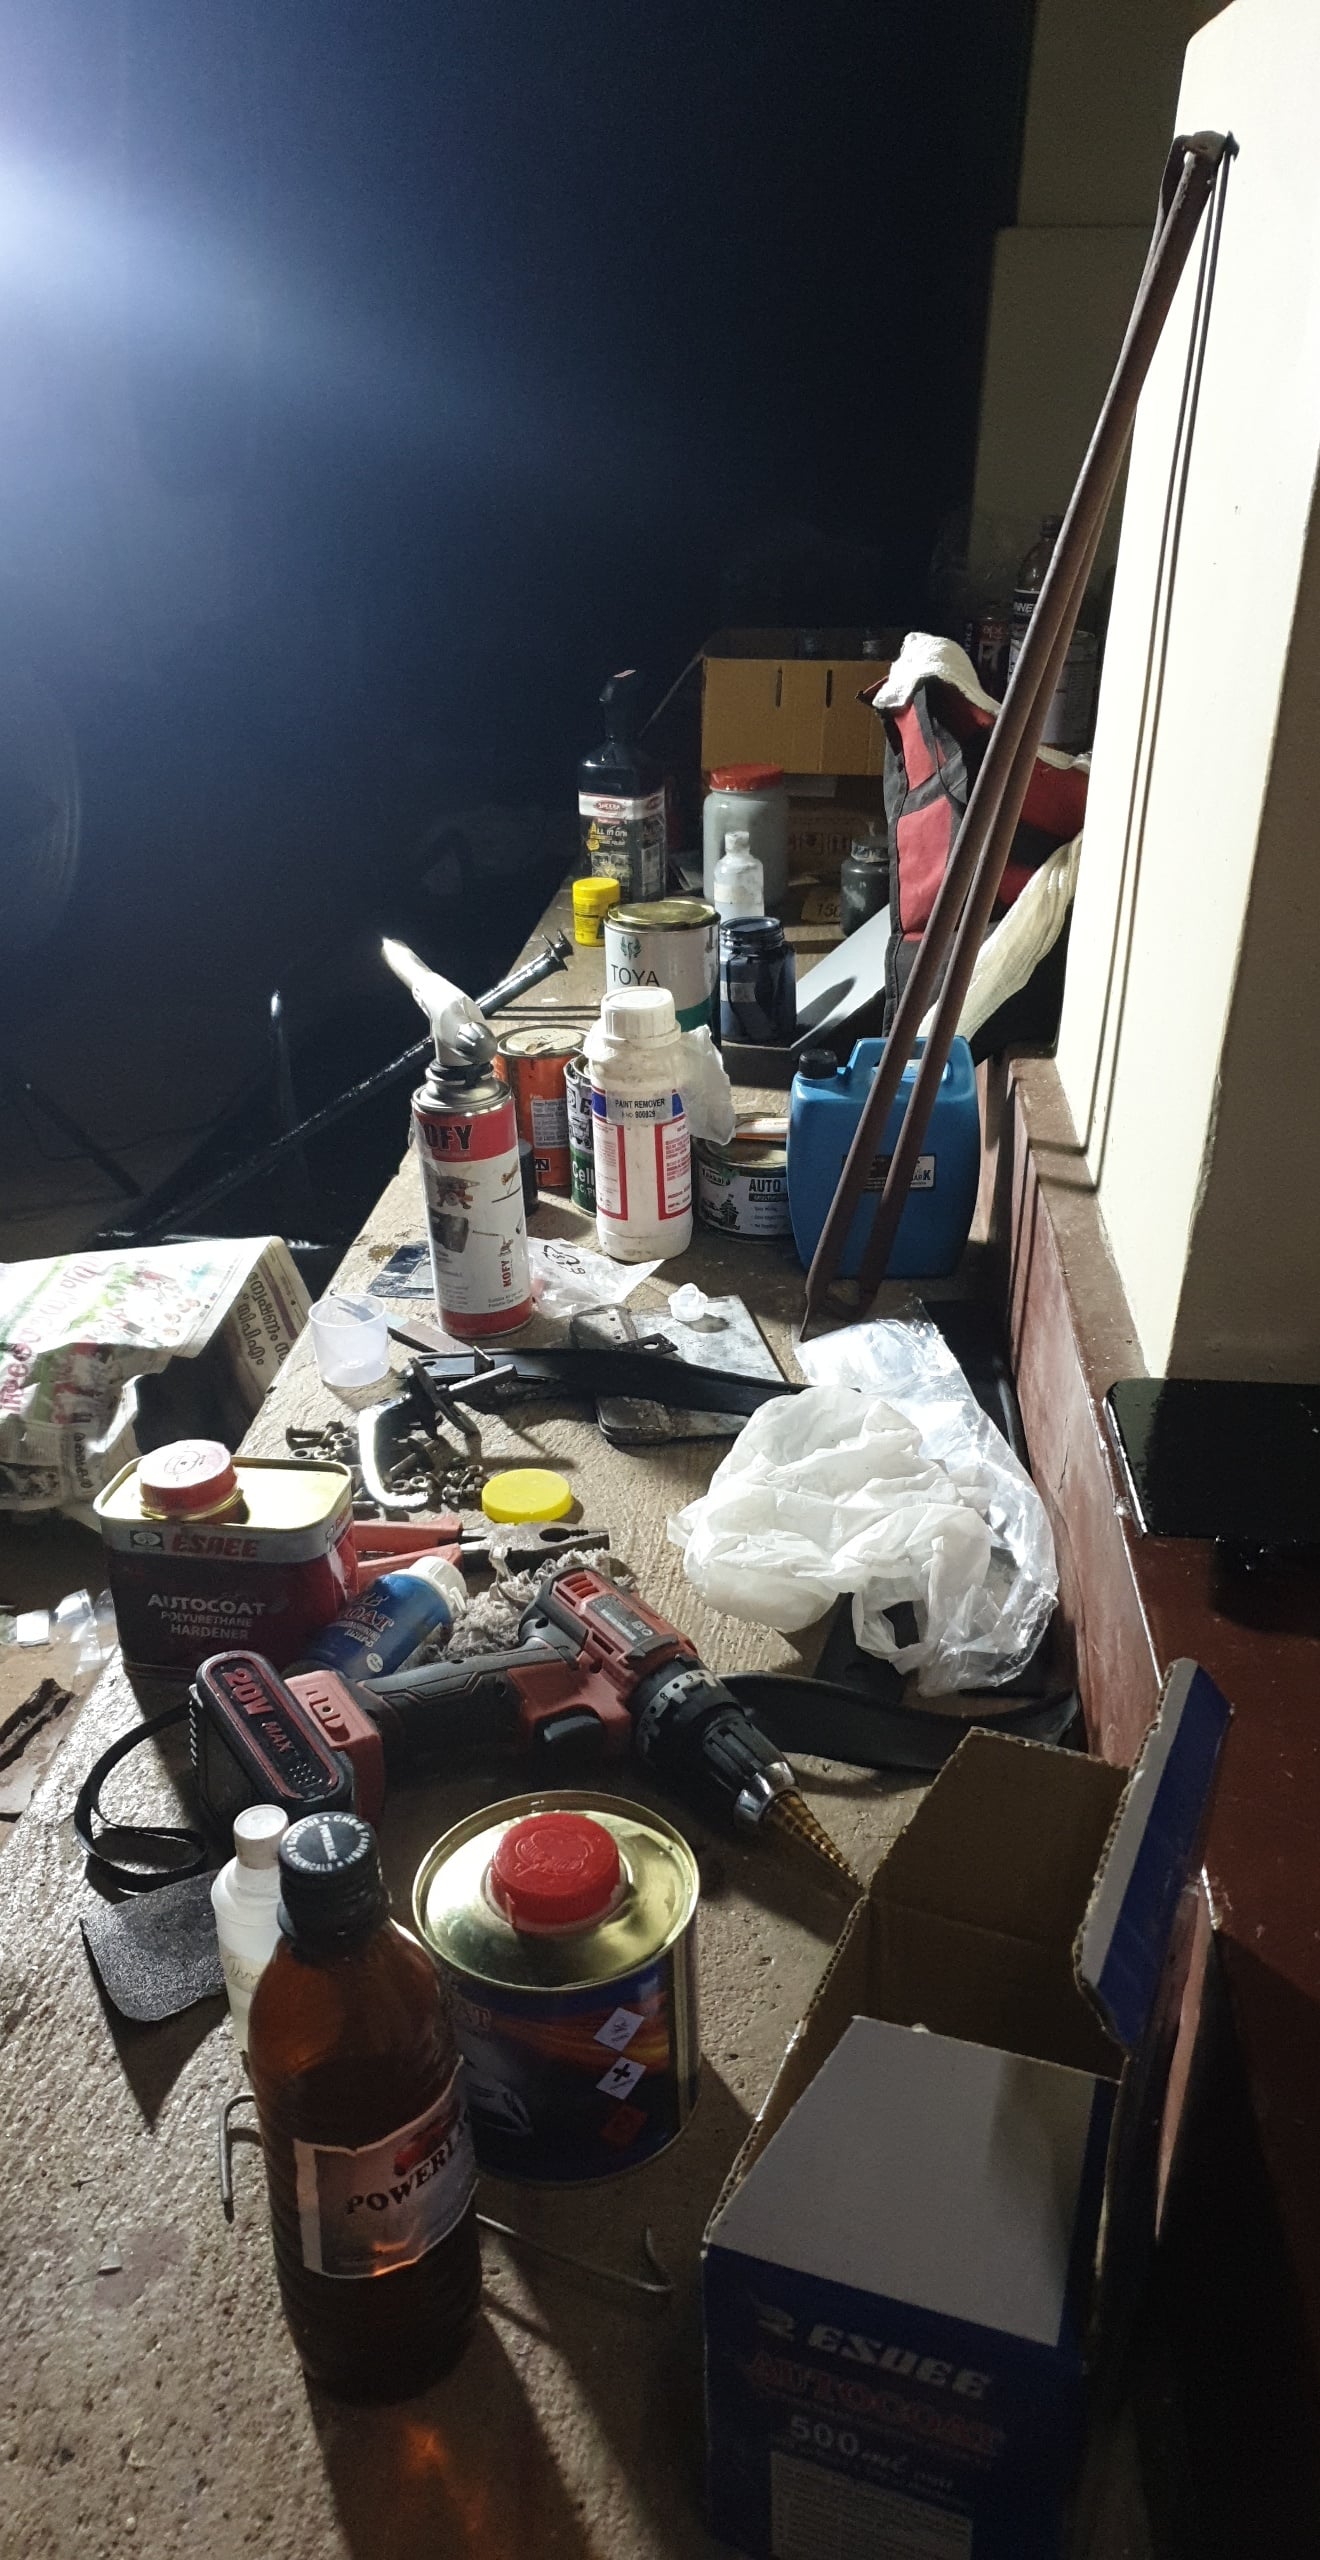 Custom 3D-printed keychain — red and black
Finished
 Final completion photos
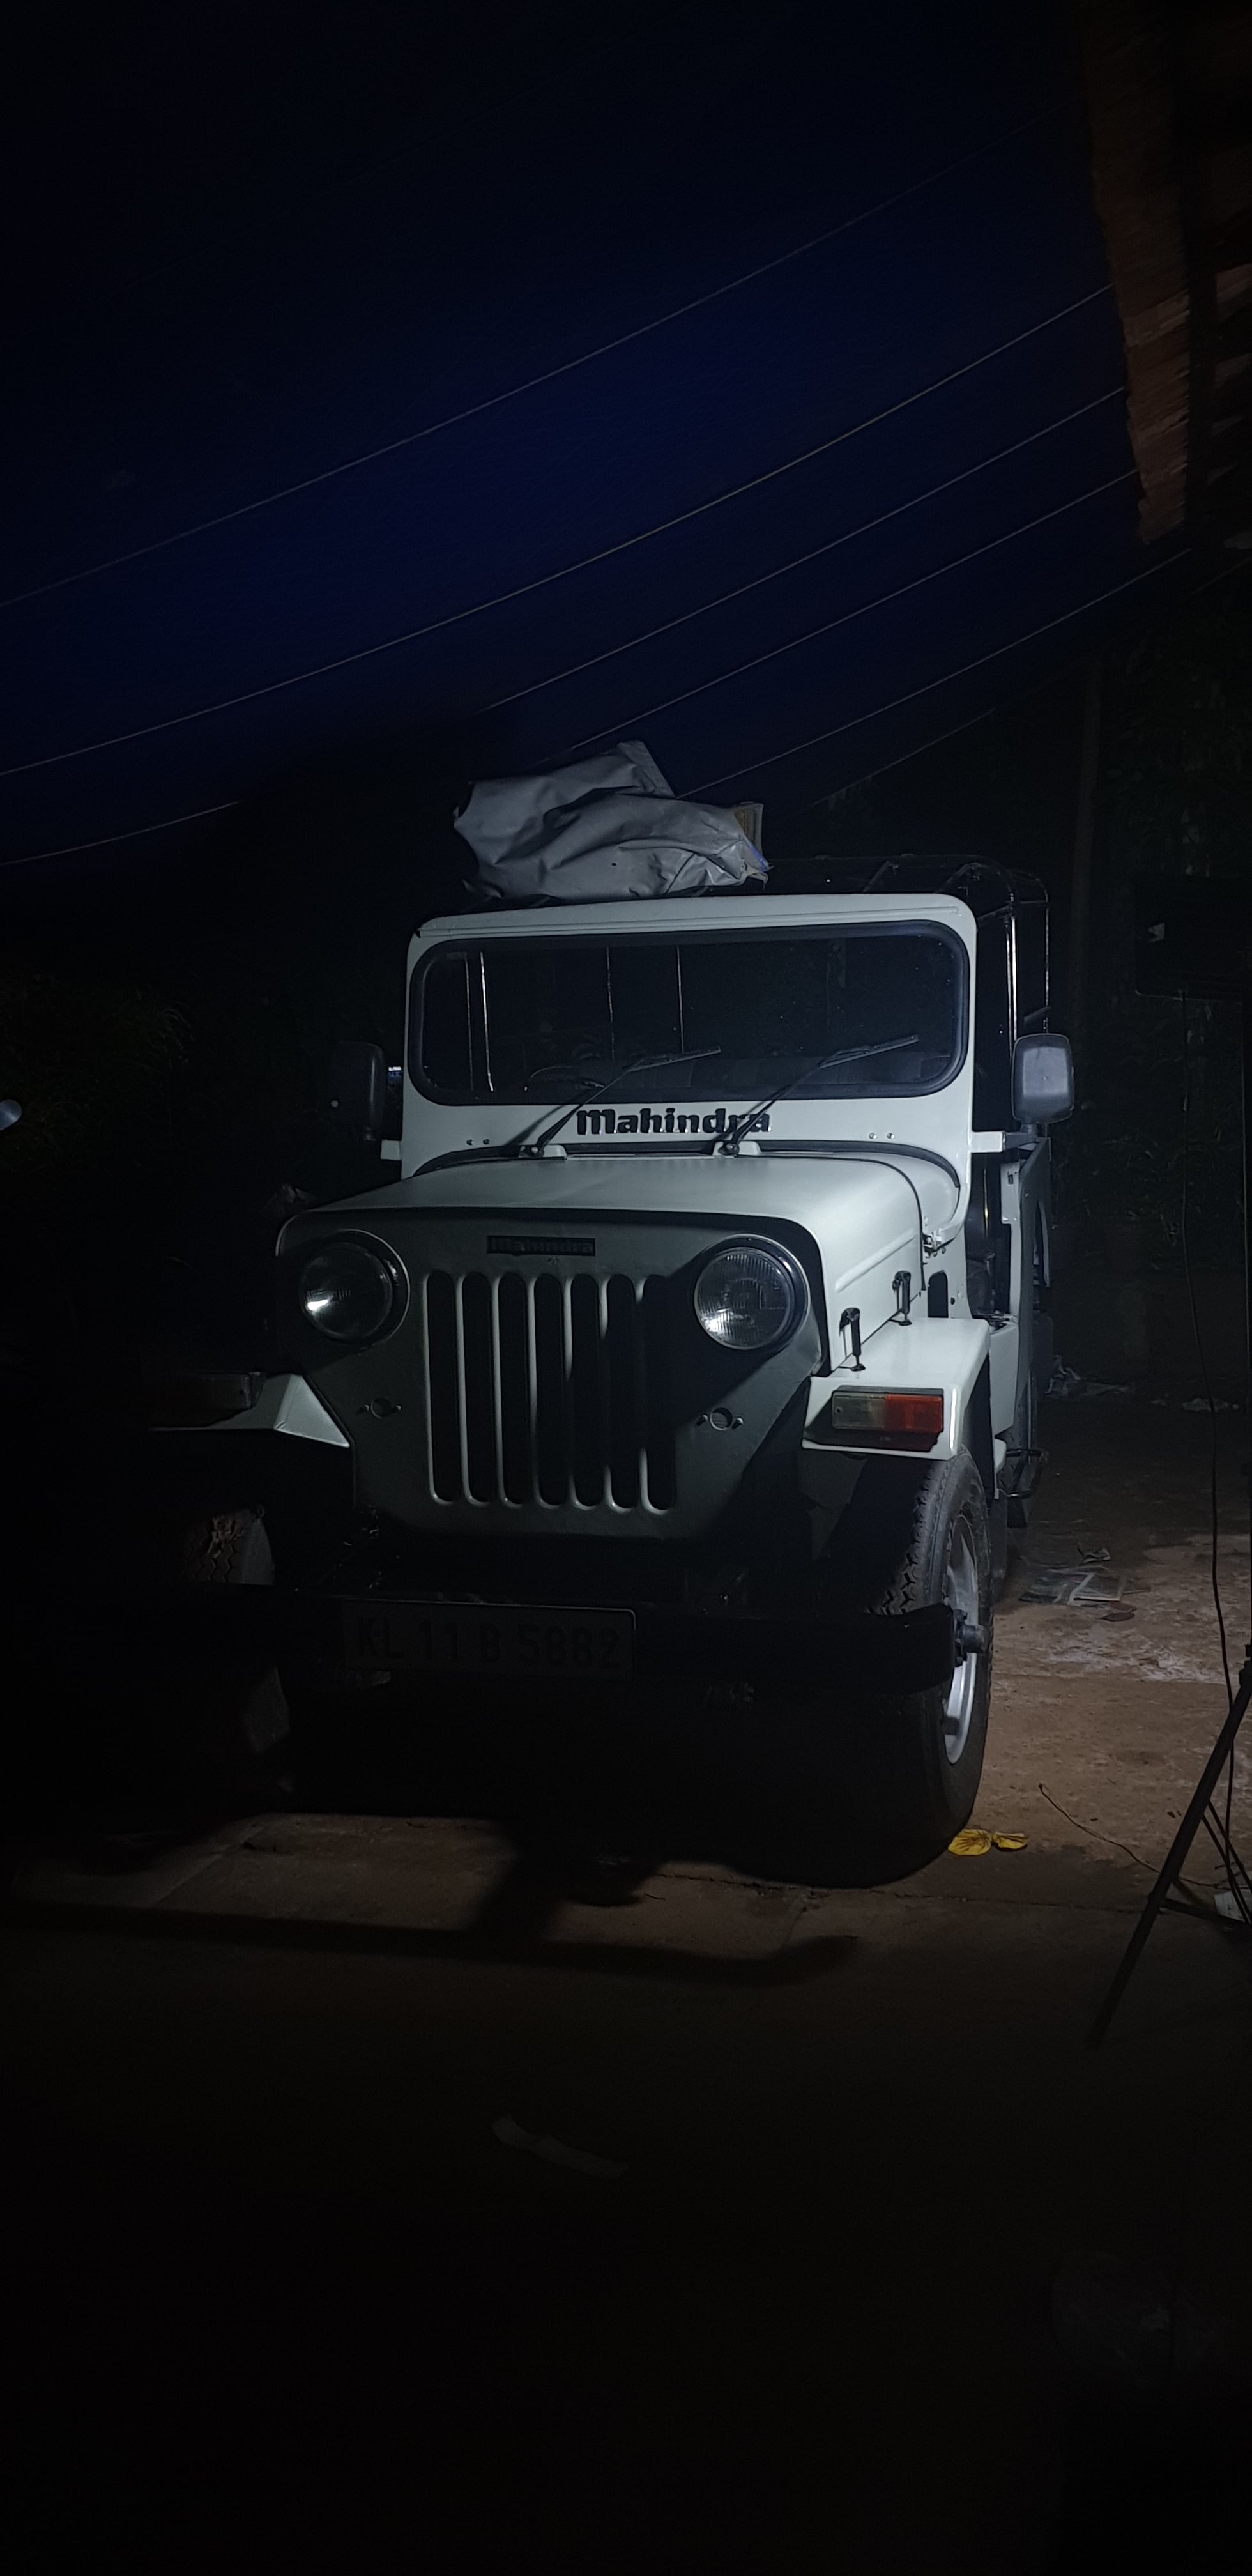 The finished jeep
"A jeep that's been in the family since I was three deserved a proper finish — not whatever the previous owner used."